
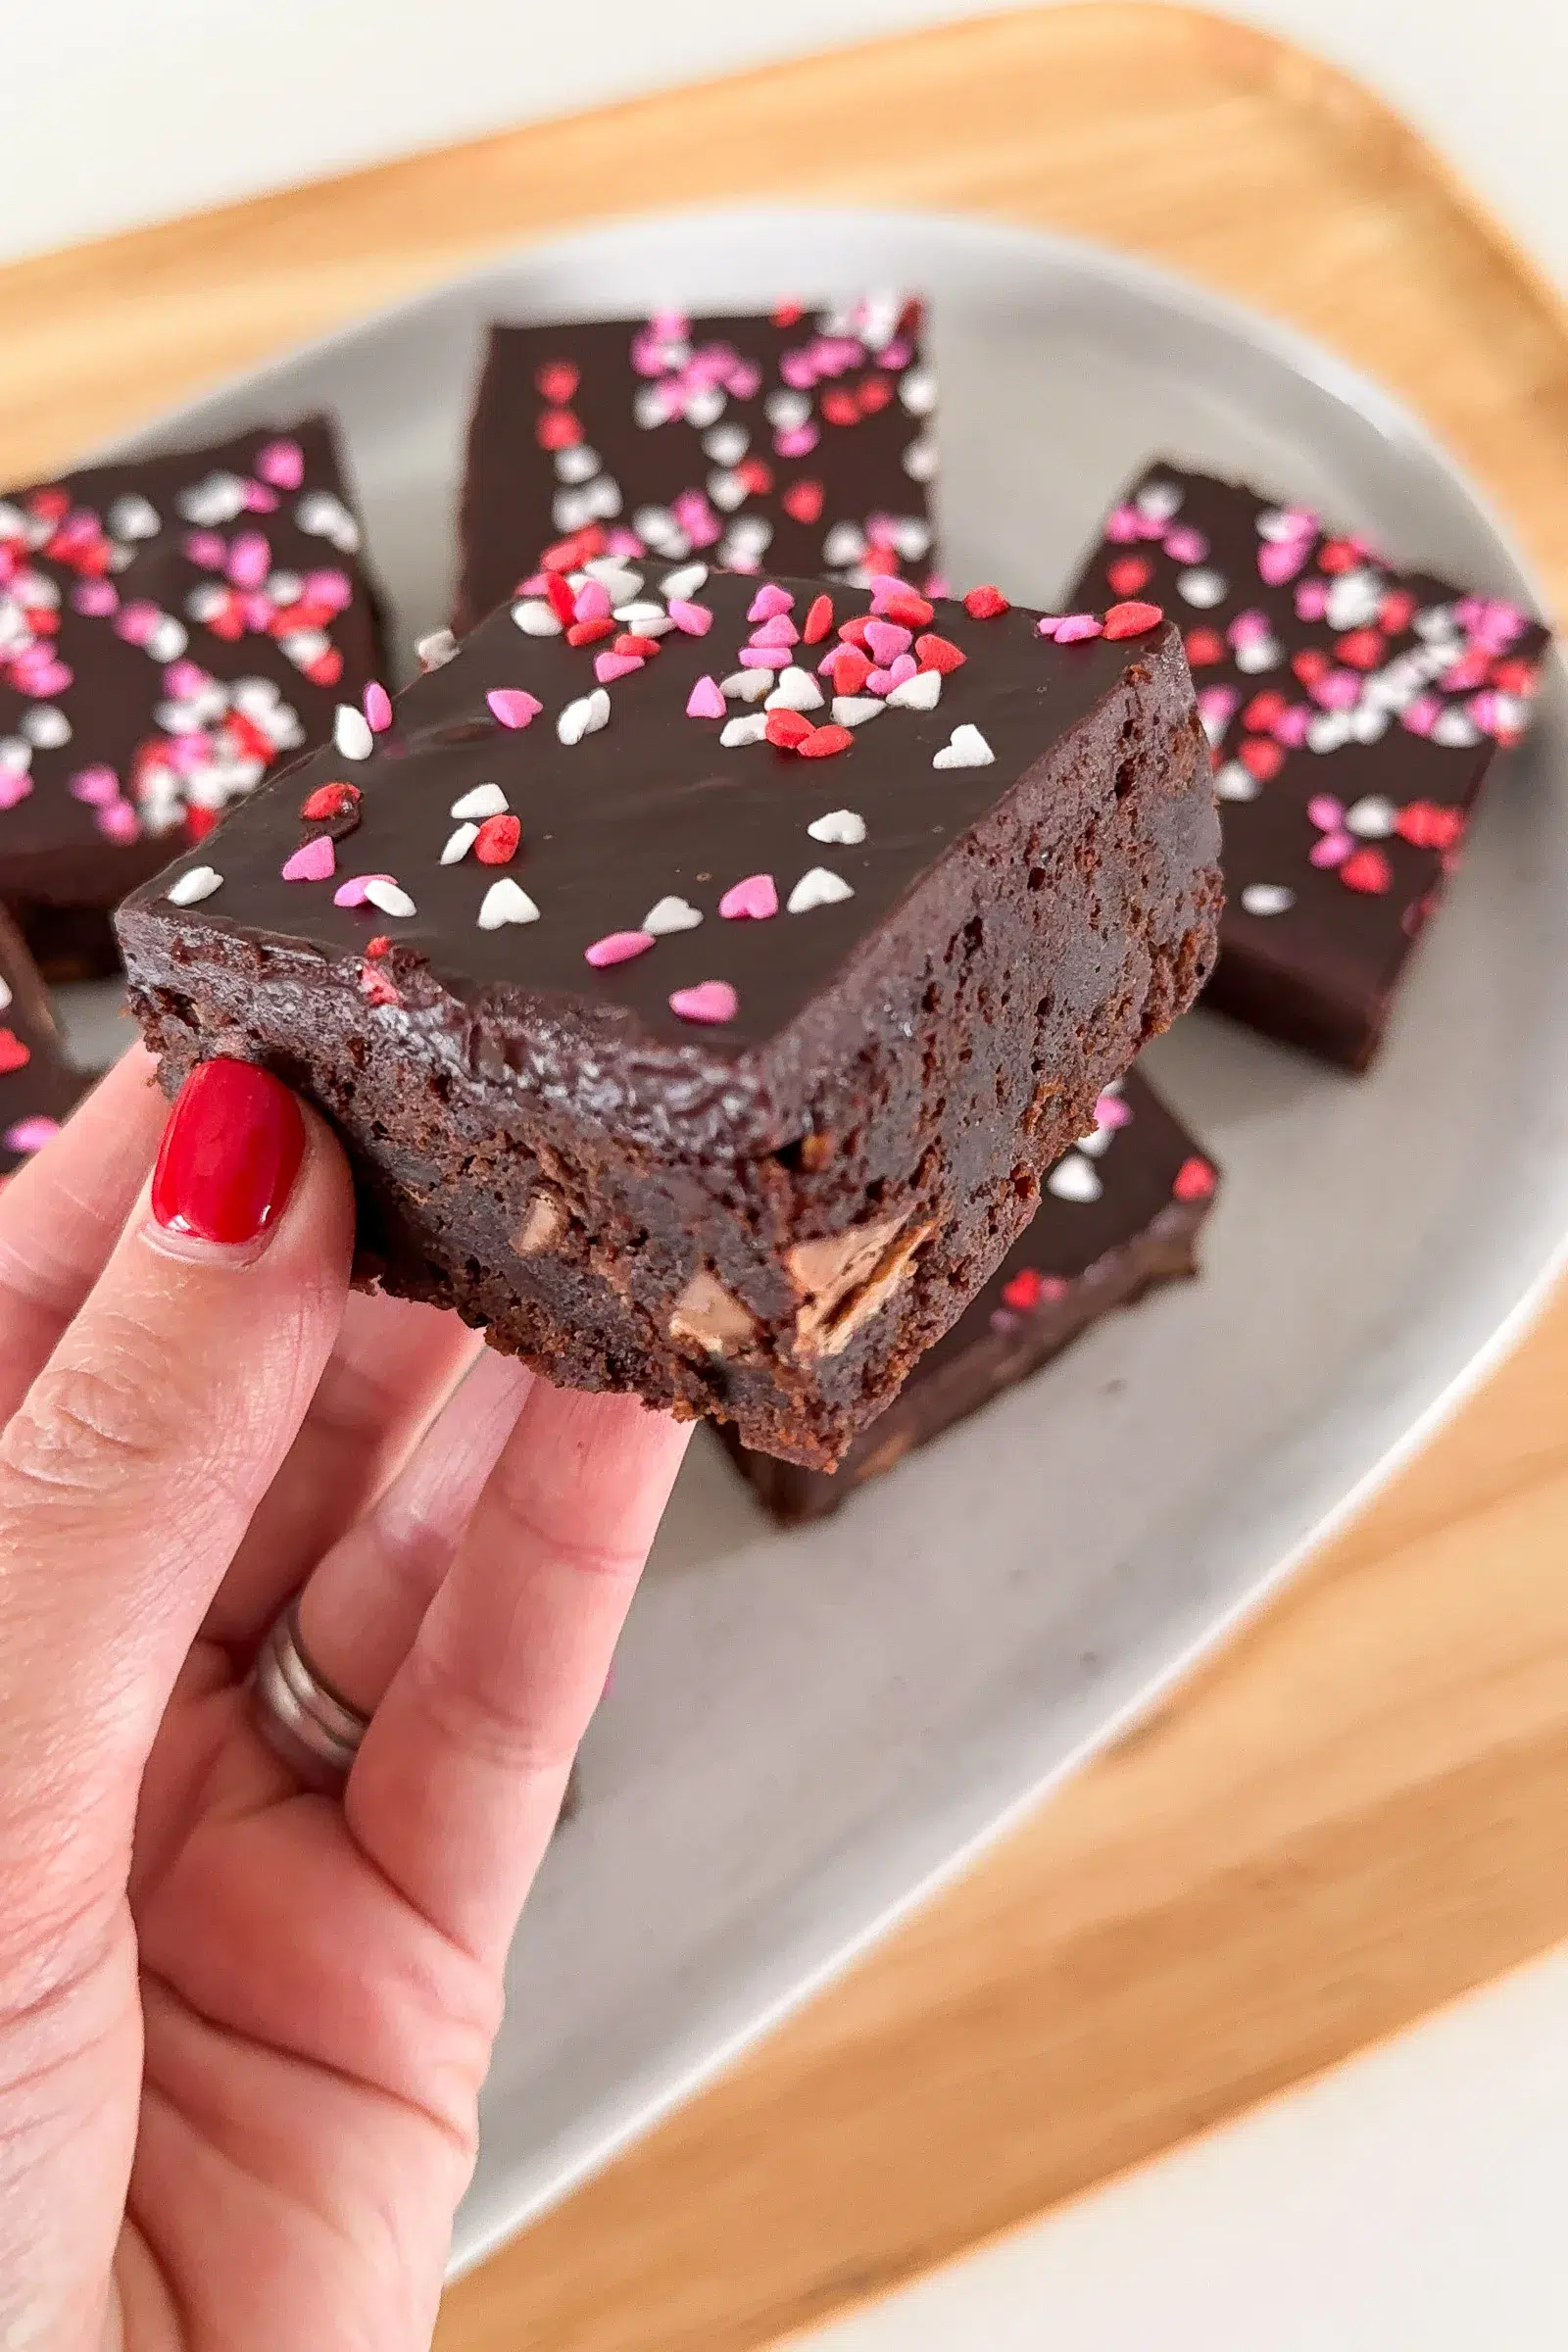


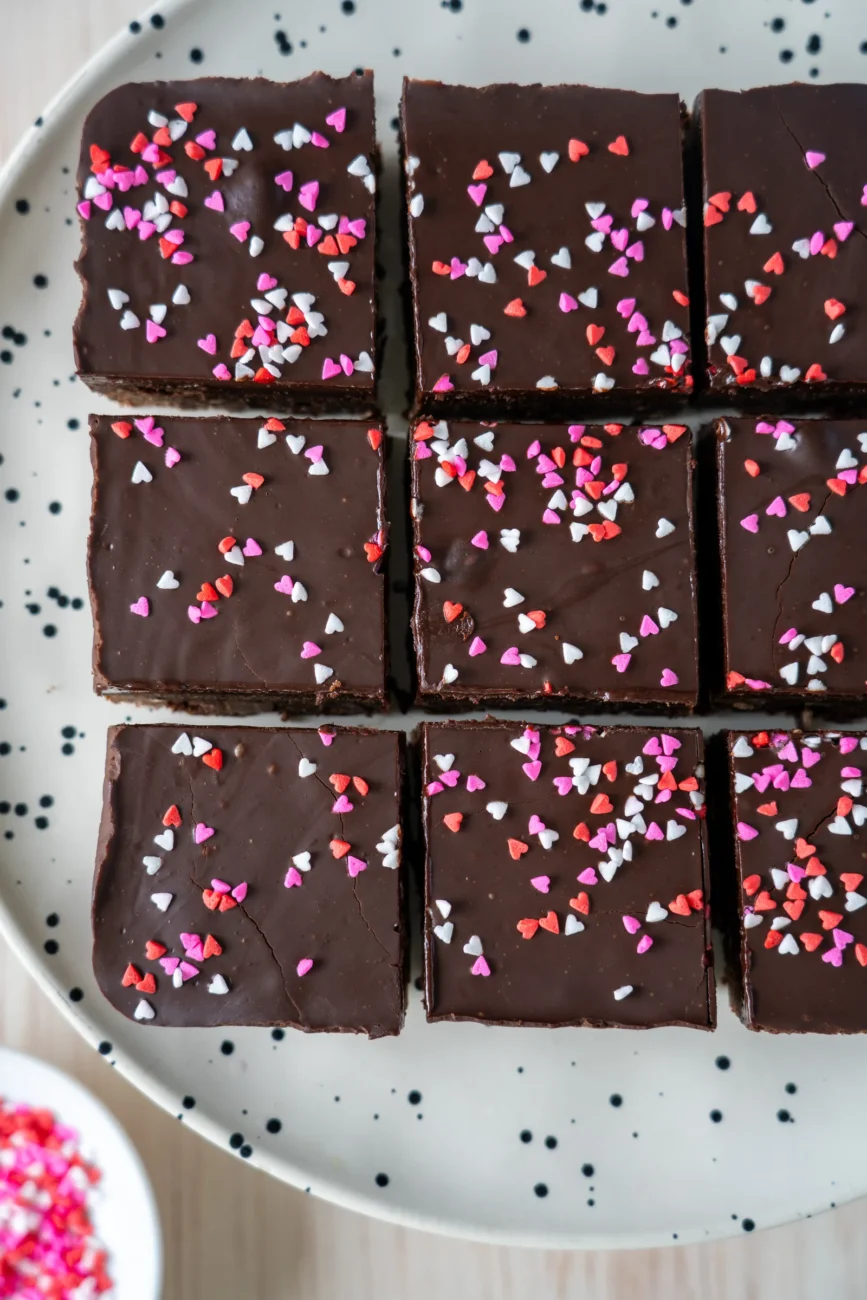
Fudgy, no-fuss brownies with a rich chocolate ganache – my once-a-year Valentine’s tradition.
We don’t buy gifts for Valentine’s Day … we make brownies instead.
I don’t bake often. Mostly because I’m short on time and don’t need another “thing” on my to-do list. But these brownies? They’re worth it – and they are so easy. No fancy equipment. No electric mixer. Just a bowl, a microwave (you know I love a microwave moment), and pantry staples. Slightly overmix them? Fine. Leave them in the oven a minute too long? Still great. This is the kind of unfussy recipe that works with you, not against you – which is exactly how I like my baking.

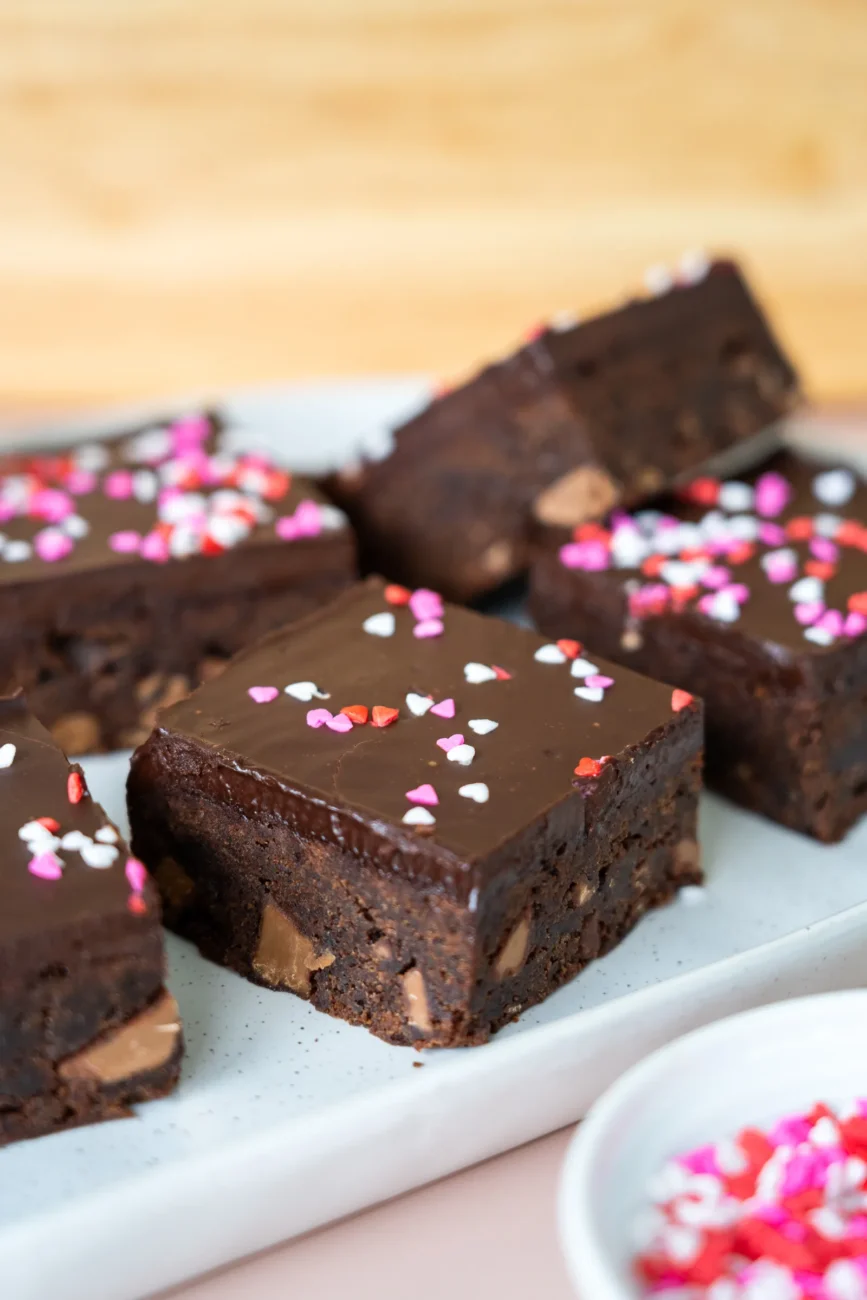
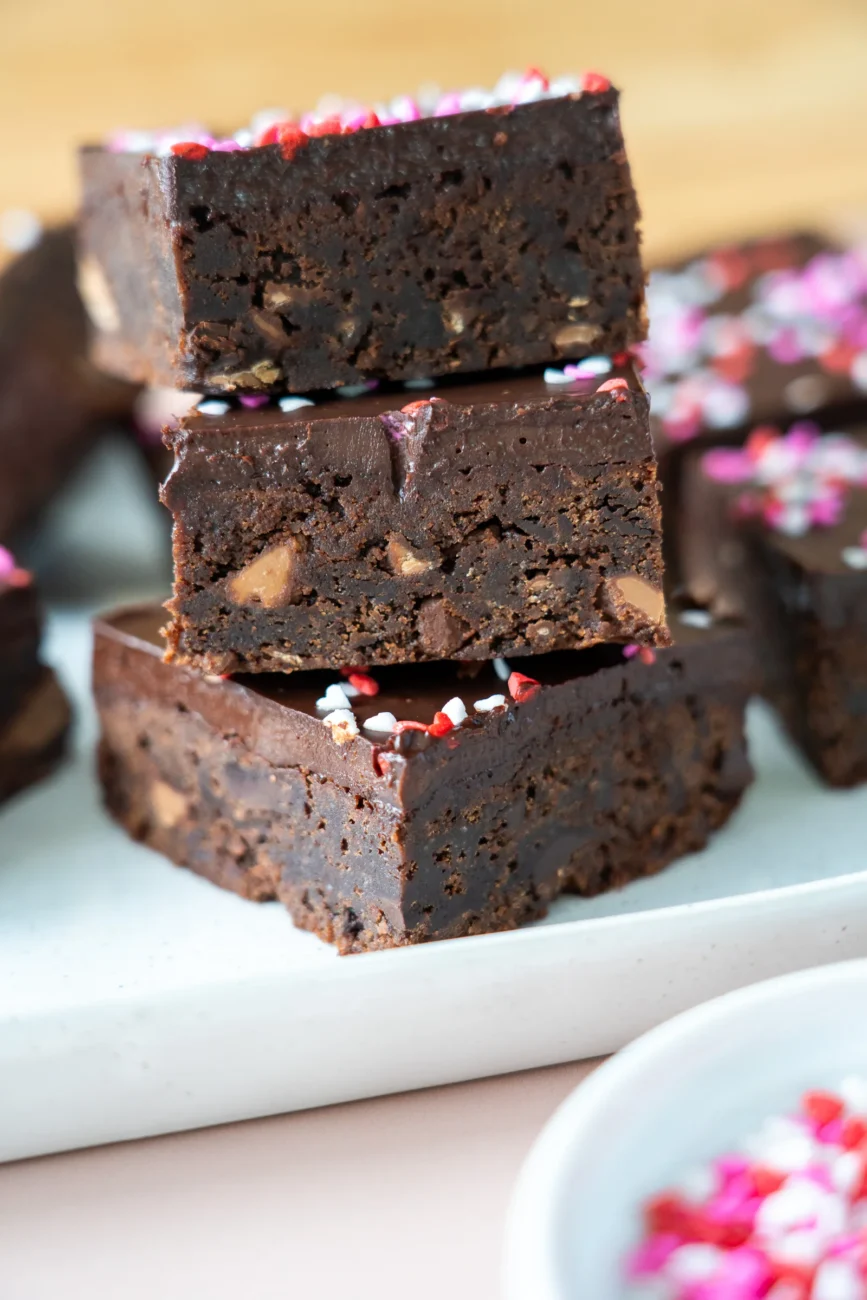
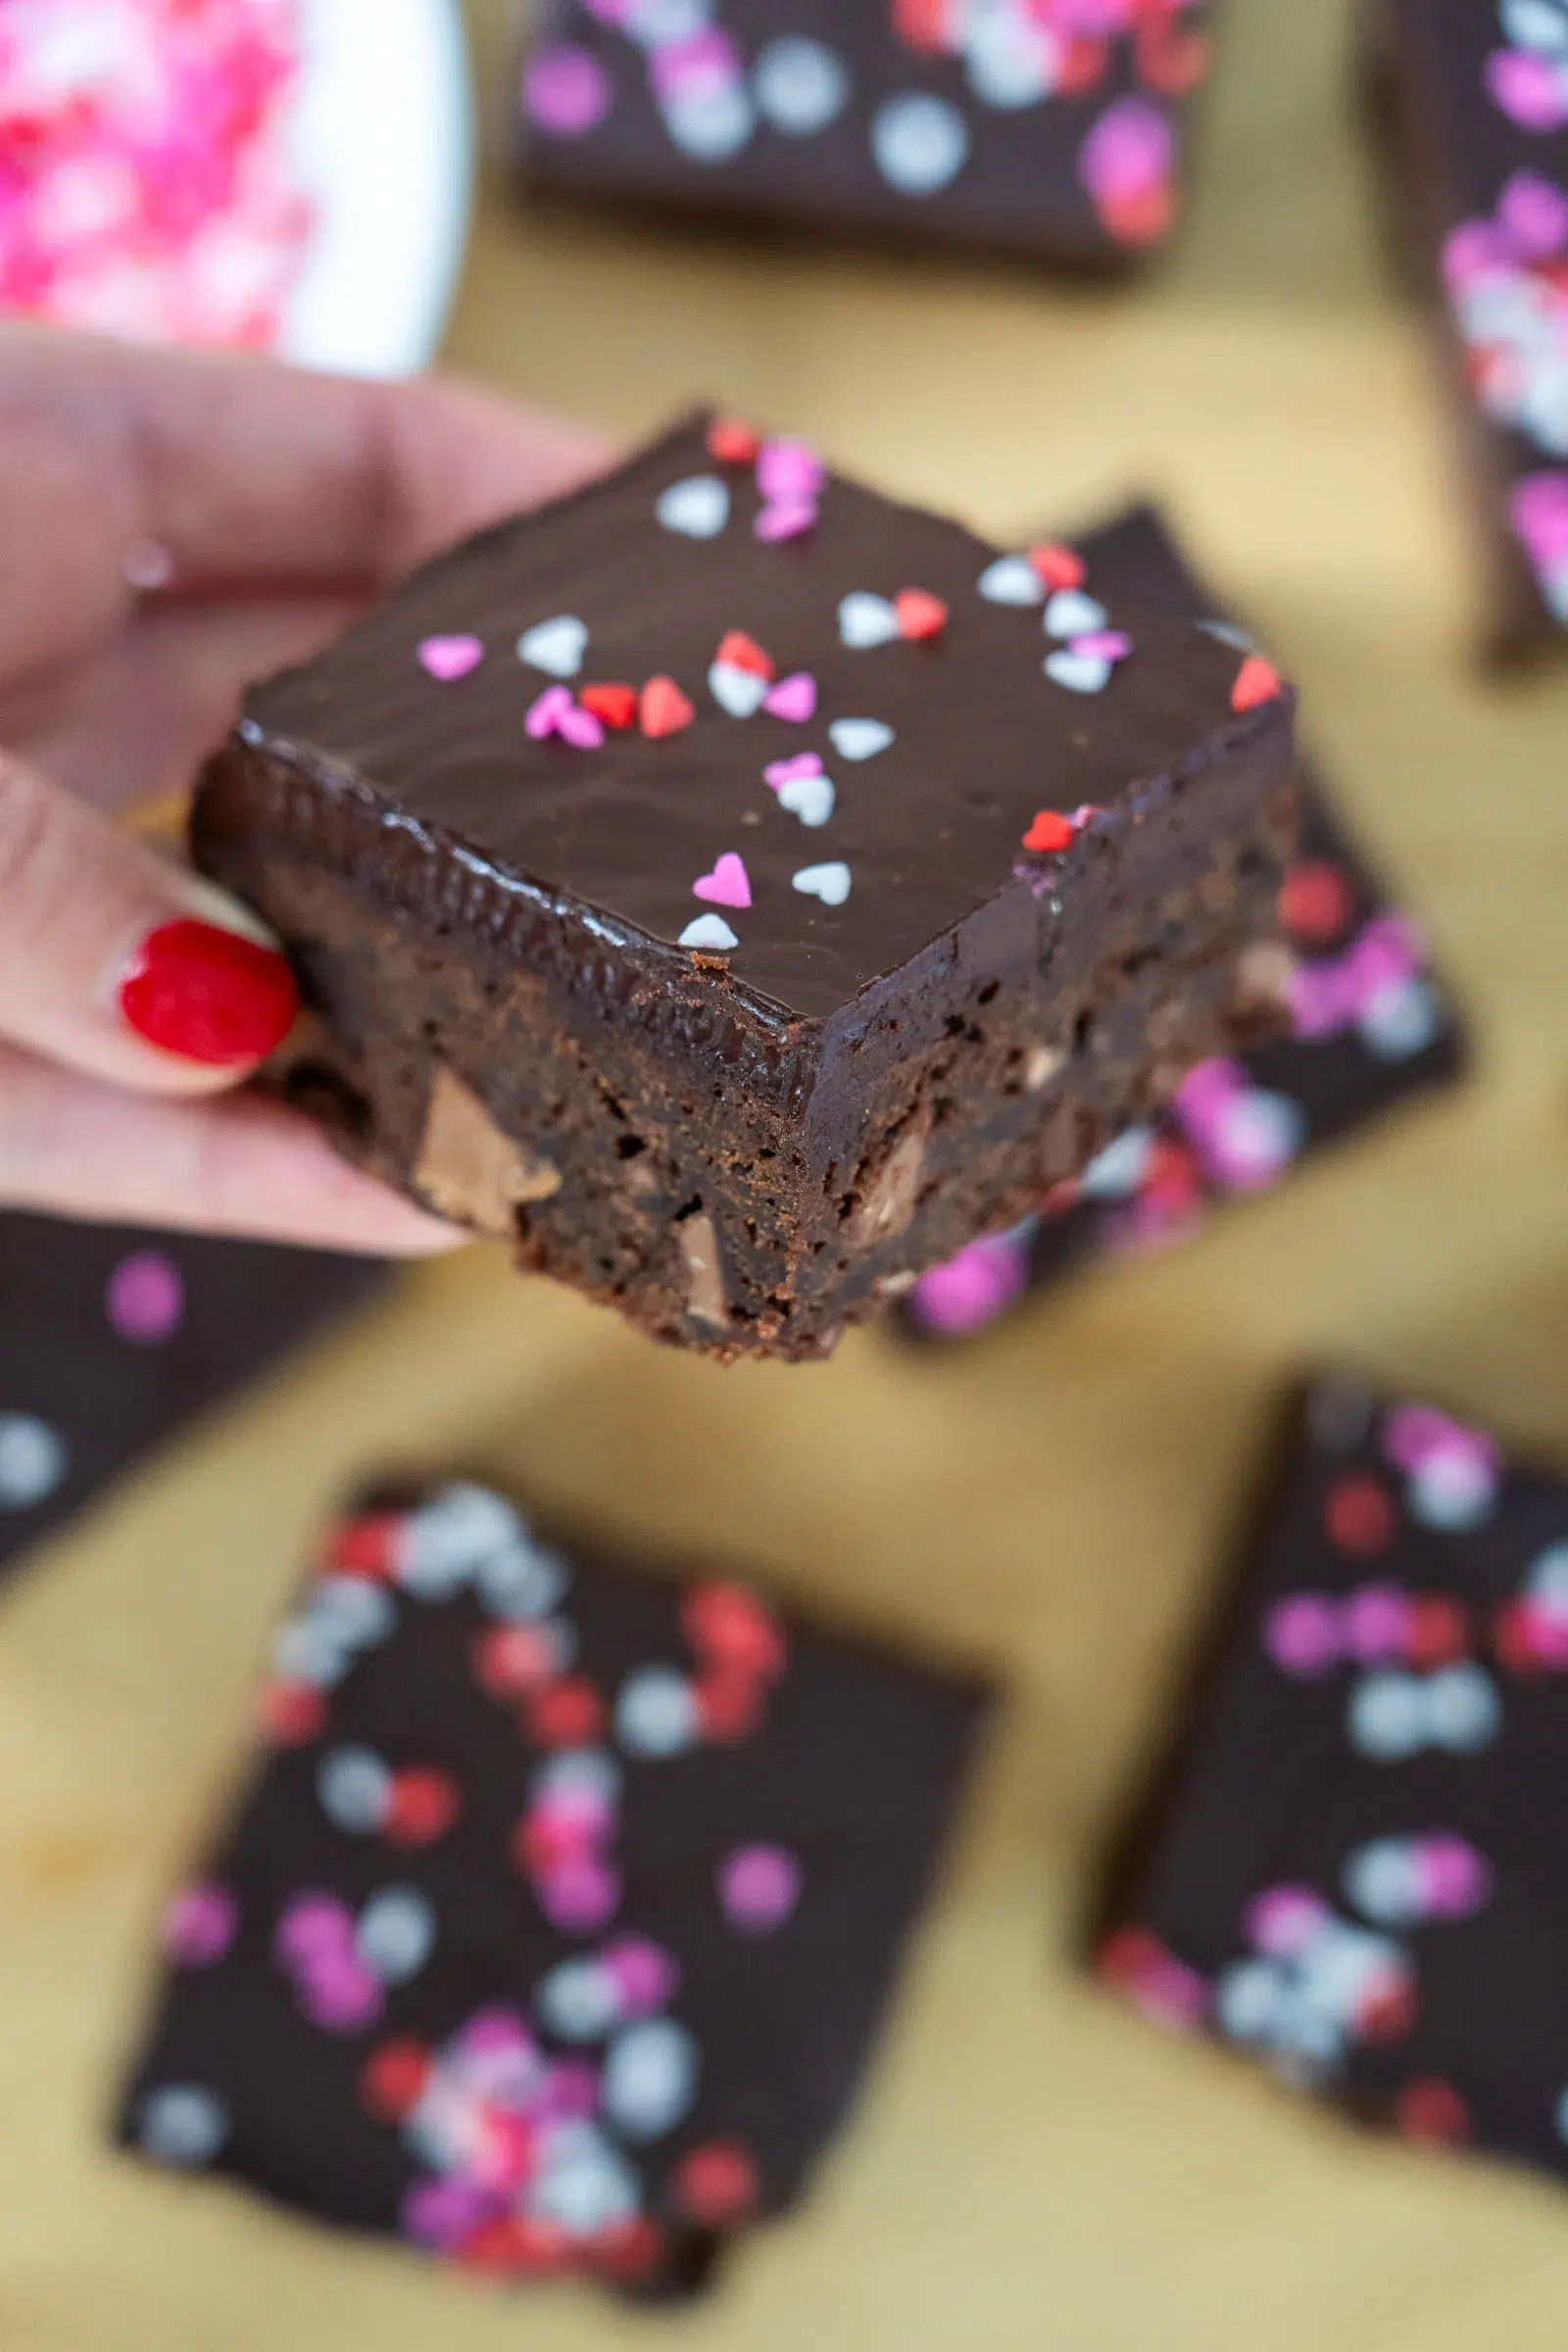
They’ve quietly become our little Valentine’s Day tradition. I make them extra cute with heart sprinkles, but what really makes them special is the thick, glossy chocolate ganache smothered over the top (although you can make the brownies without this). These are proper fudgy chocolate brownies – dense, moist and never cakey – with a soft centre that sets beautifully as they cool. They’re also perfect for making ahead. The ganache firms up in the fridge for clean slices, and the brownies freeze beautifully if you need to slow the kids down or prep dessert in advance. Minimal effort, maximum chocolate … that’s the energy we are going for here. 😂
How do I know when the brownies are done without overbaking them?
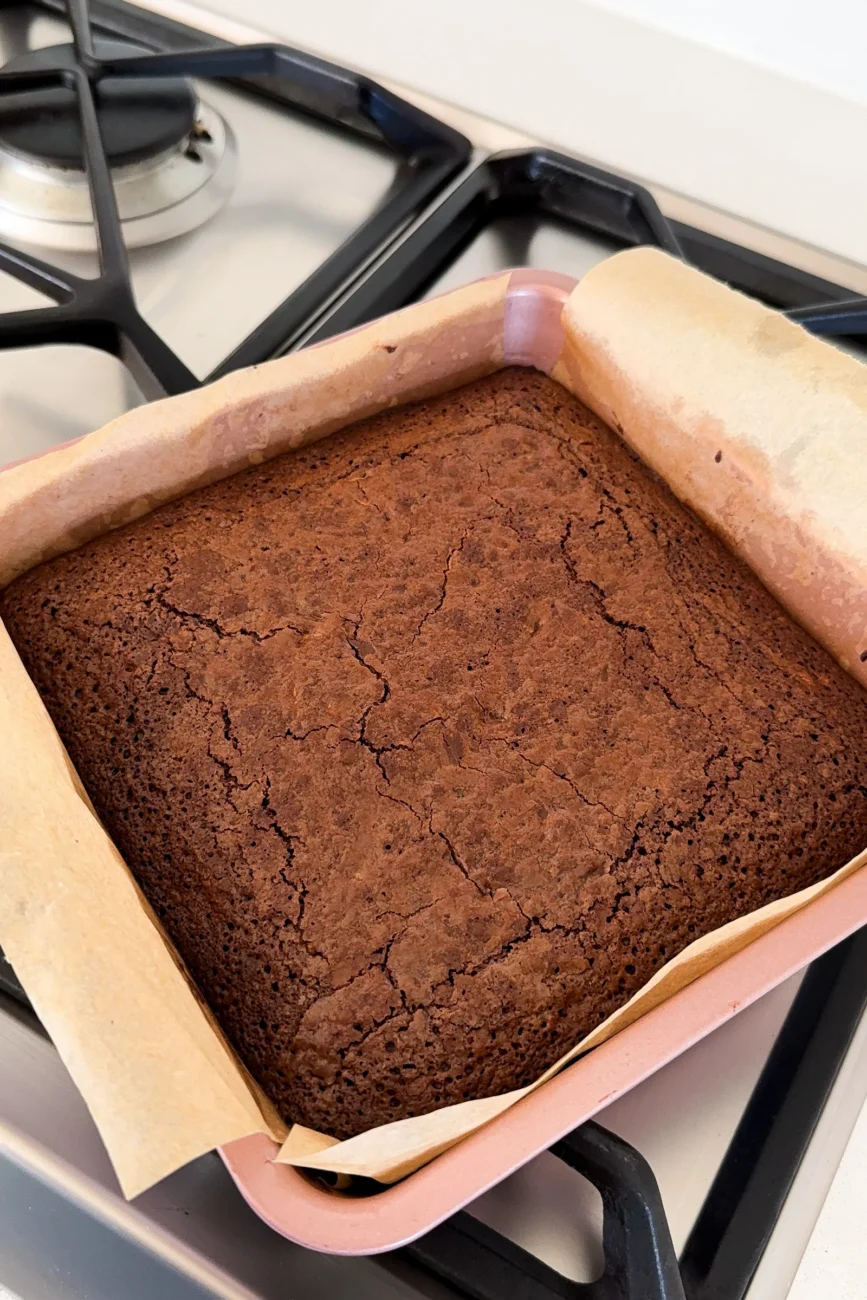
Brownies are best judged by look and feel, not a clean skewer. The surface should look set, the centre should no longer look wet, and when you gently shake the tin it should still have a slight wobble. A skewer inserted into the middle should come out with thick, moist crumbs attached – not clean. If you’re unsure, pull the brownies out earlier rather than later. They’ll continue to set as they cool.


Can I skip the ganache or make the brownies without it?
Absolutely. The brownies are rich and fudgy on their own and don’t need the ganache to work. That said, the ganache is what takes these from “everyday brownie” to “special occasion brownie”, so if you’ve got the time, it’s worth it!

How do I cut clean slices without the brownies falling apart?
Make sure the brownies are completely cool before slicing – warm brownies will crumble. For extra neat slices, refrigerate the brownies (with or without ganache) for 30–60 minutes to help them firm up. Use a large sharp knife and wipe the blade clean between each cut. For ultra-clean edges, dip the knife in boiling water from the kettle, wipe it dry, then slice.
If you enjoyed Valentine’s Day Brownies, I think you’ll love:
Moist Blueberry Muffins Recipe
EASY Fluffy Pancakes Recipe
Classic Waffles Recipe
Valentine’s Day Brownies
“This is quite literally the best thing I’ve ever eaten.” Share PrintIngredients
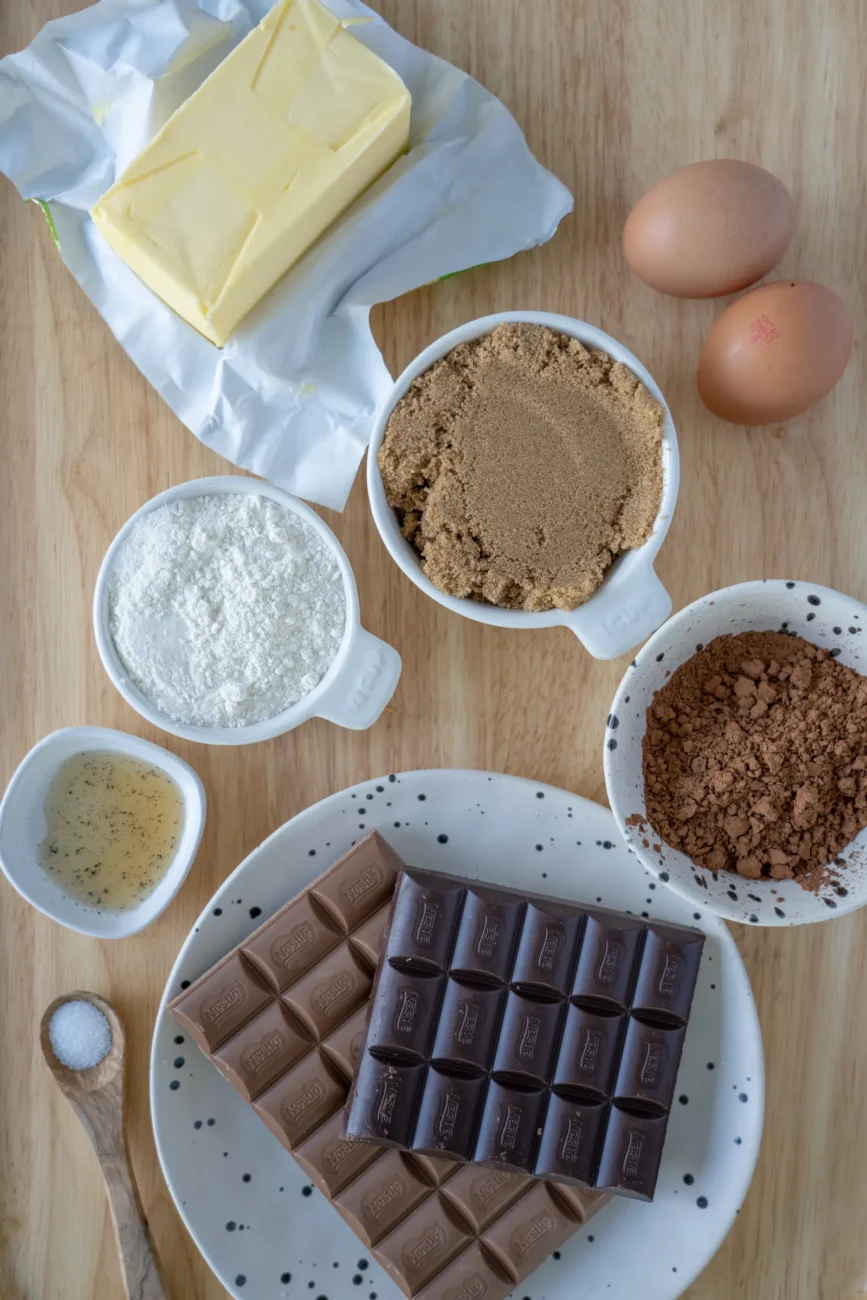
- 200 g (7 oz) unsalted butter
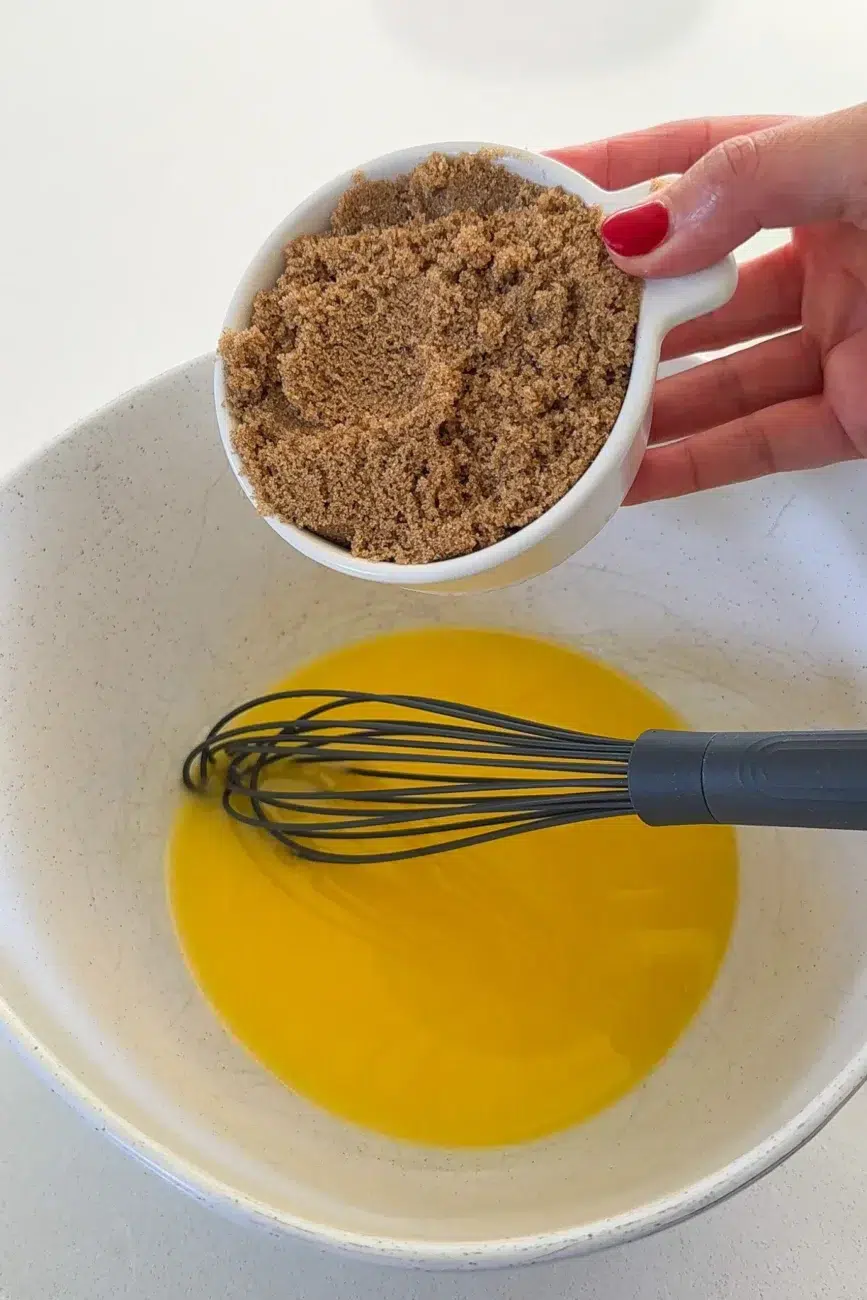
- 230 g (1 cup) firmly packed brown sugar
- 2 large eggs, at room temperature
- 1 tsp vanilla extract
- 75 g (½ cup) plain (all-purpose) flour
- 40 g (⅓ cup) unsweetened cocoa powder, sifted
- ½ tsp fine sea salt
- 100 g (3½ oz) dark chocolate block, roughly chopped
- 150 g (5½ oz) milk chocolate block, roughly chopped
- 250 ml (1 cup) thickened (whipping/heavy) cream
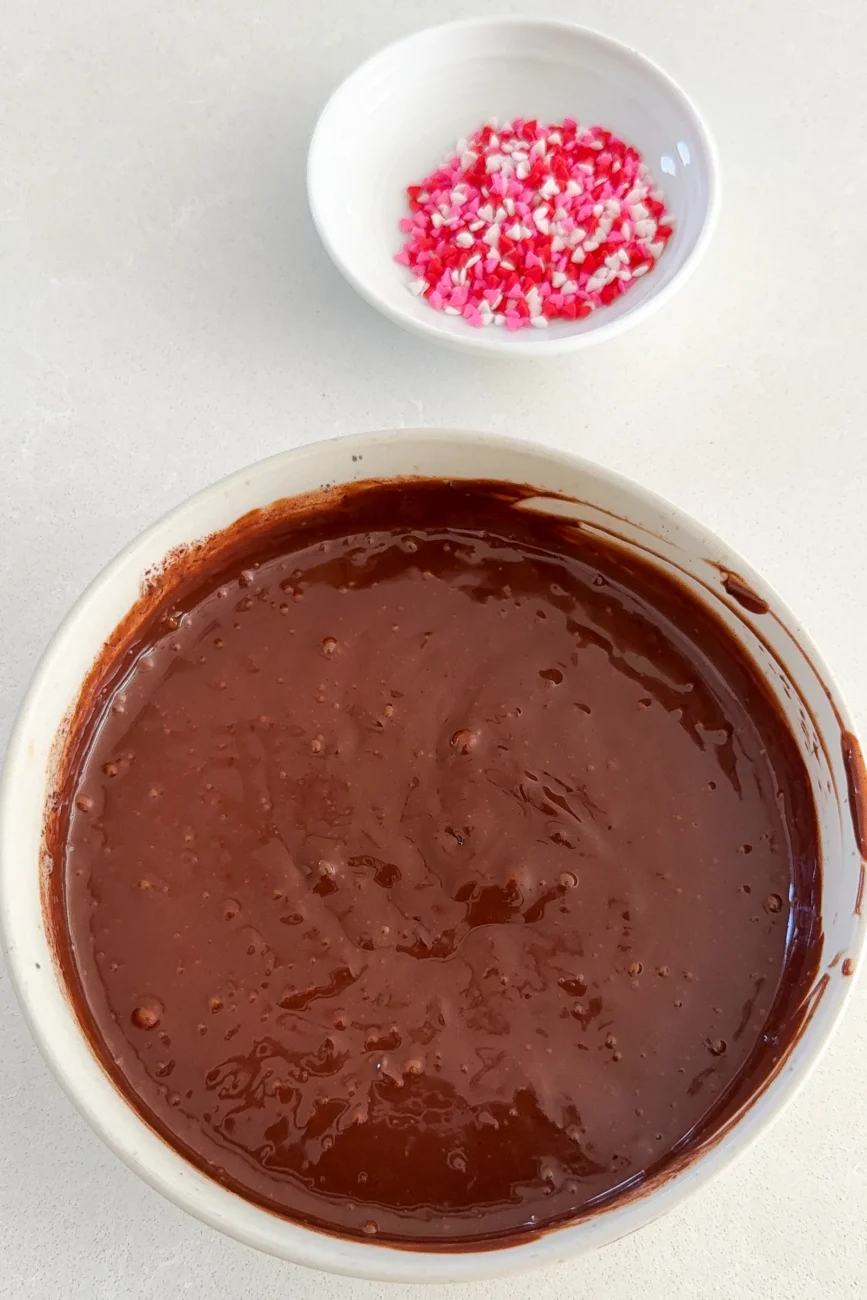
- 200 g (7 oz) dark chocolate block, finely chopped
- Heart sprinkles (optional)
Instructions
- Prepare the tin – Preheat the oven to 180°C (350°F) (160°C/325°F fan-forced). Grease and line a 20 cm (8 inch) square tin with baking (parchment) paper, leaving at least 5 cm (2 inches) overhang to help you lift the brownies out once baked.
- Melt the butter – Melt the butter in a medium saucepan over low heat until just melted, or place the butter in a microwave-safe bowl and microwave in 30-second bursts until melted (about 60 seconds).
- Mix the base – Transfer the melted butter to a large heatproof bowl. Add the brown sugar and stir until well combined and glossy. Set aside for 5 minutes to cool slightly. Add the eggs and vanilla and whisk gently until smooth and well combined.
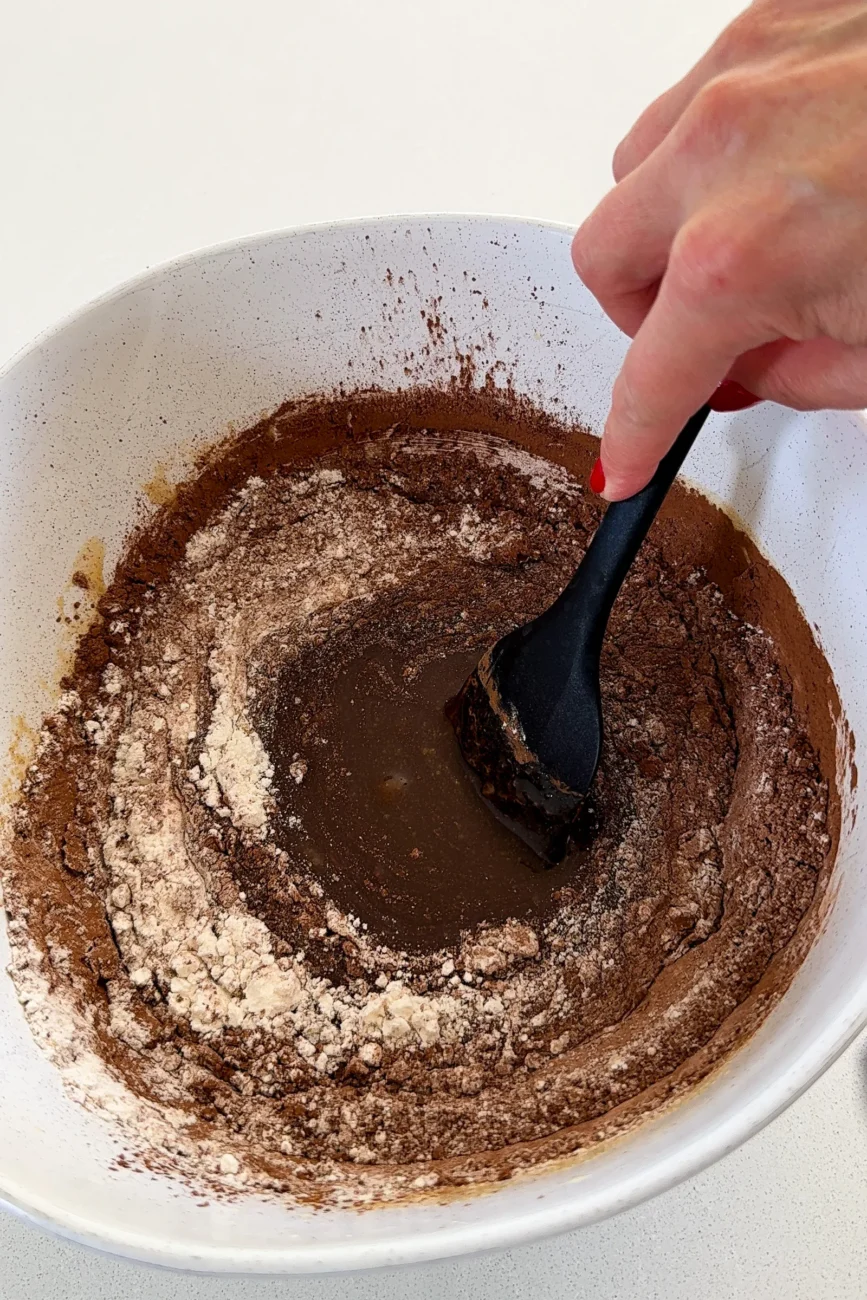
- Add the dry ingredients – Add the flour, cocoa powder and salt and mix until just combined – avoid overmixing.
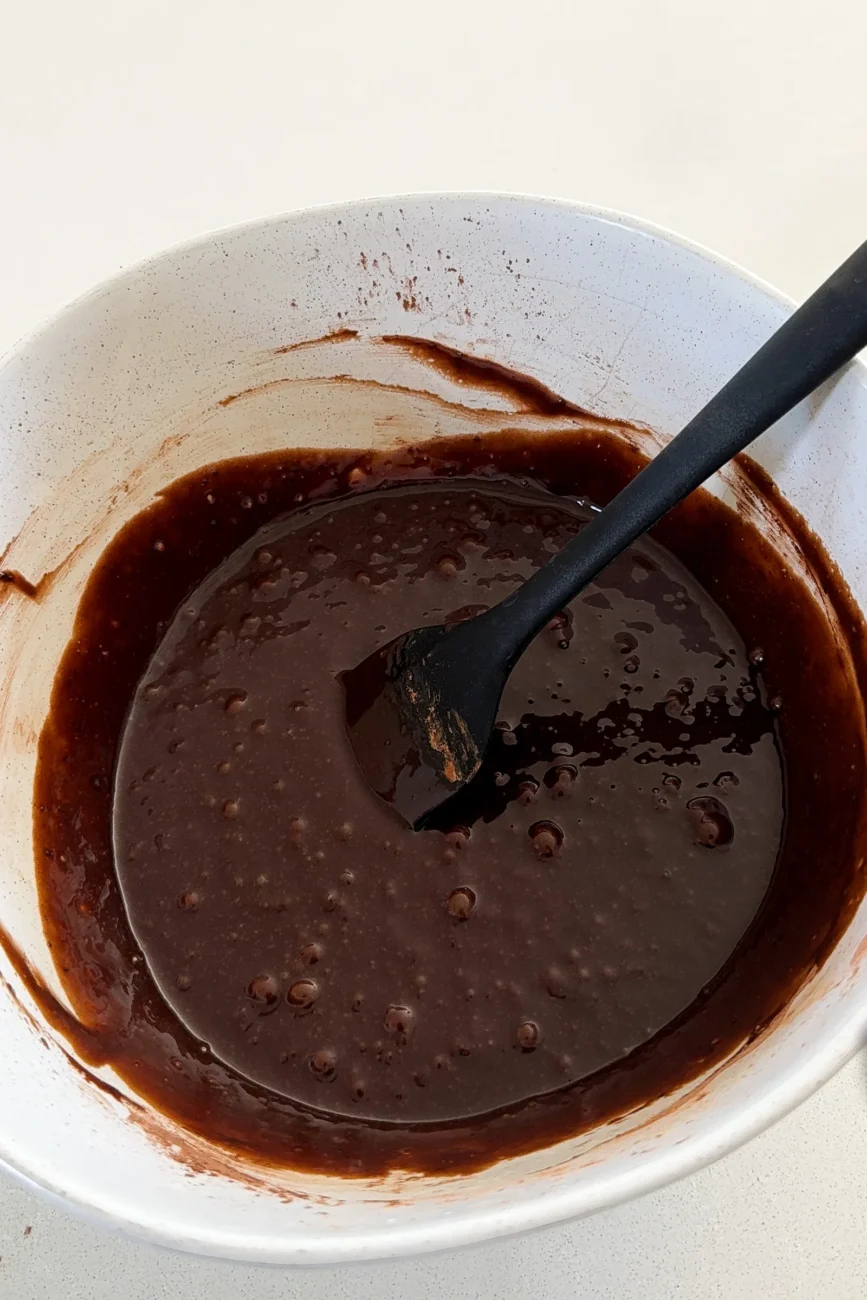
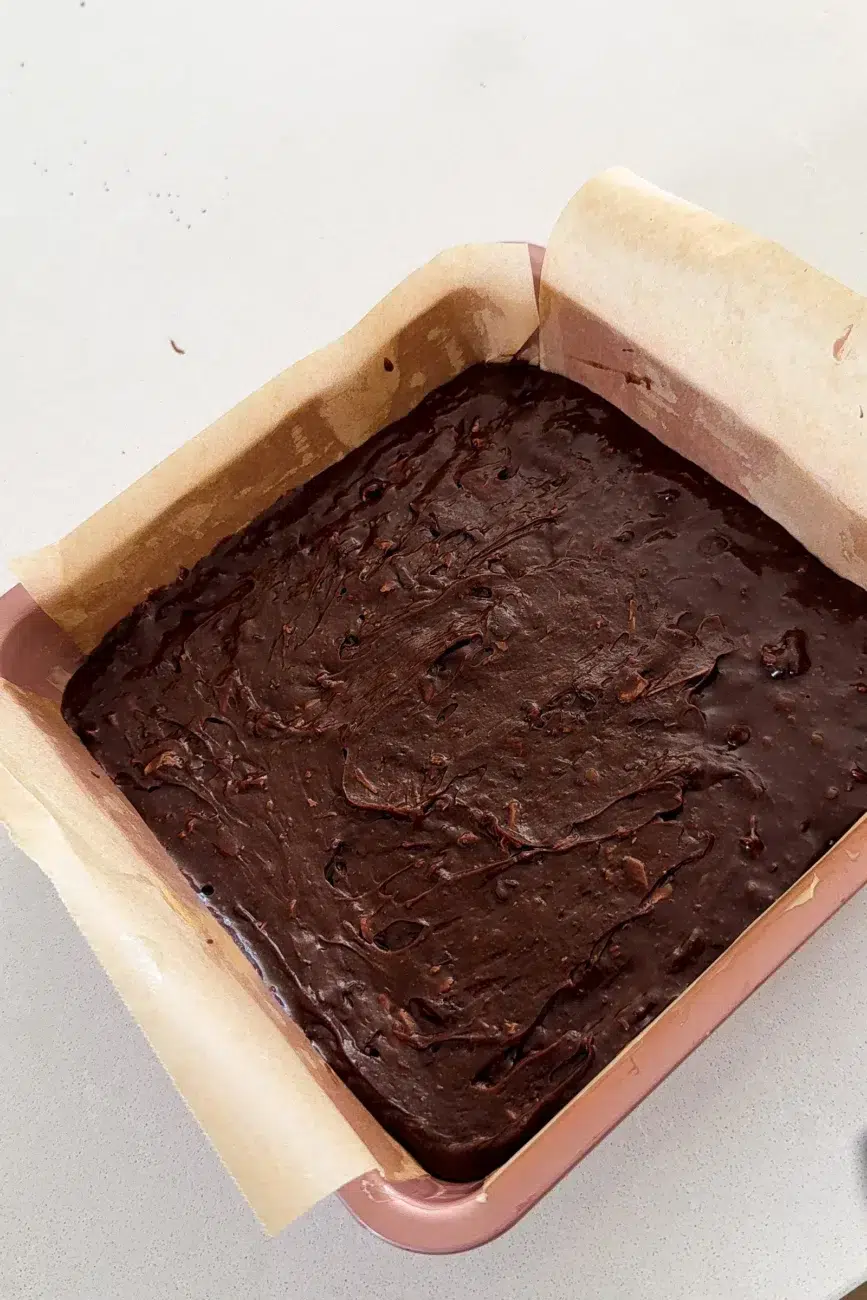
- Fold the chocolate through – Fold the chopped dark and milk chocolates through. Pour the batter into the prepared tin and spread evenly.
- Bake – Bake for 30–35 minutes, or until the surface looks set and the brownie no longer looks wet in the centre. A skewer inserted into the middle should come out with thick, moist crumbs attached – not clean. The brownie should still have a slight wobble in the centre when gently shaken; it will continue to set as it cools. Remove from the oven and allow to cool completely in the tin. (See note 1 for how to finish if you aren’t going to make the ganache.)
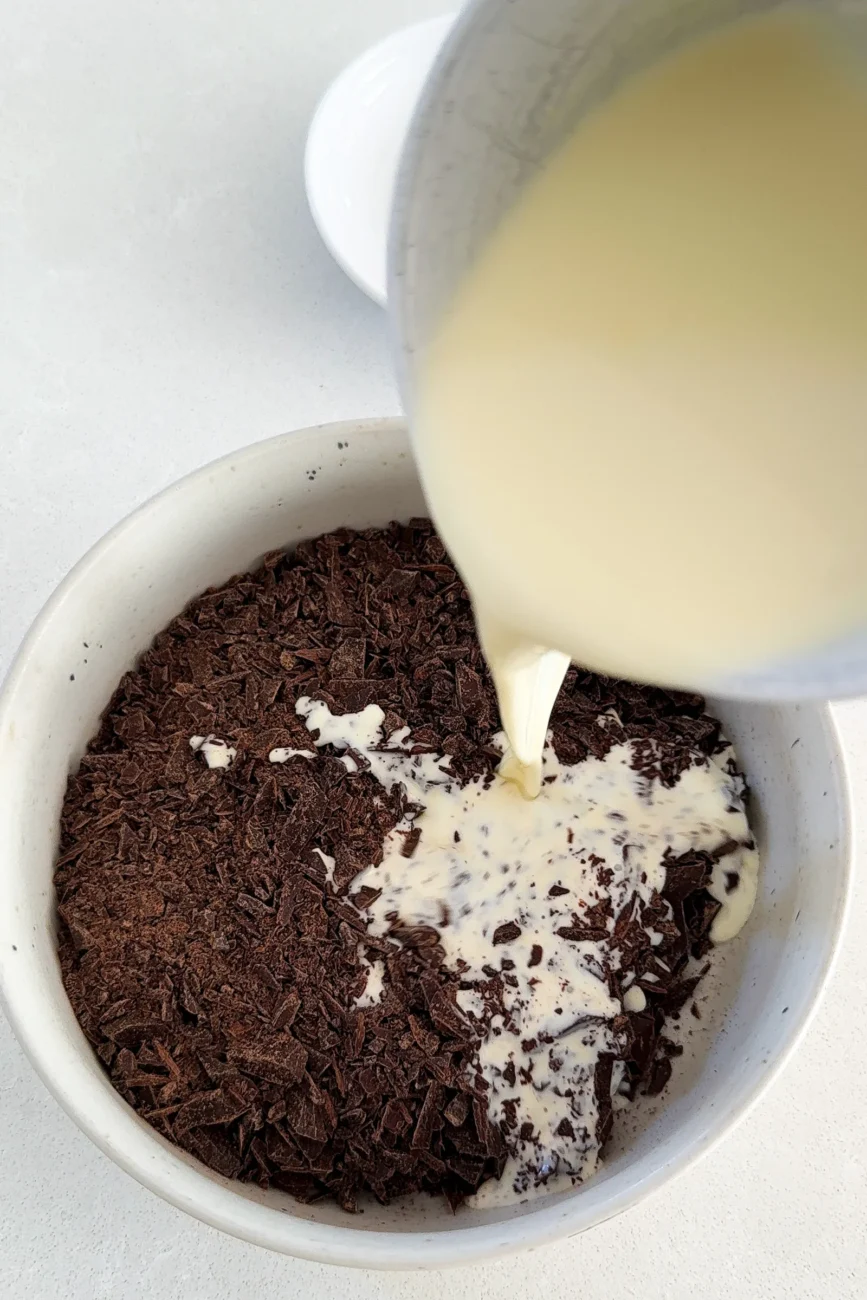
- Heat the cream for the ganache – Heat the thickened cream in a medium saucepan over low heat until just hot, or microwave in a heatproof bowl in 15-second bursts (30–45 seconds total), until hot but not boiling.
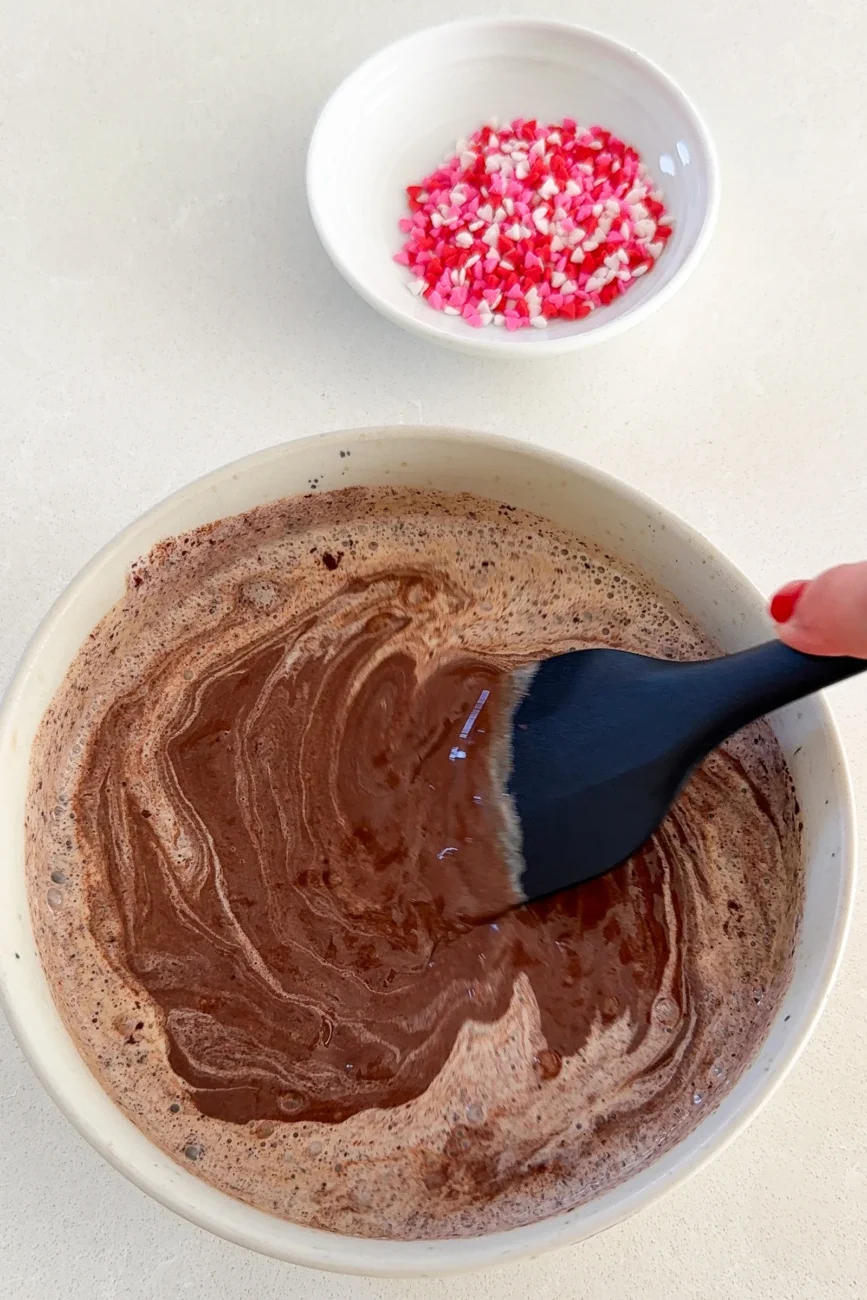
- Mix with the chocolate – Place the chopped dark chocolate into a medium heatproof bowl. Immediately pour the hot cream over the chocolate and stir with a spatula (not a whisk) until smooth and glossy. If the ganache hasn’t fully come together after 1–2 minutes, microwave in 10-second bursts, stirring well between each, until smooth.
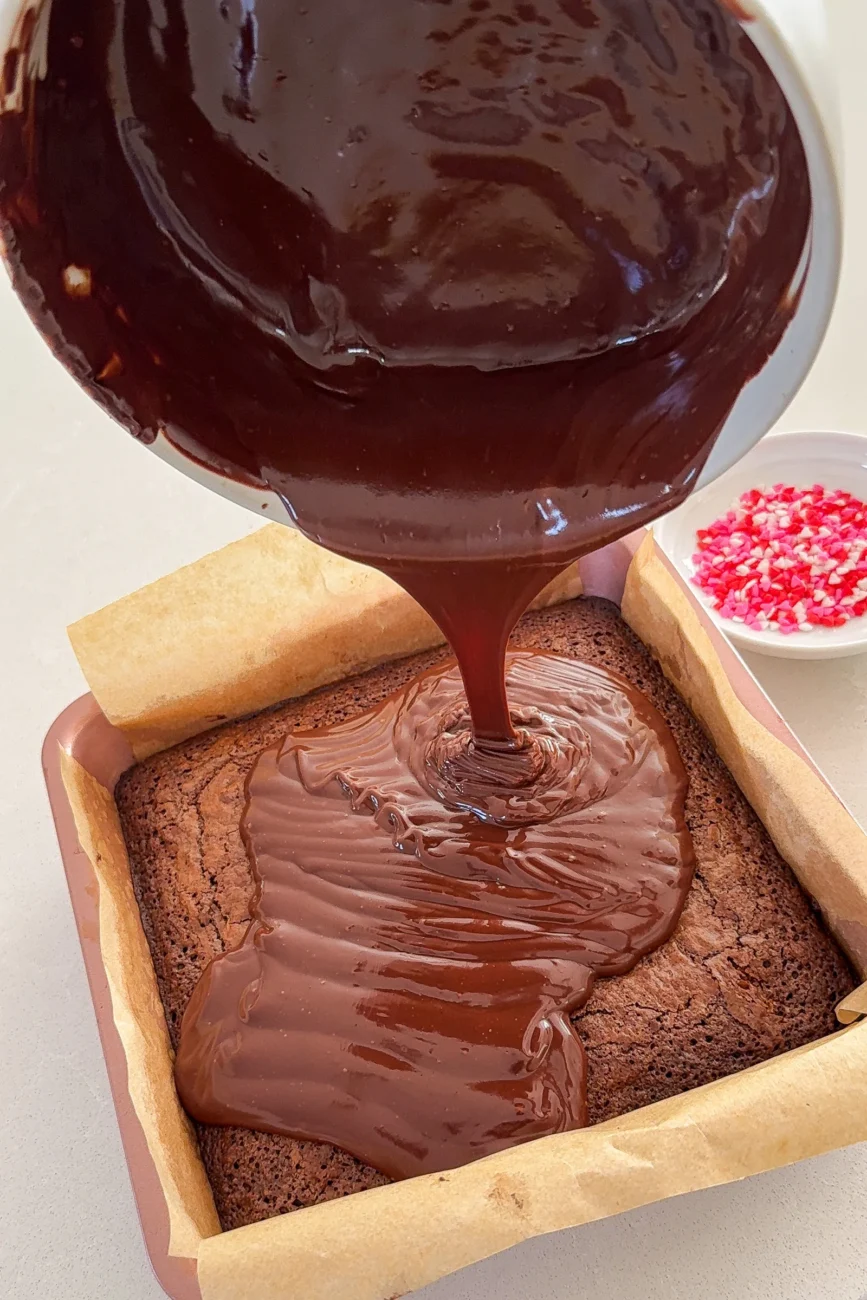
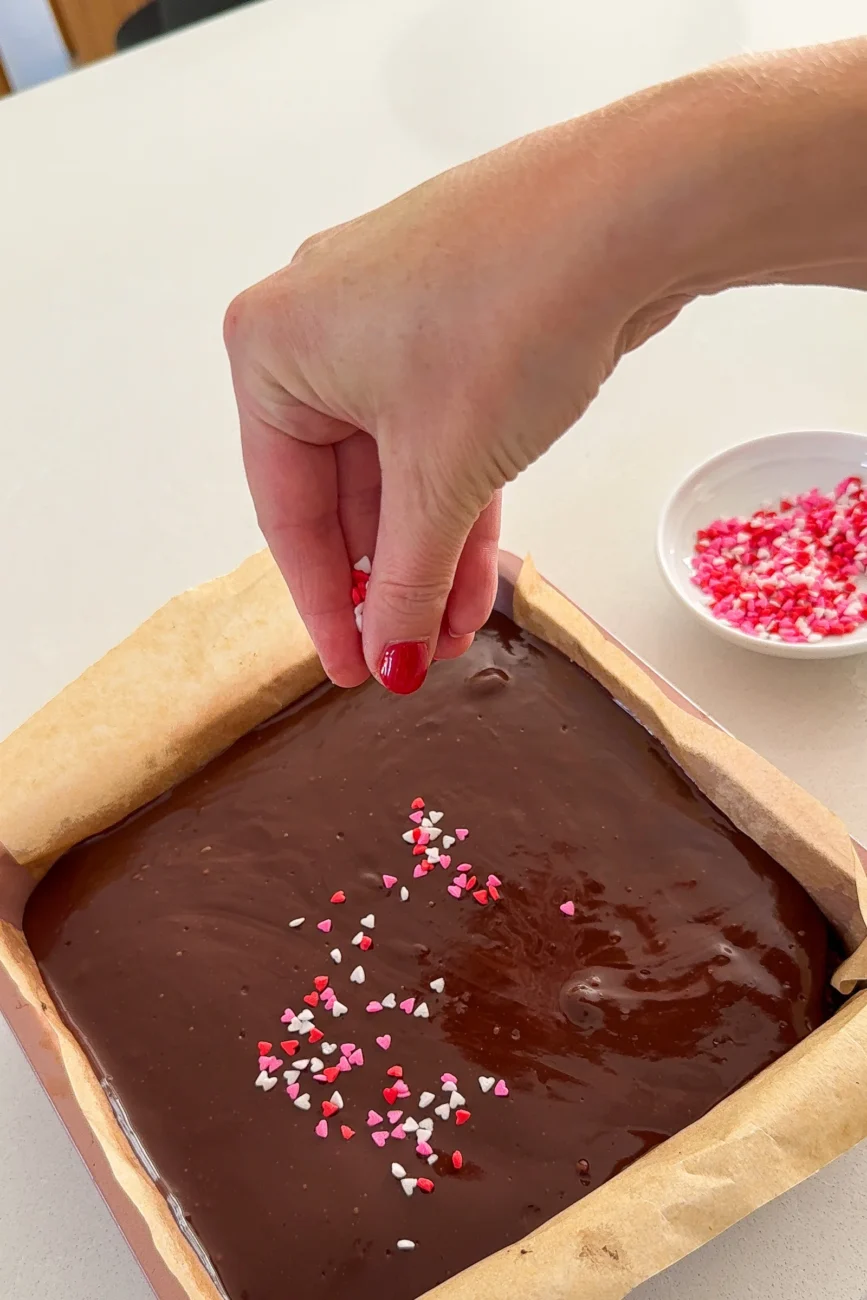
- Finish and set – Pour the ganache over the cooled brownie and gently tilt the tin to level. Sprinkle with heart sprinkles (if using). Refrigerate for 1–2 hours, or until the ganache is set but still soft to the touch.
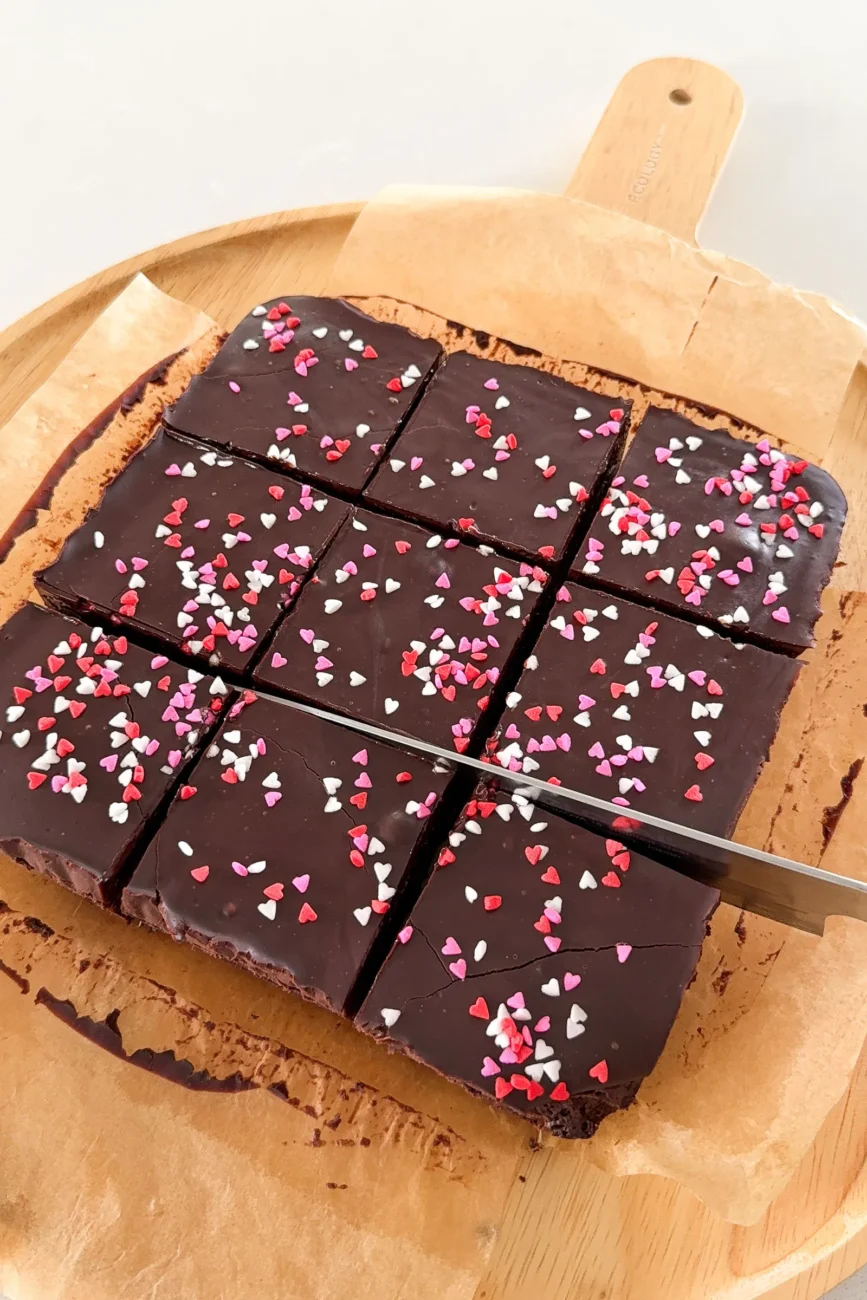
- Slice and serve – Lift the brownie from the tin, using the paper overhang to help you, and cut into nine squares using a sharp knife for jumbo brownies or 16 squares for smaller brownies, wiping the blade clean between slices.
Nutrition information
Disclaimer re gluten-free and dairy-free recipes


Anne says:
Made this last week and was a crowd favourite. I was told I should start a brownie business LOL!
Thank you for sharing the recipe. I love simple recipes and this was a great one.
Nicole says:
Wow, Anne, what amazing feedback! 🙌🏻 So happy these were a hit. Thanks for the rating too. ❤️ Nic x
Jess says:
I forgot to leave a rating on my previous comment, 5 stars for sure!
Nicole says:
🥰
Hannah says:
These were delicious! I didn’t even make the ganache and my family gobbled them up. My husband kept commenting on how good they are. I used Aldi Choceur to try to keep the cost down a bit.
Nicole says:
So happy you made and loved these, Hannah! And even better that you enjoyed them so much even without the ganache! 🙌🏻 ❤️ Thanks for the rating too. Nic x
Michela says:
Hello Nicole 😀 Is it possible to use another type of flour to make them gluten-free? Thank you!
Nicole says:
Hi Michela 😀 Yes, you can use a good-quality gluten-free plain flour blend (one that’s designed as a 1:1 swap). The brownies will still be delicious. Texture-wise, they may be slightly more delicate and a touch less chewy than the original – but they’ll still have that rich, fudgy centre. The flavour won’t change noticeably. Because these brownies are quite dense and chocolate-heavy, they adapt really well to GF flour. Just avoid coconut flour or almond flour as a direct swap – those would change the texture quite a bit. Let me know if you try it! ❤️ Nic x
Lorina Conway says:
mmmm yum yum! I loved this recipe, I baked them for a shorter time though, 5 mins to be exact, and auugghh I absolutely ADORED the gooey creaminess of the centre! My husband was saying that the cream was actually just raw egg, but what does he know about cooking- am I right ladies :p
I definitely WILL be recommending this recipe to my galfriends!
Nicole says:
Hi Lorina, I’m thrilled that you made the brownies … and even more thrilled that you loved them! 🥰 (Not sure about Hubby’s review! 🤣) Anyway, thanks so much for sharing and for the rating. Nic x
Tahlia says:
This is quite literally the best thing I’ve ever eaten. Big SHE fan, we eat your recipes every night. This brownie is elite
Nicole says:
Oh my goodness, Tahlia, this is amazing feedback and I’m blown away! 🥰🥹 It means so much that you always cook SHE recipes … just wonderful. ❤️ Thanks so much for sharing and for the rating too. Nic x
Sheree says:
Best brownies i’ve ever made!! Hubby was very happy as it’s his favourite.
Nicole says:
Just wonderful to hear, Sheree! 🥰 Thanks for the rating. Nic x
Sahar says:
Unbelievably delicious cake! Making it for Valentine’s day and Im not disappointed, at all. Csnt eait for husband to taste it as well
Nicole says:
Hi Sahar, I’m so excited that you loved the brownies! Woo hoo! 🙌🏻 I hope Hubby approved. Thanks for the rating. 🥰 Nic x
Natasha says:
Can’t wait to try this tomorrow!!
Nicole says:
Hope they turned out delicious, Natasha! ❤️ Nic x