


A foolproof, show-stopping glazed ham recipe that’s simple, delicious and perfect for any celebration!
Cooking a glazed ham can seem overwhelming if you have never done it before. For starters, a ham is a huge cut and you’ve got the task of removing the rind and choosing the right marinade, before studding it with cloves (where do you put them?!) and then of course there’s the labour of baking and basting. And while there is some basting here (so much delicious basting), everything else is very simple.

This recipe takes you through the process of how to make The BEST Glazed Ham, with a step-by-step, how-to video, as well as make-ahead and leftover instructions. Once you have made this foolproof recipe, you will feel like you own your kitchen and you will want to make this incredible ham again and again. It is really achievable and straightforward and impossible to get wrong. If you bake the ham for a little longer or a little less time, or if you don’t quite get the scoring perfectly symmetrical, or if you forget to baste it once or twice because you are busy running around doing other things, rest assured it will still be delicious.
We are using apricot jam here for the glaze which, in my opinion, is the most underrated glaze ingredient. It adds the most incredible sweetness and caramelised, shiny stickiness to the ham, which works so well with the other ingredients (especially the tangy kick from the dijon mustard and apple cider vinegar!).
I’ve suggested a huge selection of condiments (“ham station ingredients”) to choose from when it comes time to serve this delicious masterpiece. I love these little sides that make the ham taste extra special (especially the piccalilli/mustard pickle!). I’ve also included suggestions on how to present your ham (a serviette or some baking/parchment paper tied with twine is all you need). I’ve made this recipe countless times for family and friends and I’m really excited to share it with you … and I can’t wait to see you recreate it in your homes! Just make sure that you have an oven and a roasting pan big enough to fit the ham you choose to buy!

What cut of ham is best to use?
This recipe is suitable for whole or half legs of ham. The ham pictured is a half leg. When selecting a ham for this recipe, you’ll likely come across butt or shank cuts. Here’s the difference: Shank ham is what I have used in the video, it’s the lower portion of the leg and is perfect for presentation and easy carving along the bone. Butt, or butt end, ham (not to be confused with Boston butt), is from the upper portion of the leg and is shorter and more rounded in shape. It can have more marbling (which equals more flavour). Both work beautifully. Choose shank ham for an elegant presentation and easier carving. I like the flavour of a smoked ham best, but you can also get unsmoked. Make sure you do not buy raw ham (gammon) by mistake as the ham must be cooked. See also the Hot Tips below.
Where is it best to stud cloves on a leg of ham?
The best place to stud cloves is in the centre of each diamond created by scoring the fat. This ensures the flavour of the cloves is evenly distributed without overpowering the glaze or ham itself. It also helps to “pin” the fat to the ham as it cooks and makes it less likely to fall off during cooking.
Some people prefer to place the cloves at the intersections of the scored lines instead. While this can create a more traditional look, it often means the cloves are closer together, which may result in a stronger clove flavour in certain areas (without the added bonus of “pinning” the fat). Placing them in the centre of each diamond balances the aesthetics and ensures the cloves don’t overwhelm the dish, allowing all the glaze ingredients to shine. Both methods work, so it comes down to personal preference!

Do you really need to use cloves on a leg of ham?
Cloves are traditional in many glazed ham recipes. They add a subtle, warm spiciness that complements the sweetness of the glaze, and they create a classic, decorative appearance. However, they are optional. If you don’t enjoy the flavour of cloves or want a simpler preparation, you can skip them – your ham will still be delicious and beautifully glazed!
What are some uses for leftover ham?
Toasted (grilled) ham and cheese sandwiches; Baked Ham and Cheese Sliders; freezer-friendly school lunchbox pizzas or Hawaiian pizza (try this incredible 2 ingredient dough base); fried rice (use ham in place of the bacon); quiche; pea and ham soup; leek, ham and potato pie; diced and fried with grated potato in a potato rosti; in a creamy pasta sauce with mushrooms; with fried or scrambled eggs for breakfast.

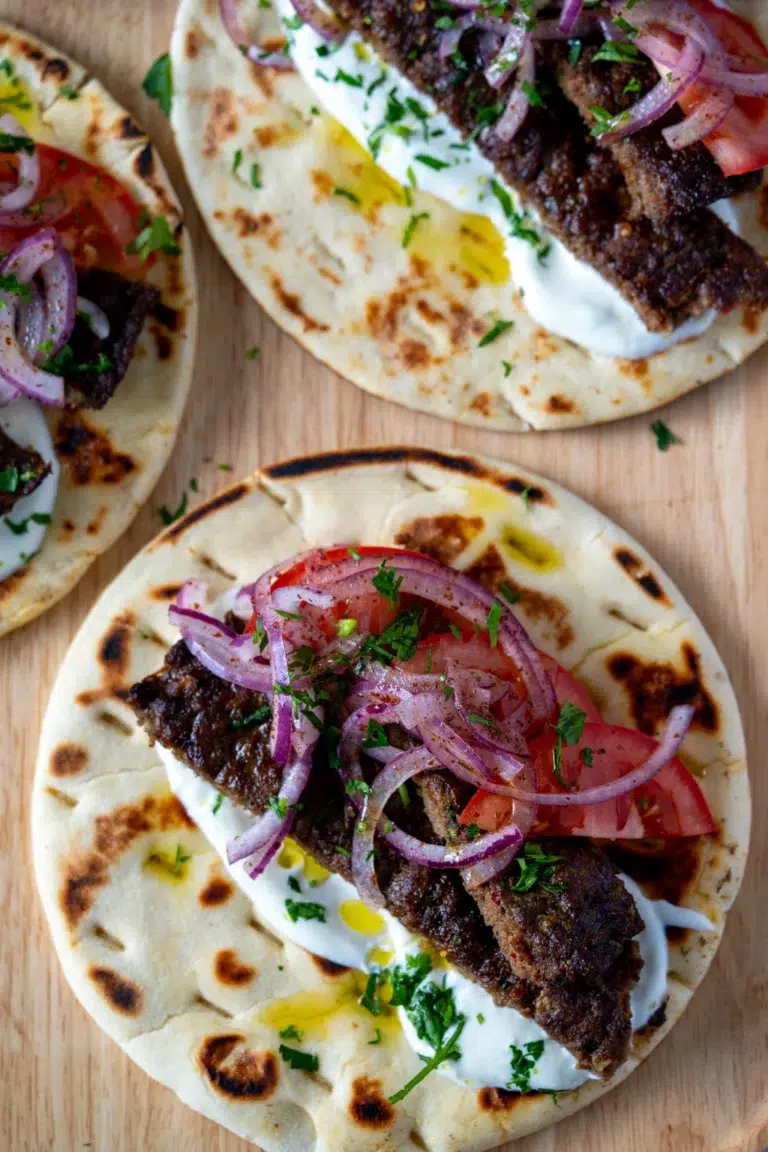
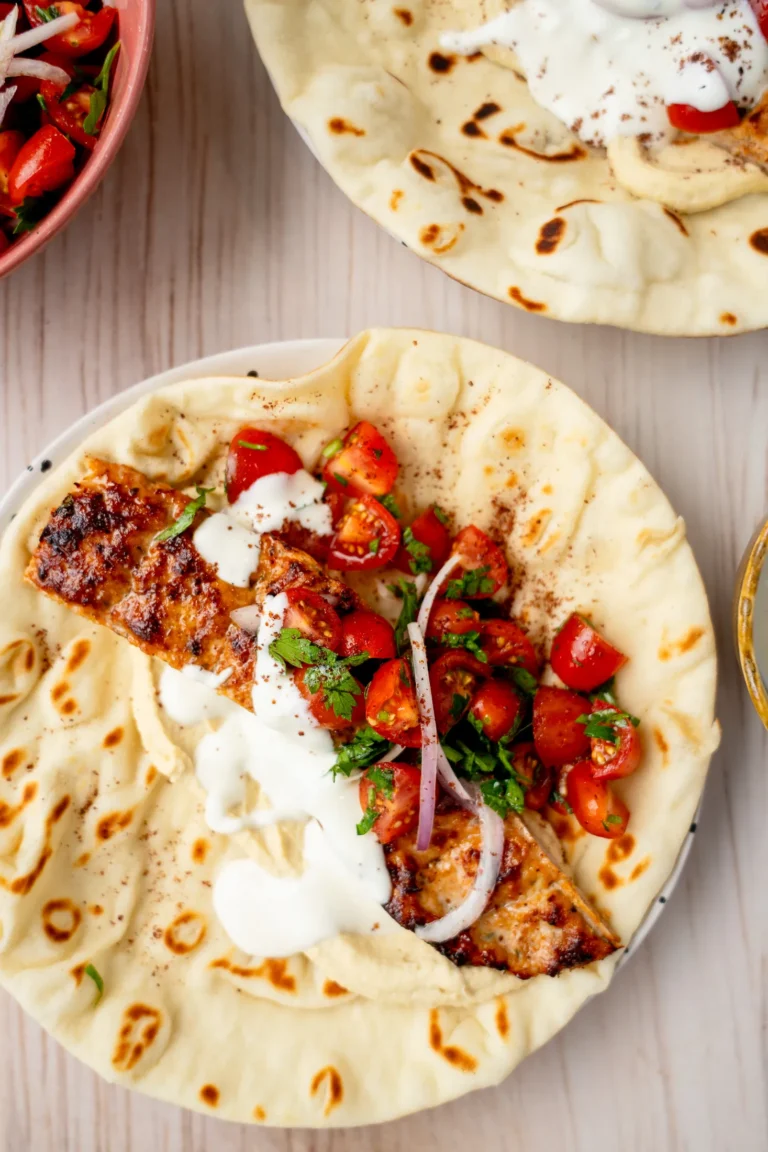
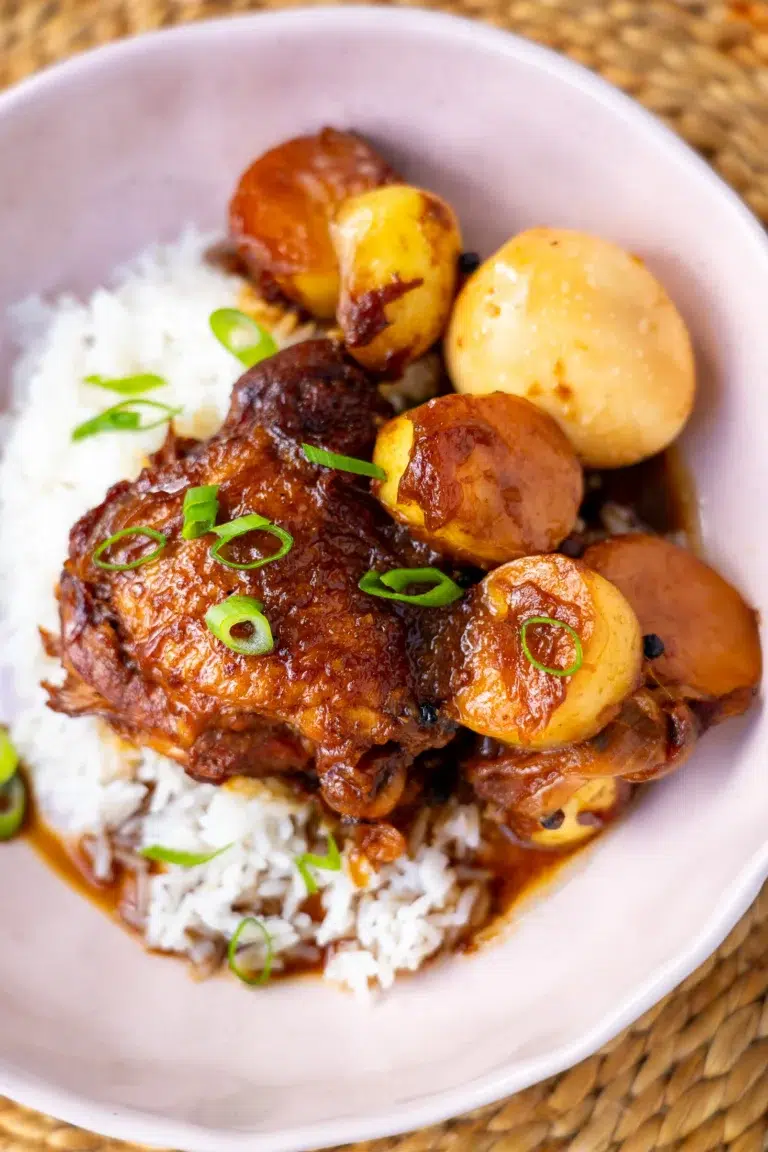
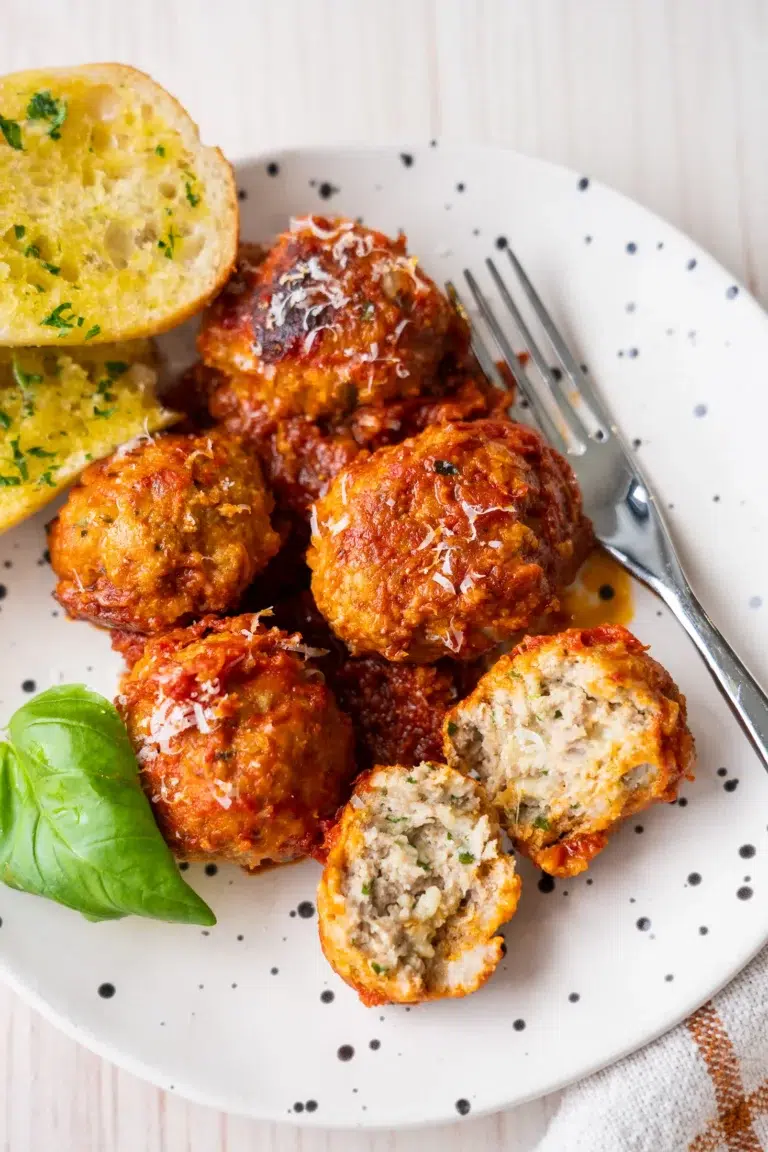
If you enjoyed The BEST Glazed Ham Recipe, I think you’ll love:
Easy One-pan Roast Chicken and Vegetables Recipe
Roasted Chicken with Gravy Recipe
Slow-cooker Lamb Shoulder Recipe
Rosemary and Garlic Lamb Leg Recipe
Red Wine Lamb Shanks Recipe
Watch how to make The BEST Glazed Ham Recipe
Hot tips
- Choose the right ham – This recipe is suitable for whole or half legs of ham. The ham pictured is a half leg. Look for one with a thick layer of fat for easy scoring and a juicy finish. It needs to have skin/rind on (this is thick rubbery outer layer – some hams come with the skin and fat removed). It also needs to be cooked, ready-to-eat ham (not raw/gammon). Most supermarkets only sell ready-to-eat, but just check if you are buying the ham from your butcher. See the recipe notes for the different types of ham you may come across (shank or butt cuts). Choose shank ham for an elegant presentation and easier carving. I like the flavour of a smoked ham best, but you can also get unsmoked.
- SHALLOW scoring – Think of the scoring as superficial – a shallow score will help ensure the fat doesn’t fall off the ham as it cooks.
- Australian pork – If you are in Australia, look for the Australian Pork symbol to ensure you’re buying locally raised pork. The better the quality of ham, the better the end result. I’ve purchased my ham from both Coles and Woolworths and have been pleasantly surprised with the results.
- Leftover bone – Save the bone for making stock or pea and ham soup!
The BEST Glazed Ham Recipe
“Thanks you for this amazing recipe. My family went completely ape over this and said it was the best glaze they’ve ever had.” Share Pin Recipe PrintIngredients
- 1 bone-in, skin-on, smoked half leg ham (see note 1)
- 20 cloves (or up to 30)
- 250 ml (1 cup) water
- 475 g (1½ cups) apricot jam
- 2 tbsp dijon mustard
- 60 g (½ cup) brown sugar
- 60 ml (¼ cup) apple cider vinegar or white wine vinegar
- 1 tsp finely grated ginger
- Piccalilli (mustard pickles)
- Chutney
- Apple sauce
- Horseradish
- Hot mustard
- Onion jam
- Cornichons
- 4 rosemary sprigs
Instructions
- Prepare the ham – Remove the ham from the fridge at least 1 hour before cooking to help with even heating. Remove from the packaging and use a paper towel to remove any excess moisture.
- Preheat the oven to 180°C (350°F) (140°C/275°F fan-forced) and ensure the position of the oven racks allows sufficient space for your ham – you may need to remove some racks from the oven. Place one rack in the bottom third of the oven, so that the ham will be sitting in the centre of the oven (not at the top).
- Using a sharp knife, cut around the shank (bone handle) of the ham, about 10 cm (4 inches) from the end. Cut down one side of the ham through the rind/skin only, taking care not to go all the way through to the fat/flesh(watch the video for guidance).
- Slip your fingers between the rind and the fat, gently lifting the rind up before peeling it away. (I use a butter knife to help me.)
- Score the fat in a diamond pattern, making shallow cuts with a butter knife. Create superficial scores. Do not go too deep. Only score the fat layer (not into the meat). If you go too deep, the fat will shrink and fall off as it cooks.
- Stamp a clove into the middle of each diamond shape you have created.
- Place the ham on a wire rack in a roasting pan. Use some foil or baking (parchment) paper rolled up into balls to place underneath the ham shank (bone handle) to prop it up so the top of the ham lies flat (it helps the glaze cook evenly).
- Add the water to the base of the roasting pan.
- Make the glaze – Add the jam, mustard, brown sugar, vinegar and ginger to a bowl or jug. Combine well with a whisk.
- Bake and glaze – Gently brush one-third of the glaze over the entire surface of the ham, taking care not to disturb the cloves. Bake, brushing with more glaze every 20–25 minutes, for 1½–2 hours. Cover any of the bits that are caramelising quickly with small pieces of foil. Add an extra 125 ml (½ cup) of water to the base of the pan if it looks like the juices in the base are drying out.
- Drizzle the tray juices over the ham and reserve any extras for serving.
- Rest – Allow the ham to rest for 15–20 minutes before presenting for serving and carving.
- Present and carve the ham – After allowing the ham to rest for 15–20 minutes, prepare it for serving. Wrap the shank (bone handle) in a piece of clean (brown) baking paper or a cotton serviette to give it a polished appearance. Secure it with a piece of natural twine tied in a neat bow or knot.
- Place the ham on a large serving platter or chopping board and garnish with fresh rosemary. Serve with your chosen condiments, such as piccalilli, chutney or apple sauce, and the tray juices to spoon over the top.
- Serve – The ham can be served warm or cold, sliced thinly. I generally like to cut around one-third of the ham to start with so the remaining ham is left on the bone for everyone to admire at the table.
Nutrition information
Disclaimer re gluten-free and dairy-free recipes
Watch how to make it
Recipe notes
Make ahead
The glaze – Can be prepared up to 2 days in advance and stored in an airtight container in the fridge. The ham –- Option 1: prep ahead – Can be prepared (rind removed, fat scored and cloves studded) the day before baking. Wrap it tightly in plastic wrap and store it in the fridge. Glaze and bake on the day of serving.
- Option 2: bake ahead – The entire ham can be glazed and baked and then refrigerated in a non-reactive airtight container (such as plastic or glass) for up to 3 days. To reheat, place the ham on a rack in a roasting pan with 1 cup (250 ml) of water in the base of the tray. Cover the ham loosely with foil and bake at 160°C (325°F) (140°C/275°F fan-forced) for 40–50 minutes or until a metal skewer inserted comes out warm. Remove the foil and bake for a further 10–15 minutes until the ham is shiny and caramelised.


Leanne McLean says:
Thanks you for this amazing recipe.
My family went completely ape over this and said it was the best glaze they’ve ever had. I used really good quality jam which made all the difference I think.
Nicole says:
Hi Leanne, this comment really made me happy!! 🙌🏻 I’m so thrilled it was a hit for you! Nic x
Emma says:
Hi, quick question – do you think we could use a slow cooker for this recipe instead? Thanks!
Nicole says:
Hi Emma! Great question. I wouldn’t recommend the slow-cooker for this one – the glaze really needs the oven heat to caramelise properly, and a slow-cooker will keep it quite wet. However, you’ve inspired me to create a glazed ham slow-cooker recipe! 🥰 Nic x
Evelyn says:
Hello, can i substitute the ginger for something else? Thanks
Nicole says:
Hi Evelyn, you can absolutely substitute the ginger. If you want something warm but subtle, cinnamon or allspice works beautifully. If you’re after freshness instead, a little extra orange or lemon zest is lovely too. Or you can just leave it out. I hope you love it. Nic x
Helen Thurley says:
Great recipe with detailed instructions, easy to follow and the family loved the ham on Xmas day
Nicole says:
Just love to hear this, Helen! 🙌🏻 Thanks so much for the rating too. Nic x
Emma says:
Hello! I’m confused – how long does the ham need to bake for, in total? It doesn’t say in the recipe. I’m planning on using this delish looking recipe on xmas day and I’m mapping out my schedule. I have a 5kg ham. Would love to know how long it needs to bake for, please. Thank you!
Nicole says:
Hi Emma, the baking instructions are in Step 10: Bake and glaze – Gently brush one-third of the glaze over the entire surface of the ham, taking care not to disturb the cloves. Bake, brushing with more glaze every 20–25 minutes, for 1½–2 hours. Cover any of the bits that are caramelising quickly with small pieces of foil. Add an extra ½ cup (125 ml) of water to the base of the pan if it looks like the juices in the base are drying out.
I hope this helps! Nic x
Kathleen Innocenti says:
Thank you for a well organized step by step recipe. Plus the video is perfect; greatly paced!
Happy Easter 🐰
Nicole says:
Hi Kathleen, I’m so pleased that you like the recipe and the video! I hope you had a wonderful Easter! Nic x
Karina says:
Can i used this recipe for non pork?
I cant eat pork
Nicole says:
Hi Karina, I THINK it could work with chicken breast, but the quantities and recipe would change significantly and I can’t really say it would work without testing it, I’m afraid. However, I love the flavour of apricot jam and I’ll have a think about ways to incorporate it in other non-pork recipes in the future. Nic x
Megan says:
This was delicious! I didn’t have enough apricot jam so made it with half apricot jam and half ginger jam – it was delicious & everyone was impressed!!
Nicole says:
Yay, Megan, I am so happy that you tackled the glazed ham. Very pleased to hear it was delicious. Thanks for rating the recipe. Nic x