




A simple, step-by-step guide to spatchcocking (butterflying) a chicken, with advice on the right equipment to use, along with a video that shows you how easy it is, to help you feel confident enough to try it yourself.
If you’ve never spatchcocked (butterflied) a chicken before, I want you to know that it’s so much easier than you might think. I completely understand that handling a whole raw chicken can seem a little intimidating, because I used to feel exactly the same way.
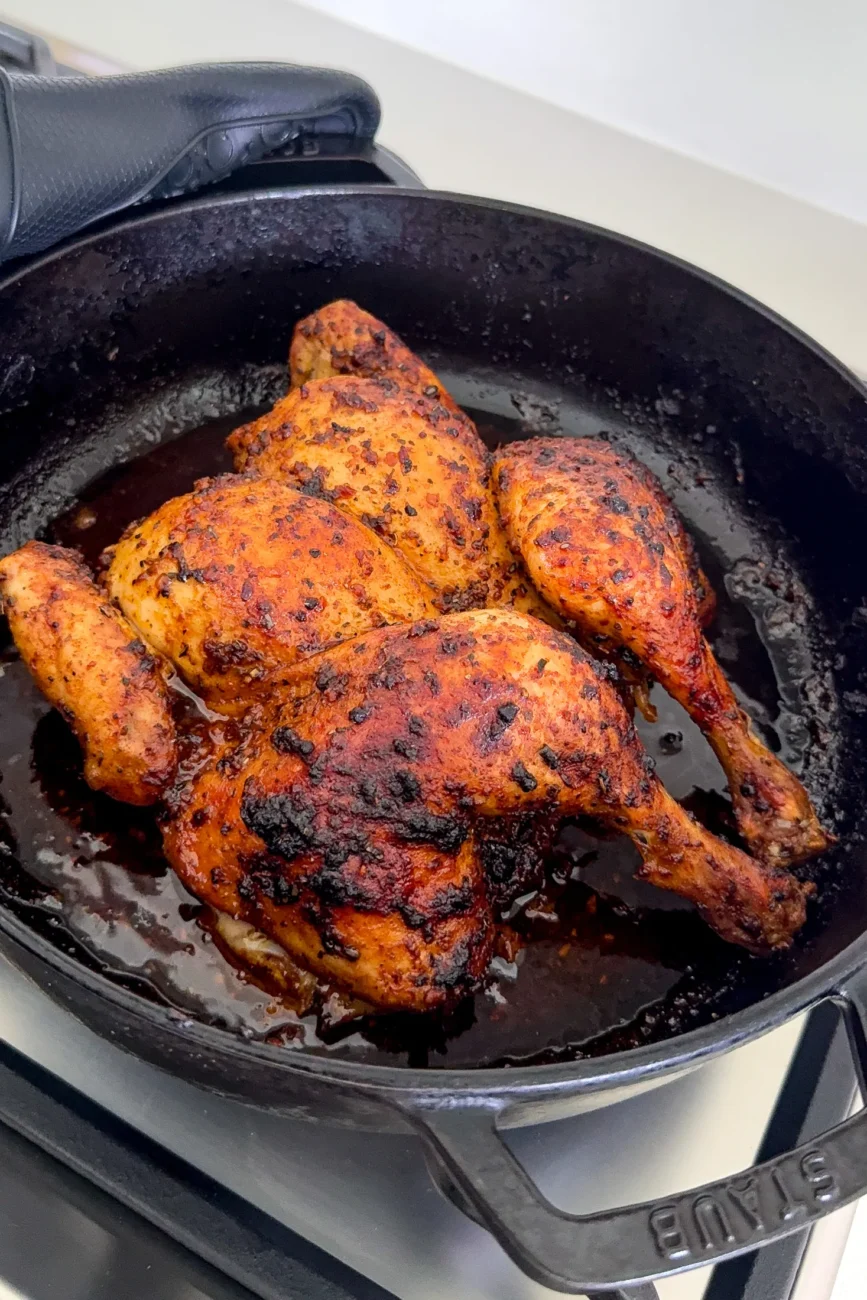
More than 20 years ago, I bought my very first whole chicken and couldn’t even bring myself to take it out of the packaging. 😂 I made Heath (my husband) do absolutely everything. I didn’t want to touch it, let alone start cutting into it with a pair of scissors! Fast-forward to today and I spatchcock a whole chicken almost weekly. It’s one of those things that feels like a big deal until you’ve done it a couple of times, and then you wonder what you were so worried about.
I also want to share something that I hope gives you a little confidence. I’m not a professional chef. I’m completely self-taught, and that’s exactly why I feel comfortable showing you how to do this. You don’t need professional training or any special cooking skills. I’m just a home cook who has done this enough times to know that it’s far more straightforward than it looks. If I can do it, you absolutely can too. ❤️
Now, a few things that will make the process easier … First and foremost, a good pair of kitchen scissors. They make ALL the difference. I have a pair that I absolutely love and use only in the kitchen, and I’ll link them here. A sturdy chopping board is important too. I like using one that’s dishwasher-safe so I can pop it straight in for a thorough clean afterwards. You don’t need a separate board just for raw meat, but if that makes you feel more comfortable, go for it. You can also wear powder-free, food-safe gloves if you’d prefer not to handle the chicken directly.
In the video, I’ll show you exactly where to cut, how to remove the backbone and how to flatten the chicken so it’s ready to roast. You don’t need to rush. Take your time, follow along and I promise that once you’ve done it a couple of times, you’ll feel so much more confident.
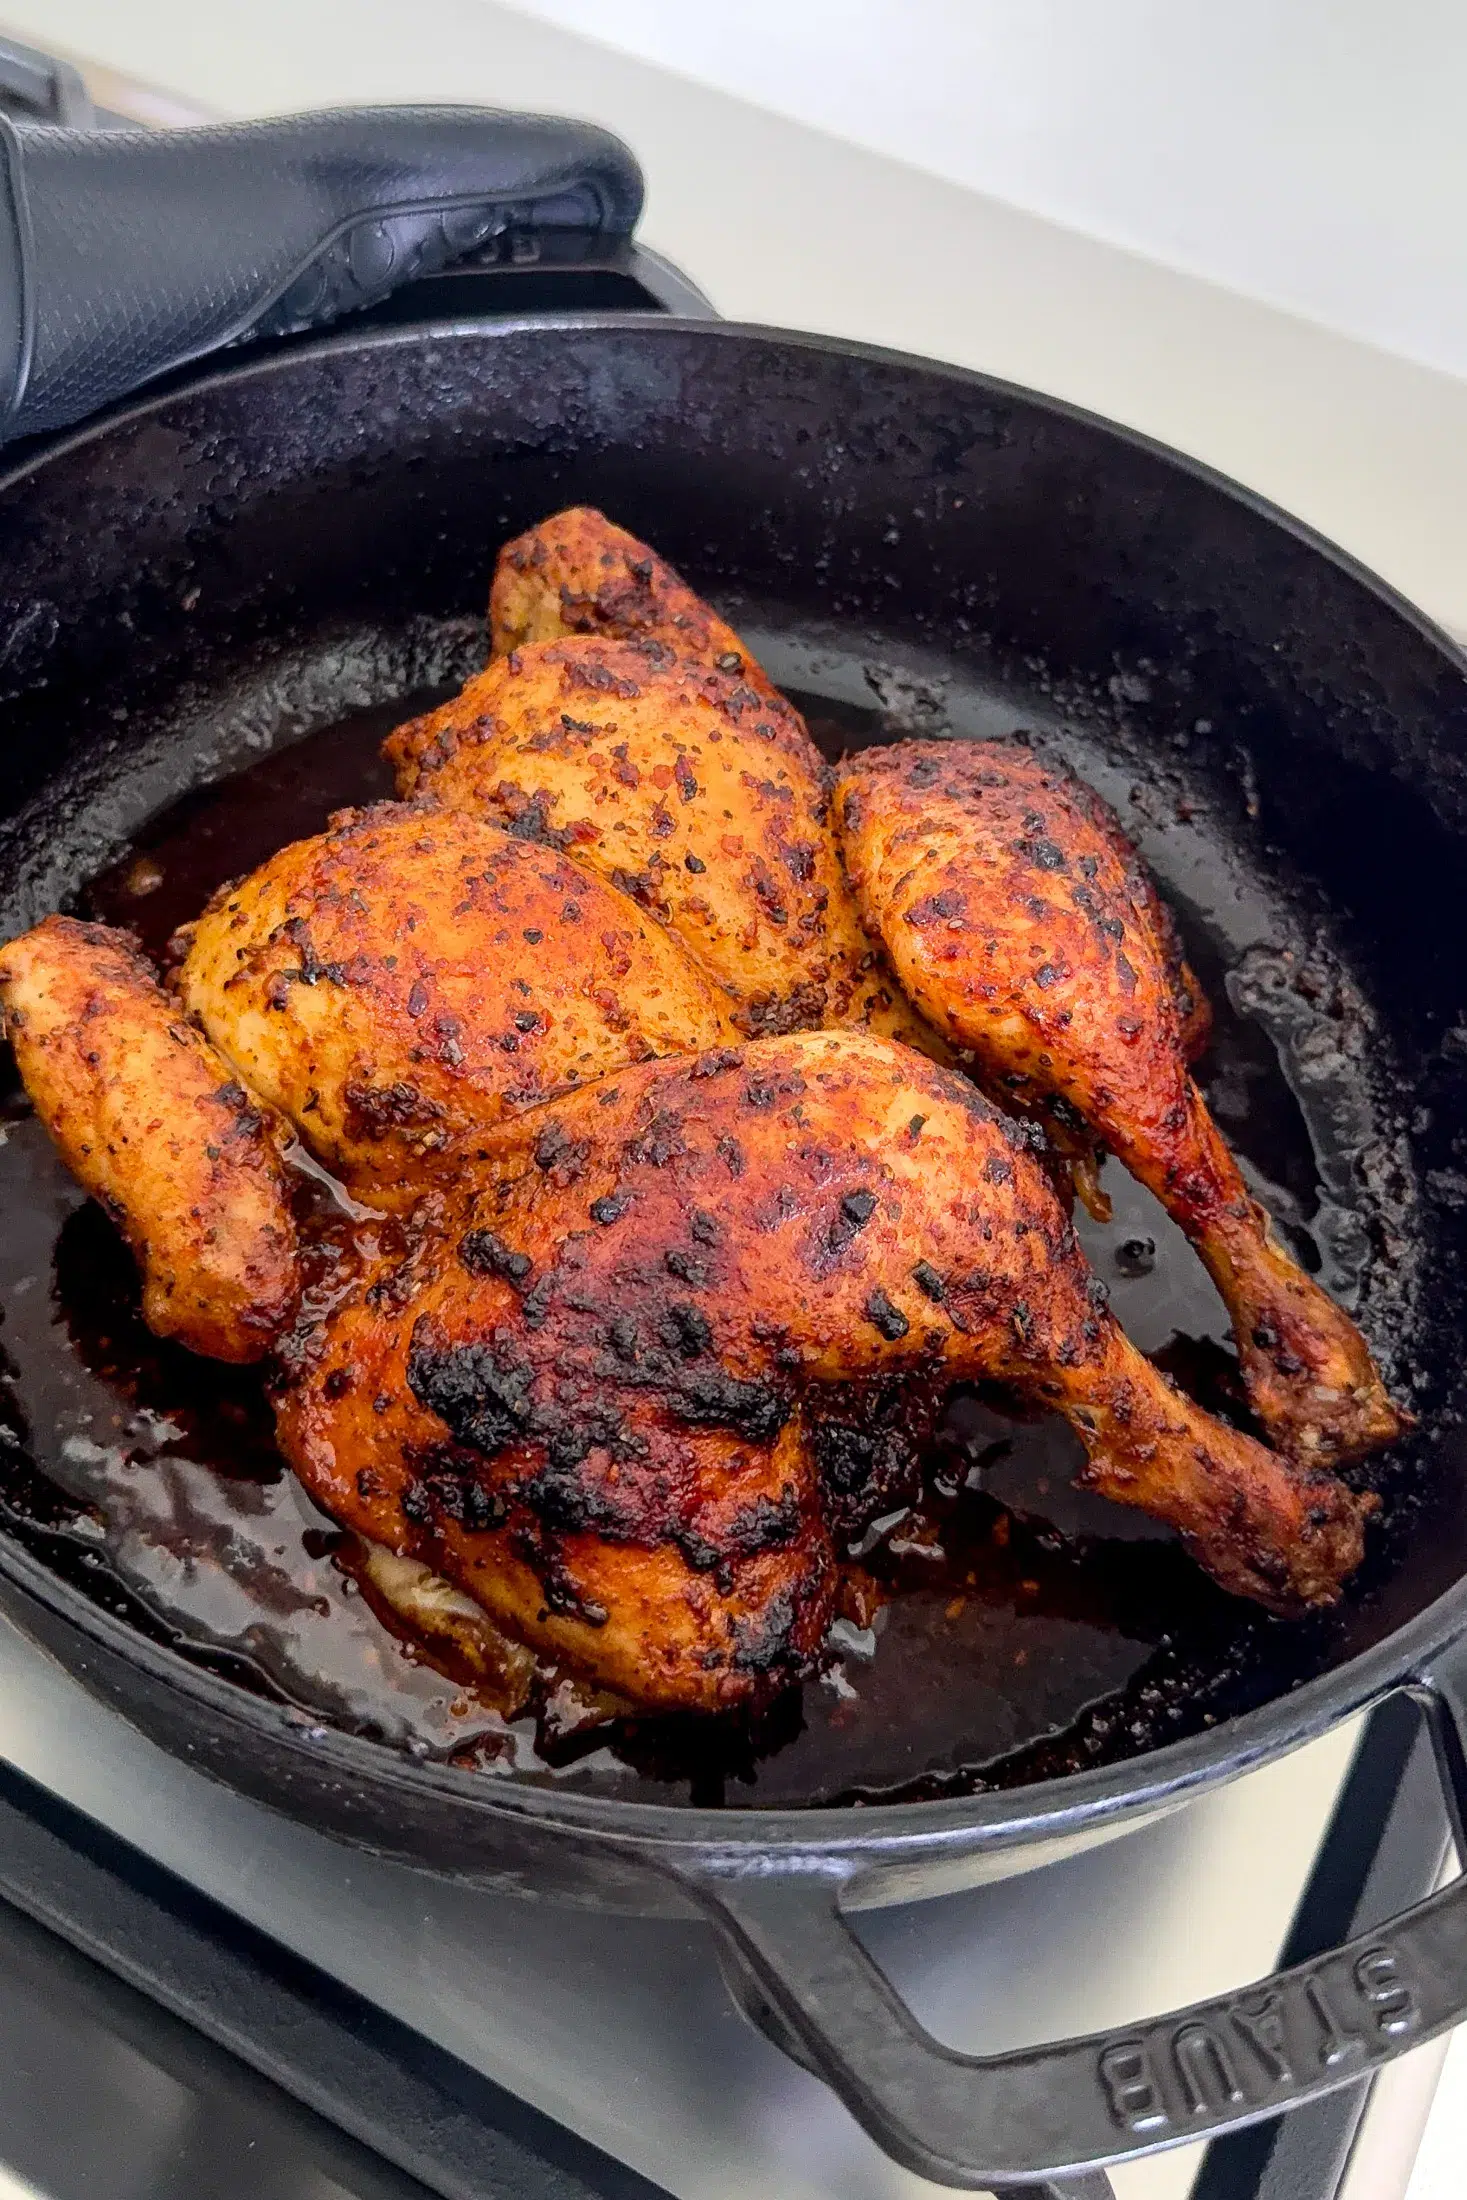
And once you start spatchcocking chickens, you’ll understand why I do it so often. The chicken cooks more evenly, generally takes less time to roast than a whole chicken left intact, and you get so much more of that beautiful golden skin. If you’re using a marinade, it’s easier to get it all over the chicken to get the best flavour. Spatchcocking also takes away some of the guesswork when it comes to cooking a whole chicken, helping you avoid overcooked, dry breast meat while waiting for the legs and thighs to cook through. The result is beautifully juicy, flavourful chicken with golden, crispy skin. Once you’ve tried it, you might never go back to roasting a chicken the traditional way!
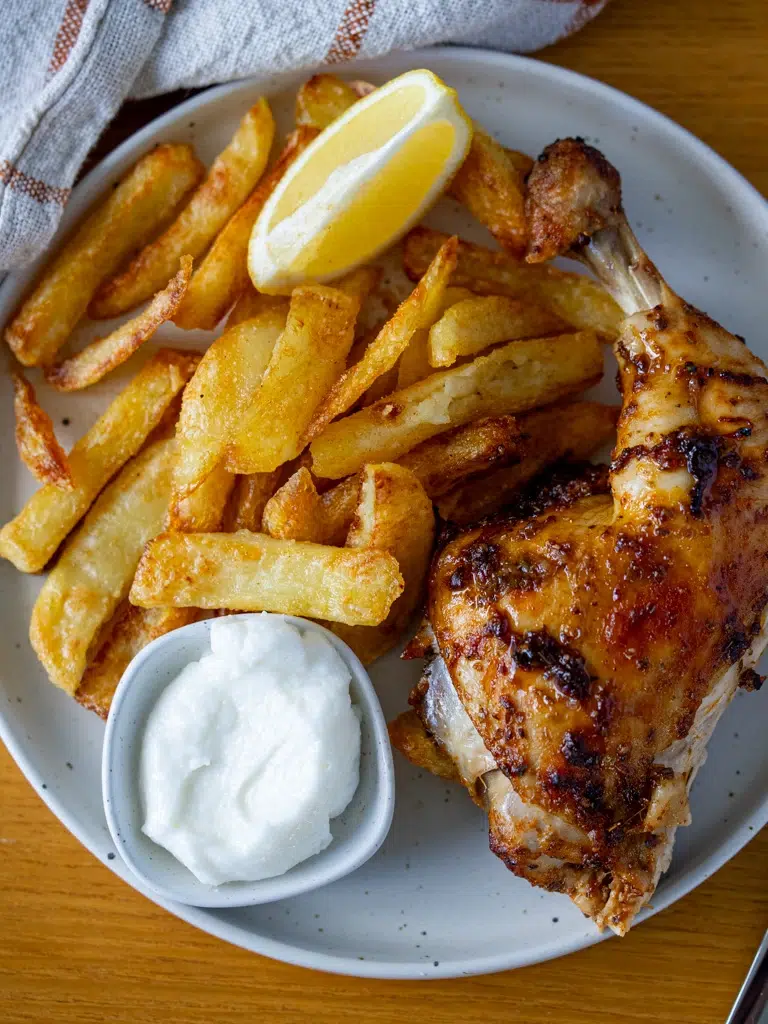
Is spatchcocking a chicken the same as butterflying it?
Yes! Spatchcocking and butterflying are two names for essentially the same technique, but spatchcocking only refers to birds, while the term butterflying also applies to meat or fish. You remove the backbone of a whole chicken and flatten it so it can be roasted or grilled more evenly. It might sound a little technical, but all you’re really doing is making two cuts along the backbone and pressing the chicken flat.
Why should I spatchcock a chicken instead of roasting it whole?
The biggest benefit is that the chicken cooks more evenly. Flattening it means the legs, thighs and breasts are more evenly exposed to the heat, helping reduce the difference in cooking time between them. It also generally cooks faster than a whole chicken left intact, and there’s more skin exposed to the heat, which means more of that beautiful golden, crispy skin. You also have more surface area to season or marinate, helping you get more flavour into every bite. I find it particularly useful when roasting a chicken over potatoes or vegetables, as they soak up all those delicious chicken juices as everything cooks.
Do I need special equipment to spatchcock a chicken?
No, but I would strongly recommend investing in a good pair of sturdy kitchen scissors or poultry shears. They make cutting through the bones and joints so much easier than using a regular knife. I have a pair that I absolutely love, which you can find here. You’ll also need a sturdy chopping board, preferably one that won’t slide around on your bench. I like using a dishwasher-safe board because it makes cleaning up afterwards much easier.
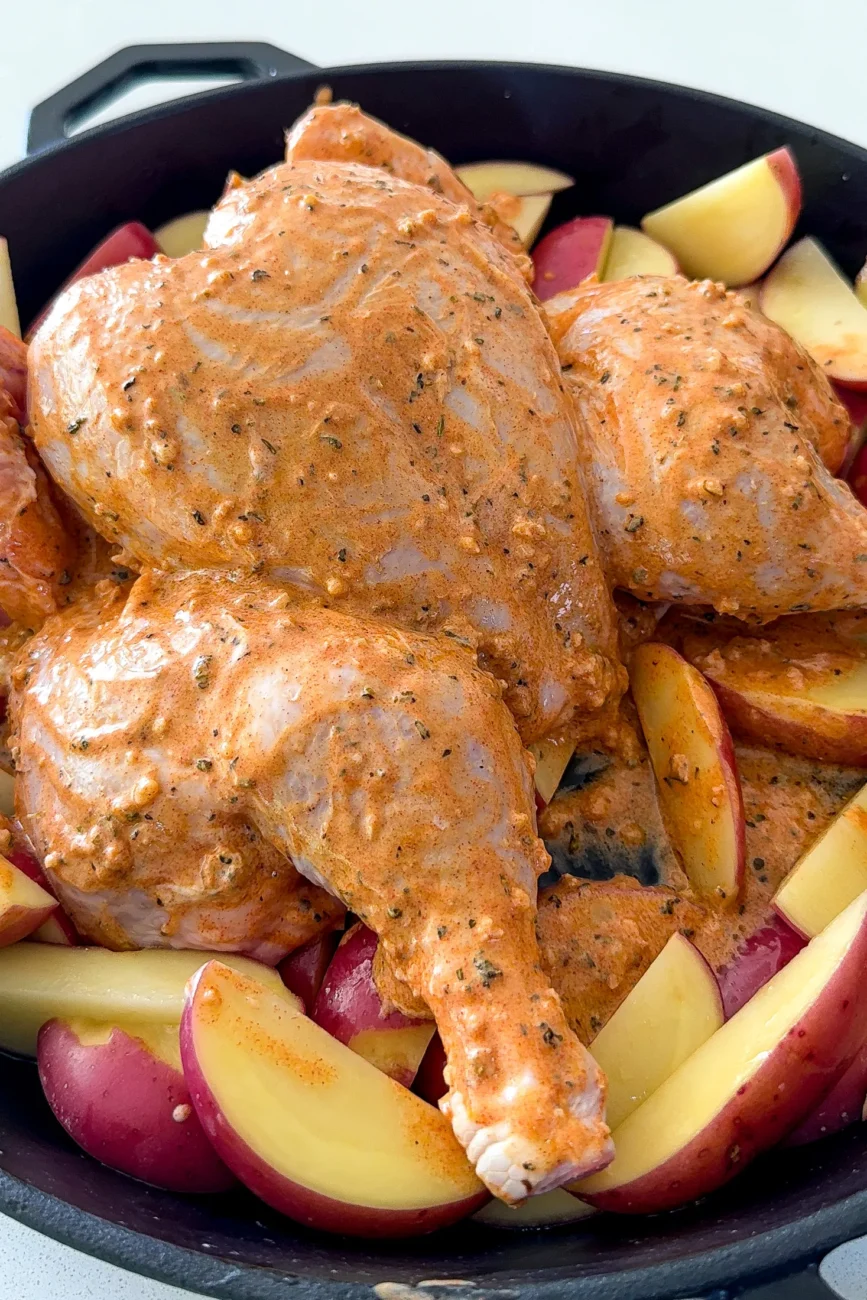
Is it difficult to cut through the bones?
Not with the right scissors! You’ll feel some resistance as you cut through the rib bones alongside the backbone, and that’s completely normal. Take your time and make small, controlled cuts rather than trying to force the scissors through in one go. If you’re finding it particularly difficult, check that you’re cutting alongside the backbone rather than through the thicker bones themselves.
Do I need to remove the breastbone as well as the backbone?
No. For everyday home cooking, I simply remove the backbone, then press firmly on the breastbone to flatten the chicken. There’s no need to remove the breastbone completely. You may hear a little crack as you press down, which is normal.
What size chicken is easiest to spatchcock?
I recommend starting with a smaller chicken, around 1.2–1.8 kg (2¾–4 lb), especially if it’s your first time. Smaller chickens tend to be easier to handle and cut through. Once you’re comfortable with the technique, you can use larger chickens too.
Can I spatchcock a chicken ahead of time?
Absolutely. You can spatchcock the chicken up to 24 hours ahead, then store it covered in the fridge until you’re ready to cook. This is particularly useful if you’re marinating the chicken overnight. Keep it on the bottom shelf of the fridge in a tray or container that will catch any juices.
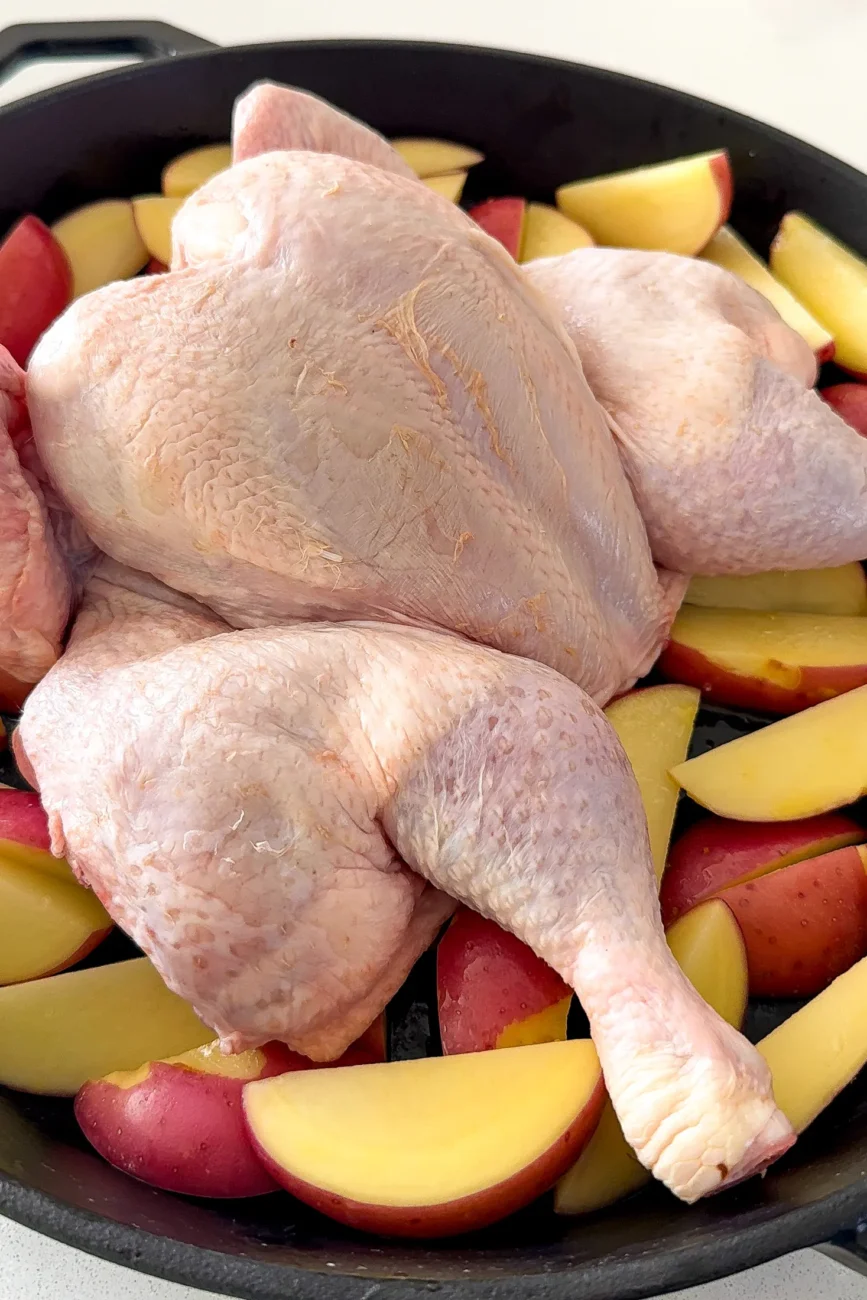
Do I need to wash the chicken before spatchcocking it?
No, there’s no need to wash or rinse raw chicken before cooking. In fact, food safety guidelines recommend against it, as rinsing can spread bacteria through splashing water around your sink and surrounding surfaces (view more here). I know washing chicken is a personal preference for many people, though, and something they may have grown up doing. If you do choose to rinse your chicken, be especially mindful of preventing splashes and thoroughly cleaning your sink and surrounding surfaces afterwards. If your chicken is particularly wet, you can simply pat it dry with a paper towel before you begin, then discard the paper towel.
Can I wear gloves when handling raw chicken?
Of course! If wearing gloves makes you feel more comfortable, use powder-free, food-safe, disposable gloves. Just remember that gloves don’t replace good hygiene. Avoid touching cupboard handles, taps or your phone while wearing them, and wash your hands after removing them.
How do I clean my scissors and chopping board after handling raw chicken?
Wash your kitchen scissors, chopping board and any other utensils that have touched the raw chicken thoroughly with hot, soapy water. If your scissors are detachable, separate the blades according to the manufacturer’s instructions so you can clean around the hinge properly. I prefer using a dishwasher-safe chopping board and scissors that are easy to take apart and wash. Wipe down your benchtop and any other surfaces that may have come into contact with raw chicken too.
What can I do with the chicken backbone?
Don’t throw it away if you enjoy making homemade chicken stock! The backbone is brilliant for adding flavour to stock, along with vegetable scraps, herbs and water. If you’re not using it straight away, pop it into a freezer bag or airtight container and freeze it for another day.
Can I use this technique to spatchcock a turkey or other poultry?
Yes! The same basic technique can be used to spatchcock a turkey or duck. The process is essentially the same: cut along either side of the backbone, remove it, then turn the bird over and press down to flatten it. Larger birds, particularly turkeys, have much thicker bones, so you’ll need a strong pair of poultry shears and a little more effort. If you’re trying this technique for the first time, I’d recommend starting with a chicken.
How do I carve a spatchcocked (butterflied) chicken?
Once your chicken is cooked allow it to rest for 10–15 minutes before carving, to help keep the meat juicy. Place the chicken breast-side up on a chopping board. Using a sharp knife, cut through the joints where the legs meet the body to remove the leg quarters. You can then separate the drumsticks from the thighs if you prefer. Next, remove the wings by cutting through the joints. Finally, cut down either side of the breastbone to remove the breast meat, then slice it into portions. It’s much easier than it might look, and you’ll have beautifully carved chicken ready to serve!
If you enjoyed learning how to spatchcock a chicken, I think you’ll love:
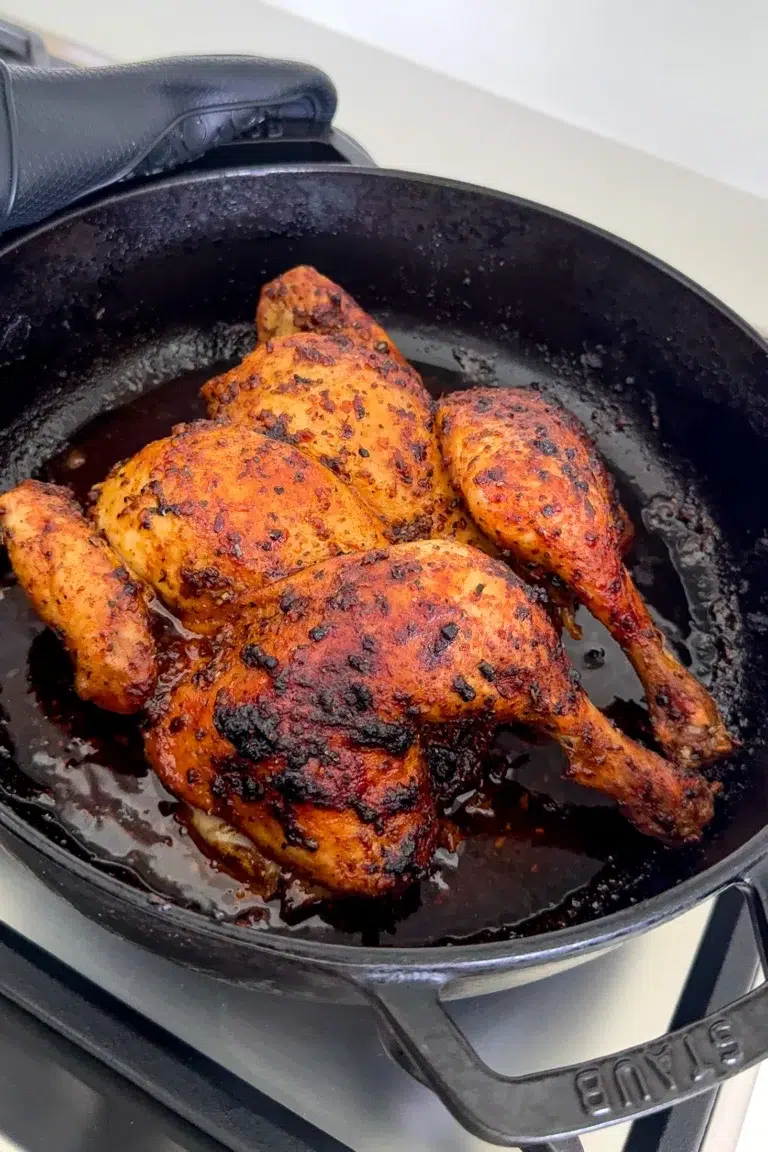
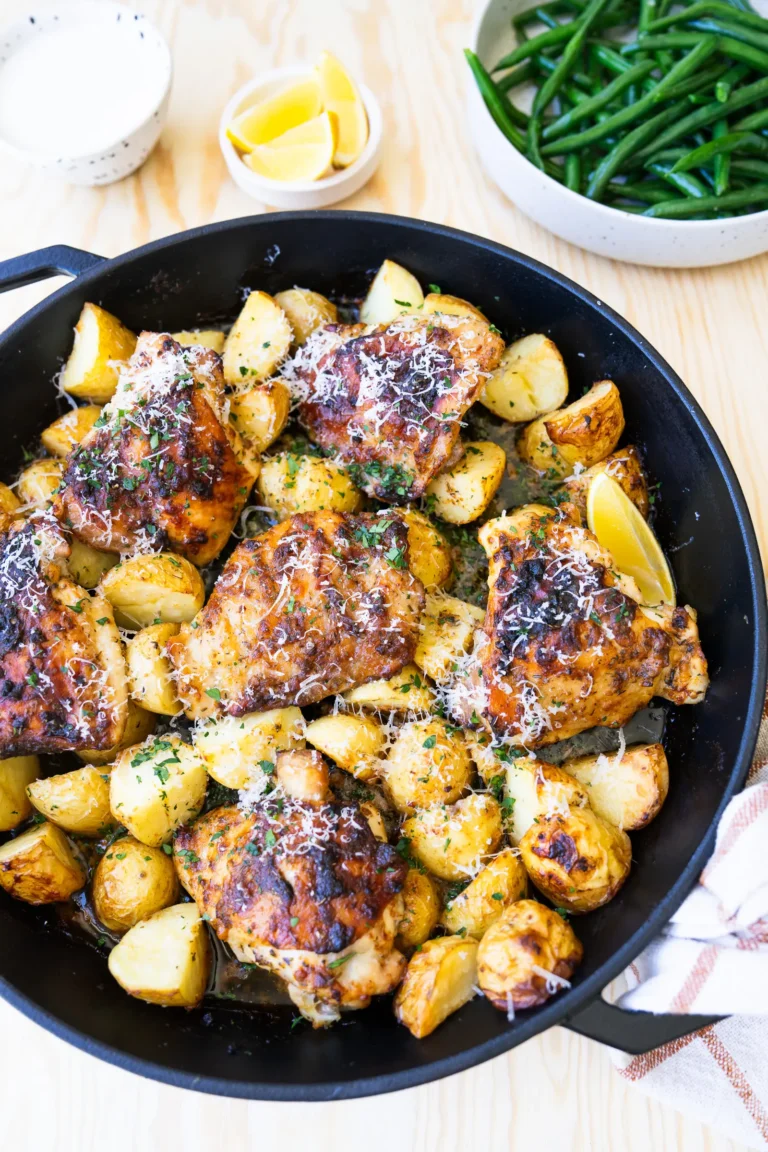
Butterflied Portuguese Chicken Recipe – The chicken is coated in a delicious homemade marinade of garlic, lemon, paprika and herbs, then roasted until beautifully golden and juicy. Serve it with crispy oven fries and garlic sauce (toum) for an easy, flavour-packed fakeaway the whole family will love.
How to Spatchcock (Butterfly) a Chicken
Share Pin Recipe PrintIngredients
Instructions
- Prepare your workspace – Place a large, sturdy chopping board on a clean, flat surface. If your board tends to slide around, place a damp tea (dish) towel underneath to keep it steady. Have your kitchen scissors ready and put on food-safe gloves if you'd prefer to wear them.
- Prepare the chicken – Remove the chicken from its packaging and discard any packaging and absorbent pads. Place the chicken on the chopping board, breast-side down, with the backbone facing upwards and the legs pointing towards you. Pat away any excess moisture with paper towel if needed.
- Find the backbone – Run your fingers along the centre of the chicken's back to locate the backbone. This is the strip of bone running from the neck end to the tail end. You'll be cutting along either side of it, rather than directly through it.
- Cut along the first side – Using sturdy kitchen scissors, start at the tail end of the chicken and carefully cut along one side of the backbone, working towards the neck. Use small, controlled cuts. You'll feel some resistance as you cut through the rib bones, which is completely normal. Take your time.
- Cut along the other side – Repeat on the opposite side of the backbone, again working from the tail end towards the neck. Remove the backbone completely and set it aside. You can save it to make homemade chicken stock if you like (see note 3).
- Flatten the chicken – Turn the chicken over so it's breast-side up, with the legs spread out to either side. Place the palms of your hands over the thickest part of the breastbone and press down firmly until the chicken flattens. You may hear a little crack as the breastbone or cartilage gives way. That's completely normal!
- Tuck the wings – Tuck the wing tips underneath the chicken to help stop them from burning during roasting. Your chicken is now spatchcocked and ready to marinate, season or cook.
- Clean up – Wash your hands thoroughly with soap and water, along with your kitchen scissors, chopping board and any utensils that have come into contact with the raw chicken. Clean and sanitise the surrounding work surfaces before preparing other ingredients.
Watch how to make it
Nutritional information on this site is calculated using Foodworks Professional, the nutrition analysis software trusted by dietitians, researchers and food manufacturers across Australia and New Zealand. Disclaimer re gluten-free and dairy-free recipes