


Fluffy, freezer-friendly pancakes packed with natural protein – delicious warm or cold, perfect for lunchboxes. No protein powder needed!
You know those weekday mornings where the lunchboxes are still empty, someone’s yelling about socks, and you’re already running late? Then you remember – Past You made a batch of these protein pancakes, and suddenly everything feels a bit more manageable. There’s something deeply satisfying about knowing you’ve got a freezer stash ready to go – whether it’s for lunchboxes or a grab-and-go breakfast when there’s no time to think, let alone cook.

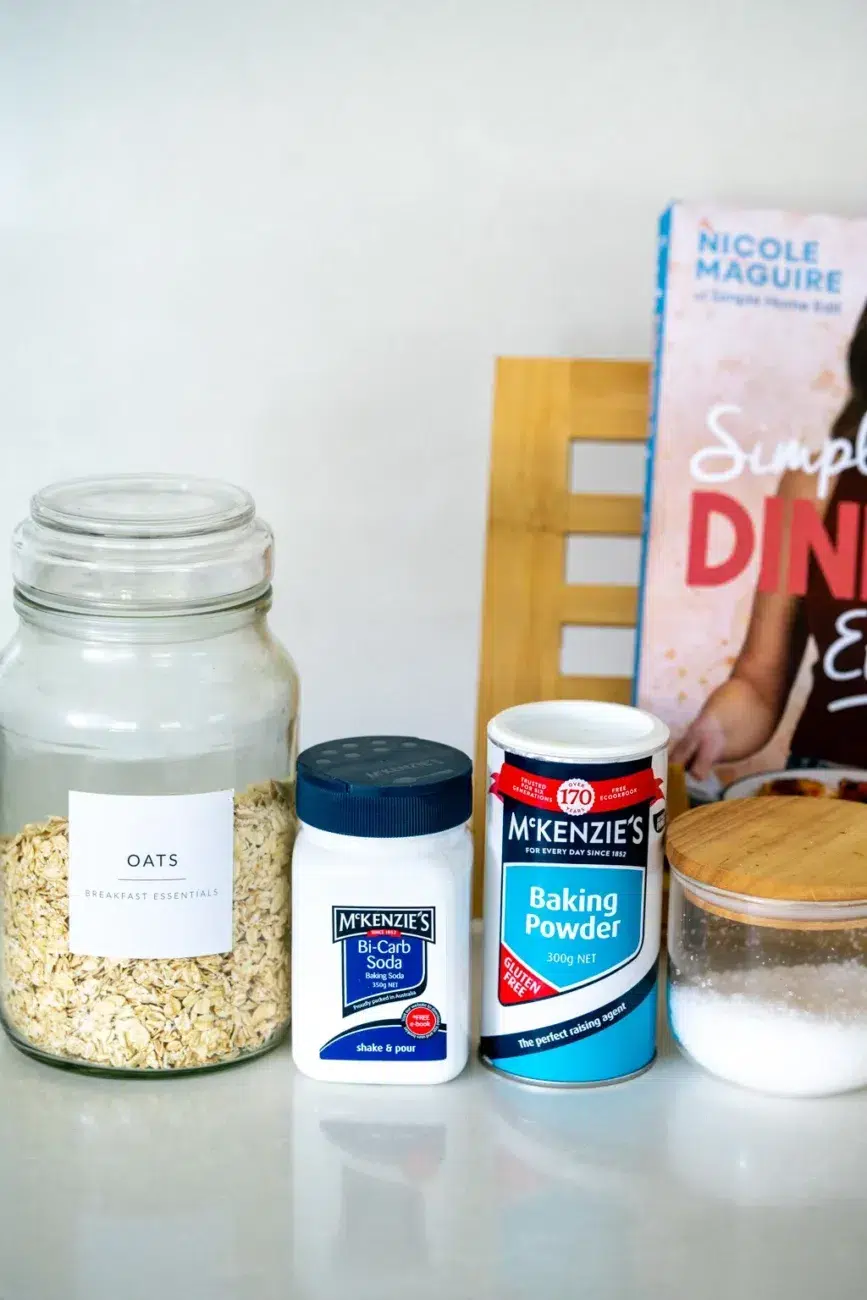
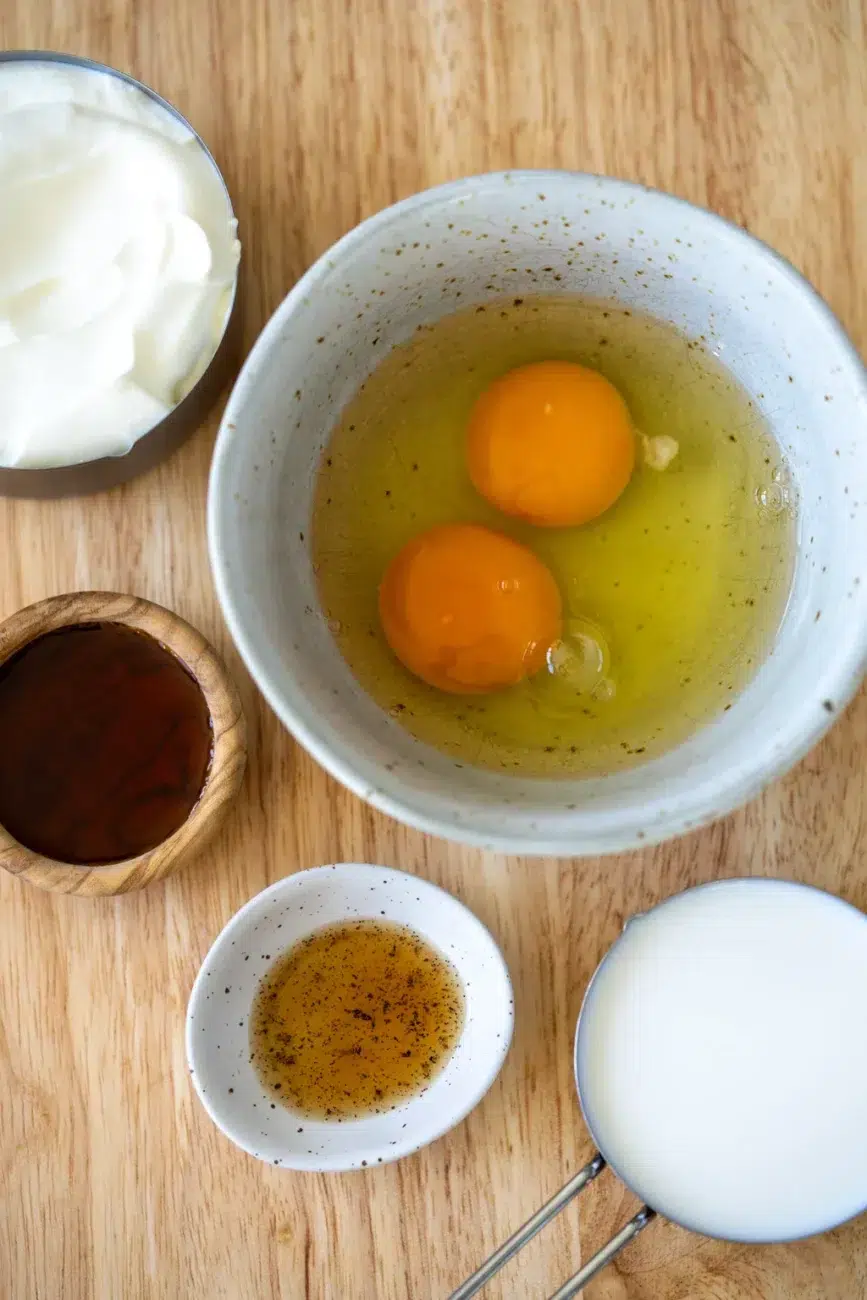
I made these because I wanted a filling, gluten-free option for my kids’ lunchboxes – something with real ingredients, no mystery powders, and enough natural protein to actually keep them full. They’re blended in one bowl, made from pantry staples like oats, eggs and yoghurt, and they freeze beautifully.
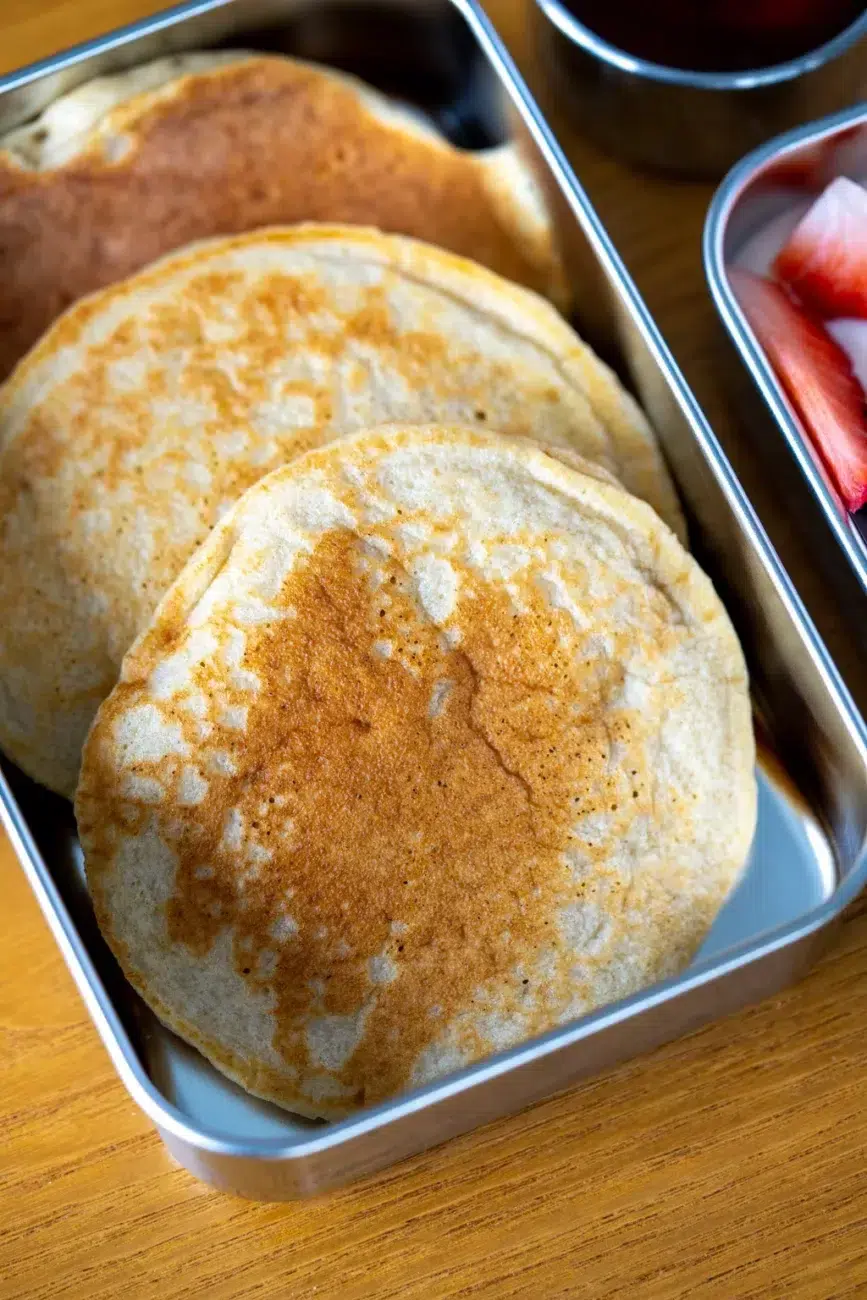
My kids love them with fruit and yoghurt, but they’re just as happy eating them cold, straight from the lunchbox. And honestly? So am I. These are easy, practical and feel like a quiet little win in the middle of a chaotic week.
How do I keep the pancakes fluffy and not dense?
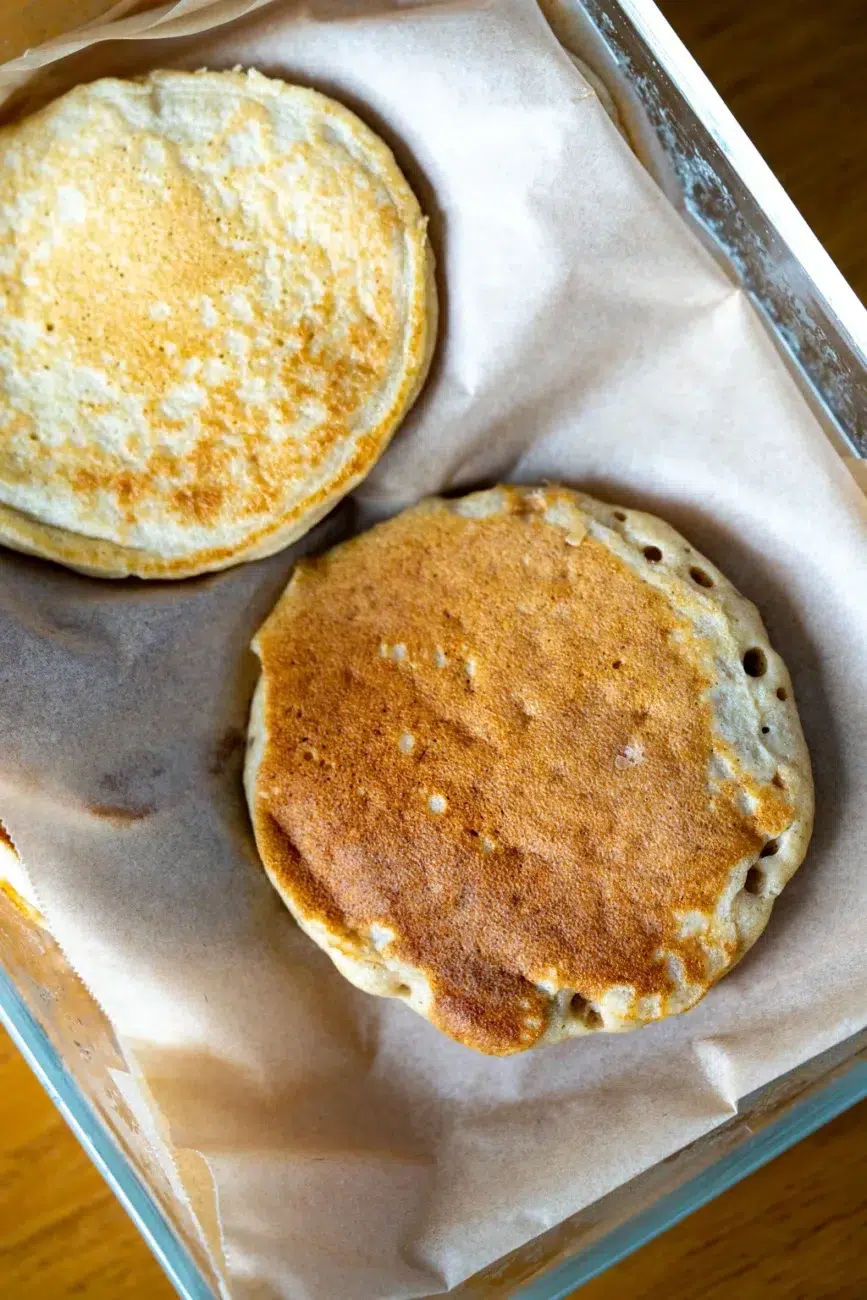
Let the batter rest before cooking – these will not work unless you let the batter rest for at least 15–20 minutes. It gives the oats time to absorb the liquid and allows the batter to thicken. A medium–low heat is also important – it gives the centres time to set and fluff-up without burning the outside.
What makes these pancakes lunchbox-friendly?
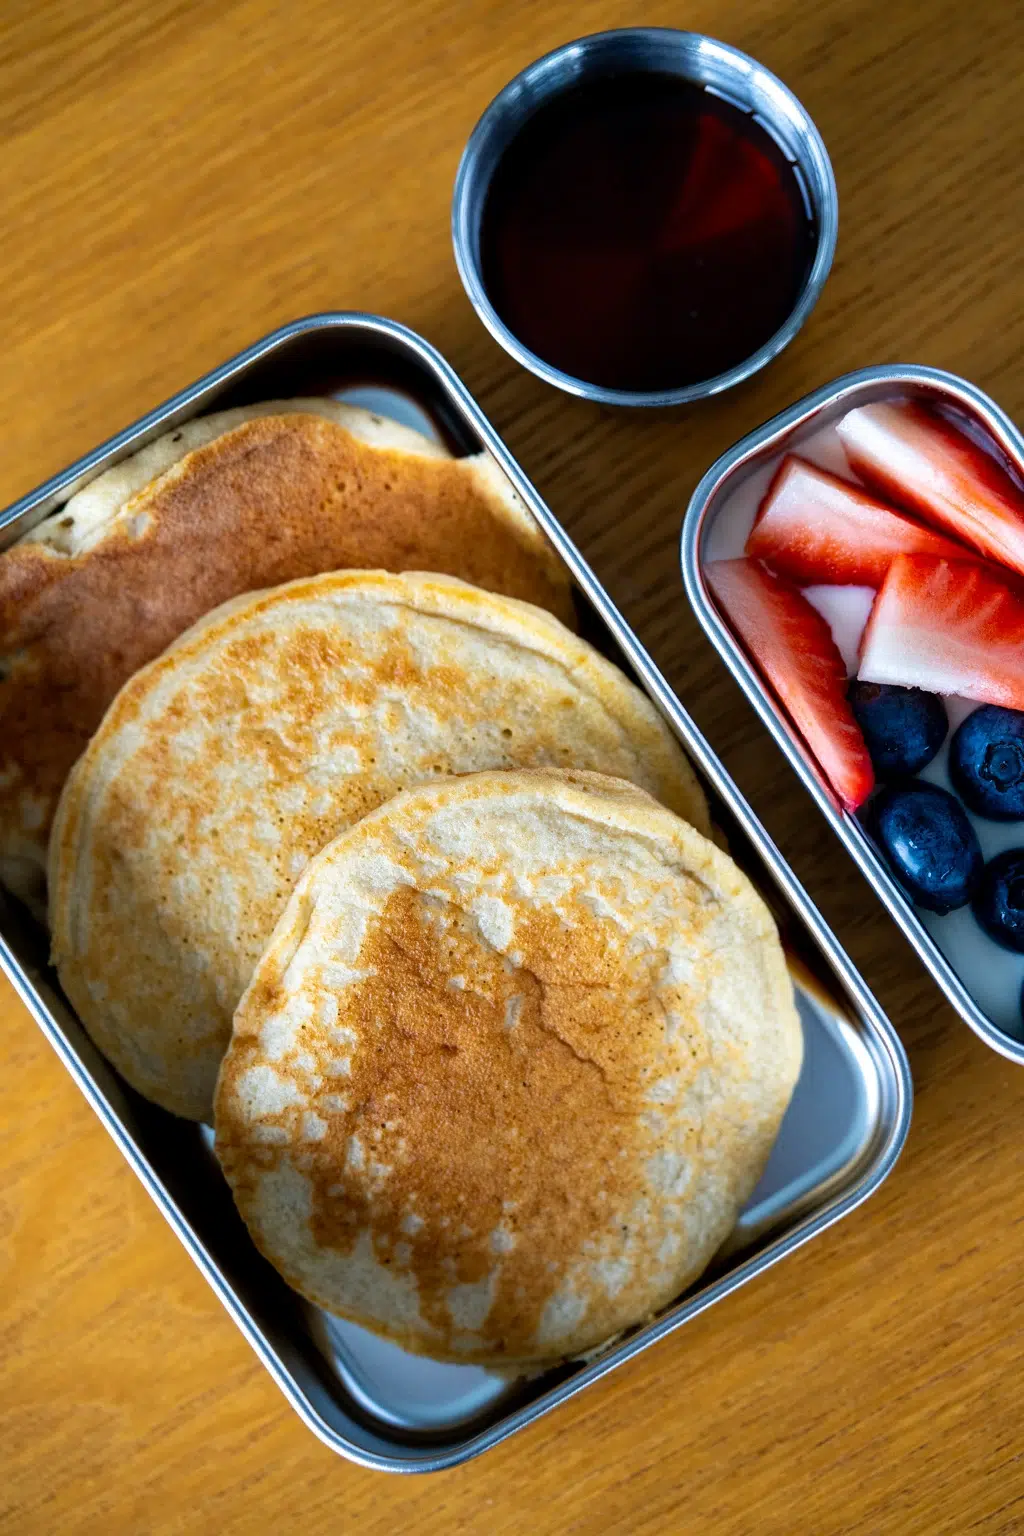
They’re great warm or cold, freeze like a dream, and don’t go weird in the lunchbox. You don’t need a microwave or reheating plan – just pop them in and go. Perfect for kids who don’t love sandwiches.
Can I use flavoured yoghurt or low-fat yoghurt instead?
Stick to plain, full-fat Greek yoghurt for best texture and protein content. Flavoured or low-fat yoghurt, or dairy-free coconut yoghurt, can affect how the pancakes hold together and make the batter too runny and the end result flat and dense.
Can I use a regular frying pan or do I need something special?
No fancy equipment here – any non-stick frying pan will do. Just make sure to lightly grease it and don’t overcrowd the pan.
Can I double the recipe for batch cooking?
Absolutely – it doubles beautifully. Freeze extras with baking (parchment) paper between the layers so they don’t stick, and you’ve got breakfast or lunch sorted for the week.
Hot tips
- Rest the batter – Don’t skip it – it’s essential for fluffiness.
- Low and slow – Keep the heat at medium–low to avoid a burnt outside and raw middle.
- Grease lightly – Too much oil will give you greasy pancakes. A light spray or swipe of butter is plenty.
- Use a measuring cup – About 60 ml (¼ cup) per pancake makes the perfect size for lunchboxes and even cooking.
If you enjoyed Lunchbox Protein Pancakes, I think you’ll love
Mini Lunchbox Pizzas Recipe
Zucchini Slice Recipe
Cheesy Corn Fritters Recipe
The BEST Homemade Sausage Rolls Recipe
The BEST Chicken Sandwich Filling Recipe
Lunchbox Protein Pancakes
“My kids have both demolished these in their lunchbox this week, and I love that they’re a good source of protein!” Share PrintIngredients
- 175 g (1¾ cups) rolled (porridge) oats
- 2 tsp baking powder
- ½ tsp bicarbonate of soda (baking soda)
- ½ tsp sea salt flakes
- 250 g (1 cup) plain Greek yoghurt (full-fat, not low-fat or any other variety of yoghurt)
- 2 large eggs
- 125 ml (½ cup) milk (any kind – dairy or non-dairy)
- 1 tbsp maple syrup
- 1 tsp vanilla extract
- 60 ml (¼ cup) coconut oil, butter or olive oil spray
- Berries – strawberries, blueberries
- Greek yoghurt
- Maple syrup
Instructions
- Make the batter – Add the dry ingredients to a blender or food processor and blitz until they resemble a coarse flour.
- Add the wet ingredients and blend until smooth.
- Rest the batter – Let the batter rest for 15–20 minutes to thicken (this gives the oats time to absorb the liquid). Don’t skip this step!
- Cook the pancakes – Preheat a non-stick frying pan over medium–low heat. Lightly grease with oil, butter or spray oil.
- Spoon 60 ml (¼ cup) portions of batter into the pan. (Depending on the size of your pan, you could cook up to three at once.) Cook for 2–3 minutes, until bubbles appear and the edges are set.
- Flip and cook for another 1–2 minutes until golden and cooked through.
- Serve – Serve with berries, yoghurt and maple syrup or the toppings of your choice, or let cool and pack straight into lunchboxes. (See the Make Ahead section for freezing tips.)
Nutrition information
Disclaimer re gluten-free and dairy-free recipes


Elizabeth says:
These are a new firm favourite! I serve them with chia jam and cottage cheese for afternoon tea. Do you think you could bake them in a tray in the oven to make a sheet pancake?
Nicole says:
Hi Elizabeth, this makes me so happy! 🙌🏻 I love that you’re serving them with chia jam and cottage cheese – that’s such a good combo. I’ve never tried the sheet pancake method with this batter. But if you are keen to try, I would pour it into a small tray, 20 x 30 cm (8 x 12 inches), pour the batter in and spread it evenly, then bake at 180°C (350°F) (160°C/325°F fan-forced) for about 15–20 minutes or until set in the centre. Then slice and serve! I imagine it won’t be quite as golden as pan-fried pancakes, but would make a great batch prep meal. Let me know how you go! 🥰 Nic x
Tania says:
Would coconut yoghurt work to make it completely dairy free?
Nicole says:
Hi Tania, I’m afraid I haven’t tried these with coconut yoghurt. And they are very reliant on the full-fat yoghurt to work. However, I will try and test this when I get a chance. Sorry I couldn’t be of more help. Nic x
Michele says:
These are great – hope they don’t all get eaten up before I pack lunchboxes tomorrow!
Nicole says:
Hi Michele, haha, yep, you’d better hurry! So glad you enjoyed these. Thanks so much for the rating too! Nic x
Hayley says:
My kids have both demolished these in their lunchbox this week, and I love that they’re a good source of protein!
Nicole says:
I’m so happy your kids approve of these, Hayley! Mine definitely do too! Thanks so much for the rating, Nic x
Milena says:
These are delicious! I have none left to freeze, because my kids ate them all. I used plain yogurt because I didn’t have the full fat one, and cannot imagine they could turn better than this.
Nicole says:
Hi Milena, so glad that these worked out well … even with non full-fat yoghurt! Great to hear. Thanks for the rating. Nic x
Chantelle says:
Looks absolutely delicious but as someone with coeliacs I can’t eat these as the oats unfortunately mean these cannot be considered gluten free in Australia. Would be super interested in a true GF pancake recipe!!
Nicole says:
Hi Chantelle, yes you are right. In Australia, oats can’t be labelled as GF even if they are pure, uncontaminated oats. I have removed this recipe from the gluten-free category and will look into creating a GF pancake recipe. Thank you so much for your excellent suggestion and help. Nic xx
Annabel says:
Made these pancakes today using my NutriBullet and they are easy and so delicious! The maple syrup and vanilla essence gives them a lovely sweet kick.
Nicole says:
Fantastic to hear, Annabel! Thanks for the rating, Nic x