






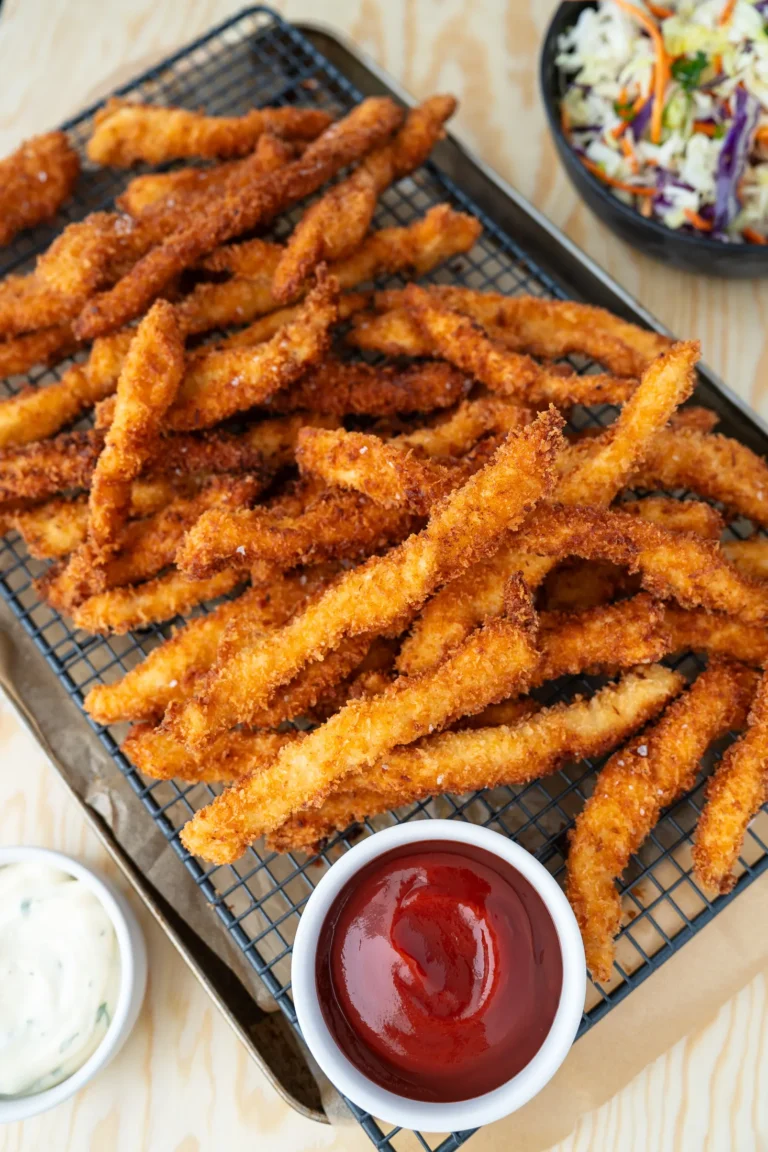
Crispy crumbed chicken fingers with easy shallow-fry and air fryer options.
The idea for these Crispy Chicken Fingers (Chicken Fries) actually came from my publisher – the same person who saw something in me all those years ago and replied to the email that eventually led to my first cookbook. She mentioned one day how much her kids loved chicken fingers and I immediately thought, I need to make those for my kids. 😂 I’m always looking for dinners that feel fun enough to get an enthusiastic response from them, while still being something I’m really happy to make at home.
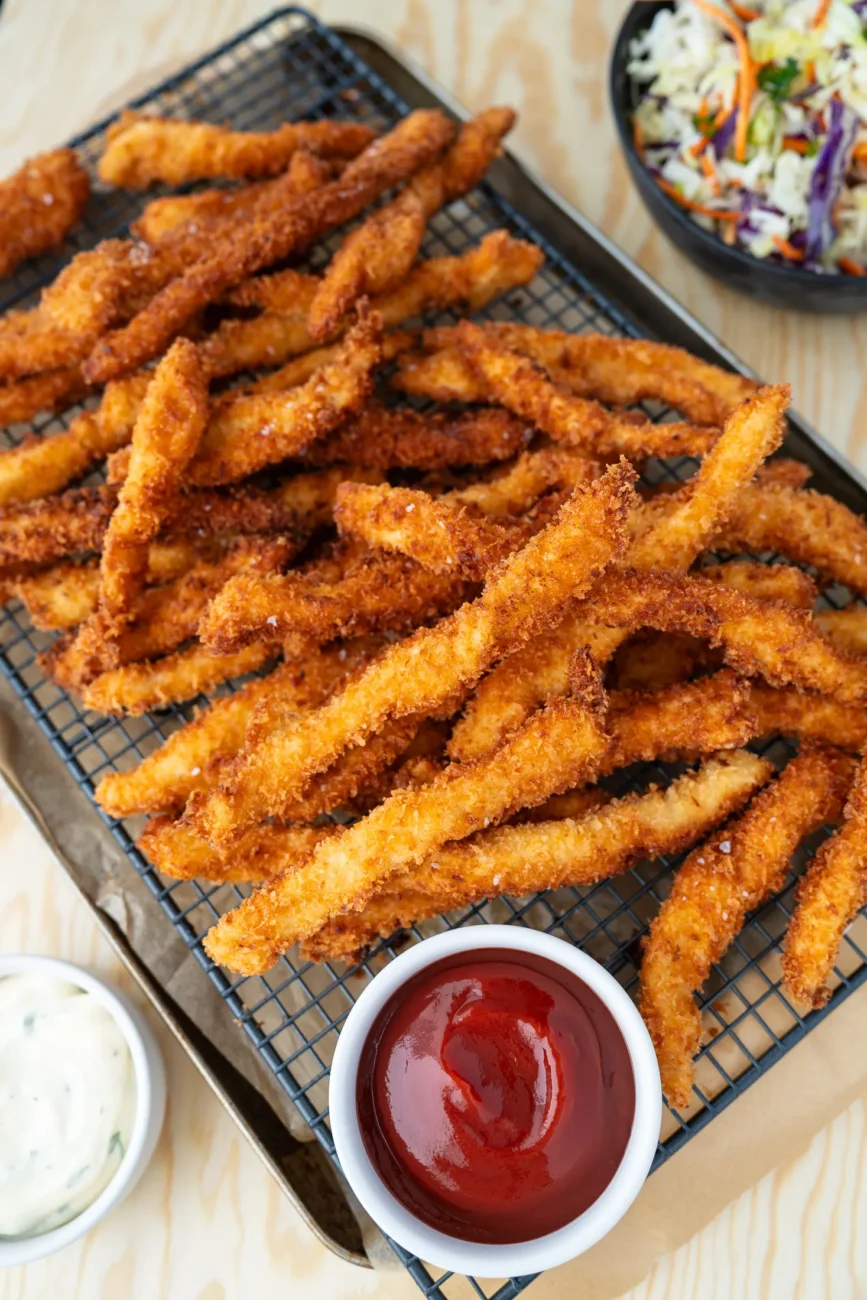
Well, she was right. I made them once and my kids became completely obsessed. During testing there seemed to be a permanent container of chicken fingers in our fridge and, even when I’d made something else for dinner, I’d hear, “Are there any chicken fingers left?” The chicken is beautifully seasoned without being too much for kids, really crunchy on the outside and tender inside. We all love these, but seeing how excited the kids are when these hit the table is probably my favourite thing about them.
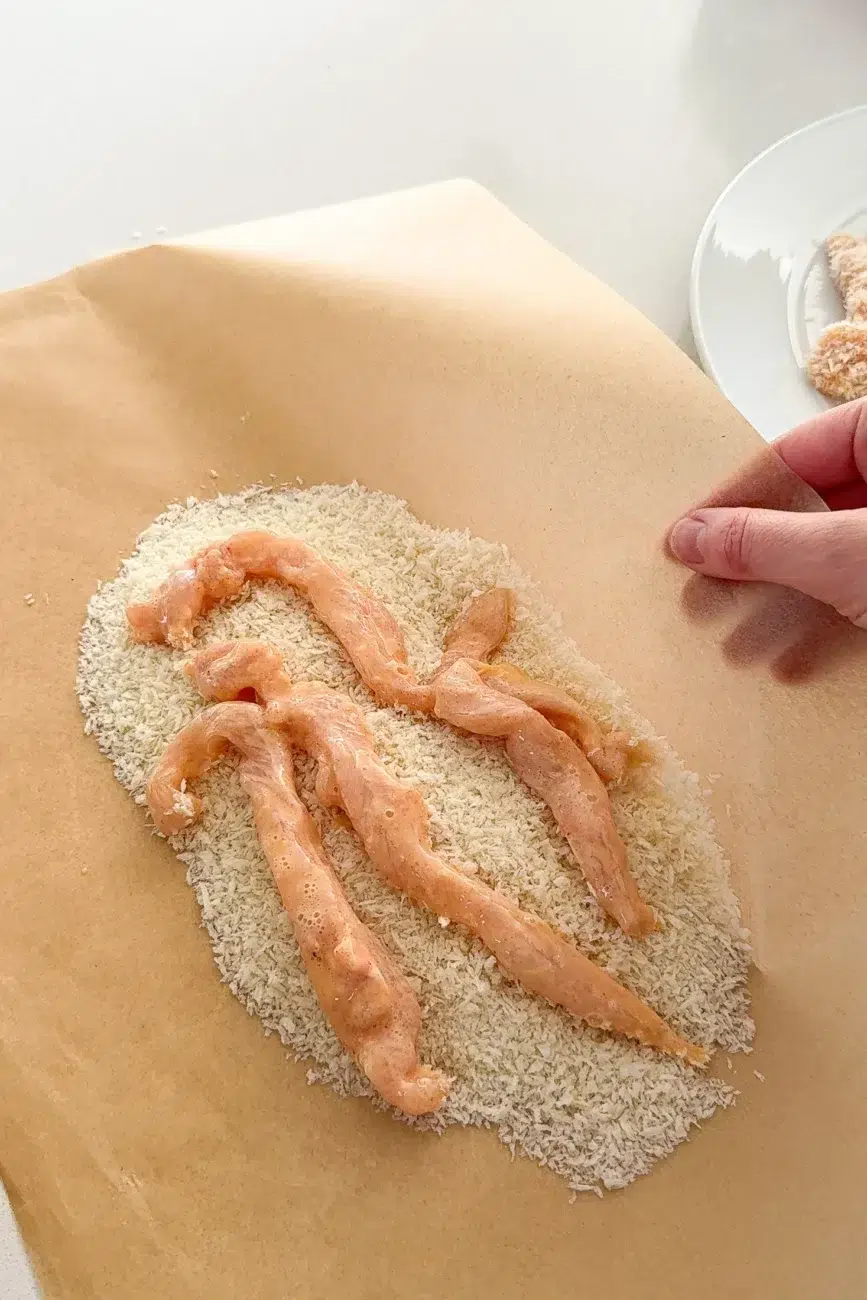
The only problem with chicken fingers is that there are a LOT of little pieces of chicken to crumb. A schnitzel will always be quicker, so after making these fingers several times I became determined to make the process as painless as possible. I use the same baking (parchment) paper crumbing trick my mum used for schnitzel when I was growing up, but here I also coat all the chicken in the seasoned flour at once, then transfer the whole lot to the egg mixture before crumbing a few pieces at a time. It’s much faster, there are fewer bowls to wash and you’re not standing there dipping every individual strip through three separate bowls!
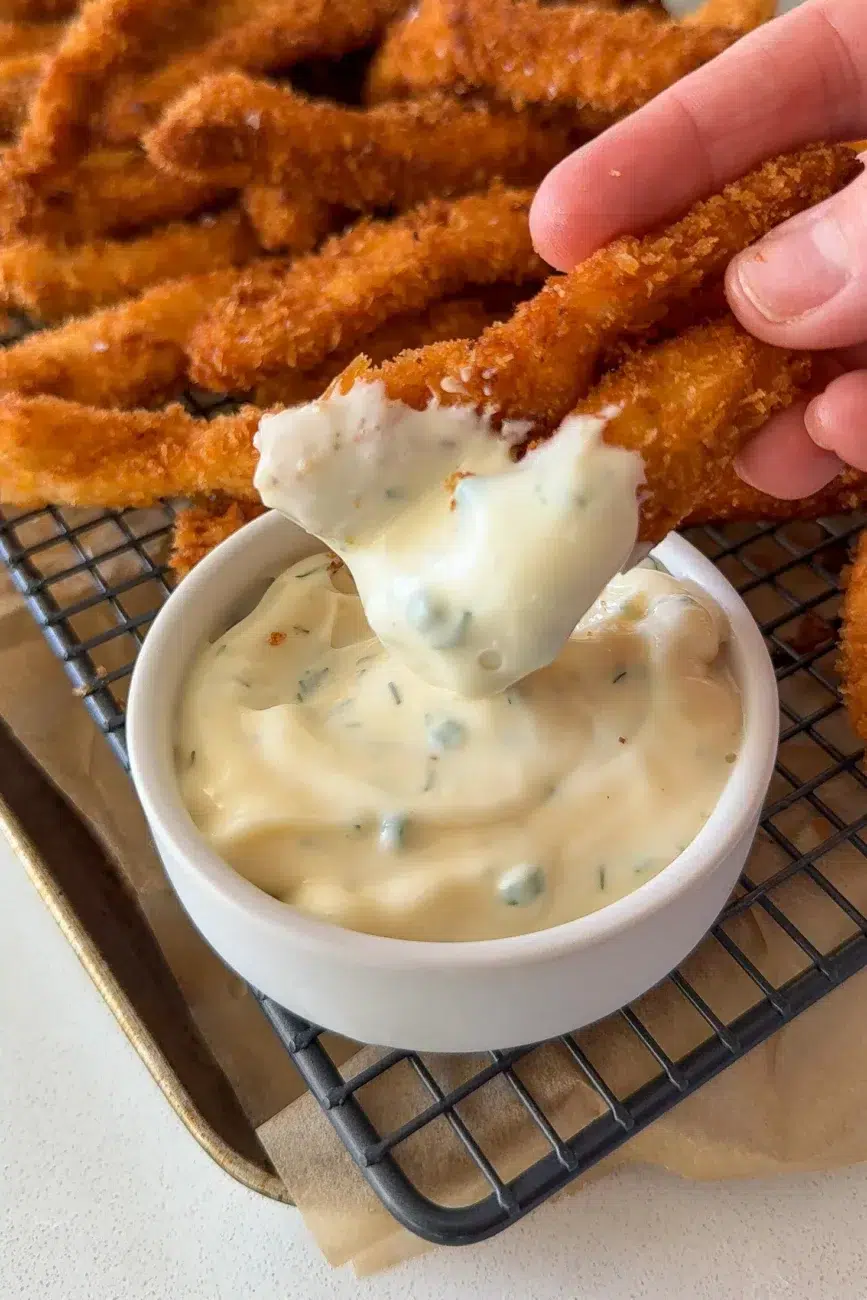
You can shallow-fry the chicken for that deeply golden, super crunchy coating, or cook them in the air fryer when you want an easier option. We eat them with everything from coleslaw to a simple salad, with ranch or ketchup on the side – or whatever dipping sauces happen to be in the fridge. They’re also incredible cold or reheated the next day, which, judging by how quickly my kids hunt down the leftovers, might be just as important as how good they are for dinner!
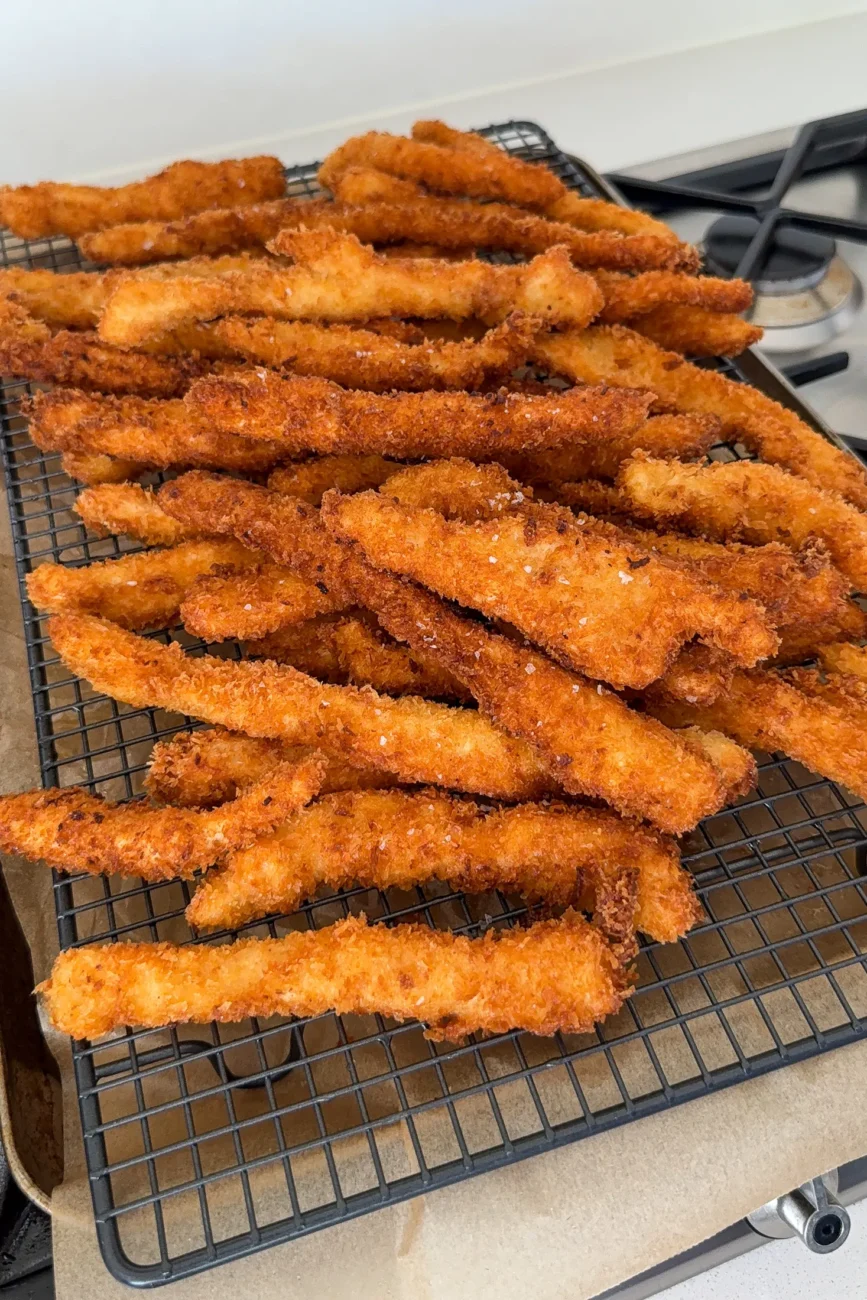
How do I know when the oil is hot enough for shallow-frying?
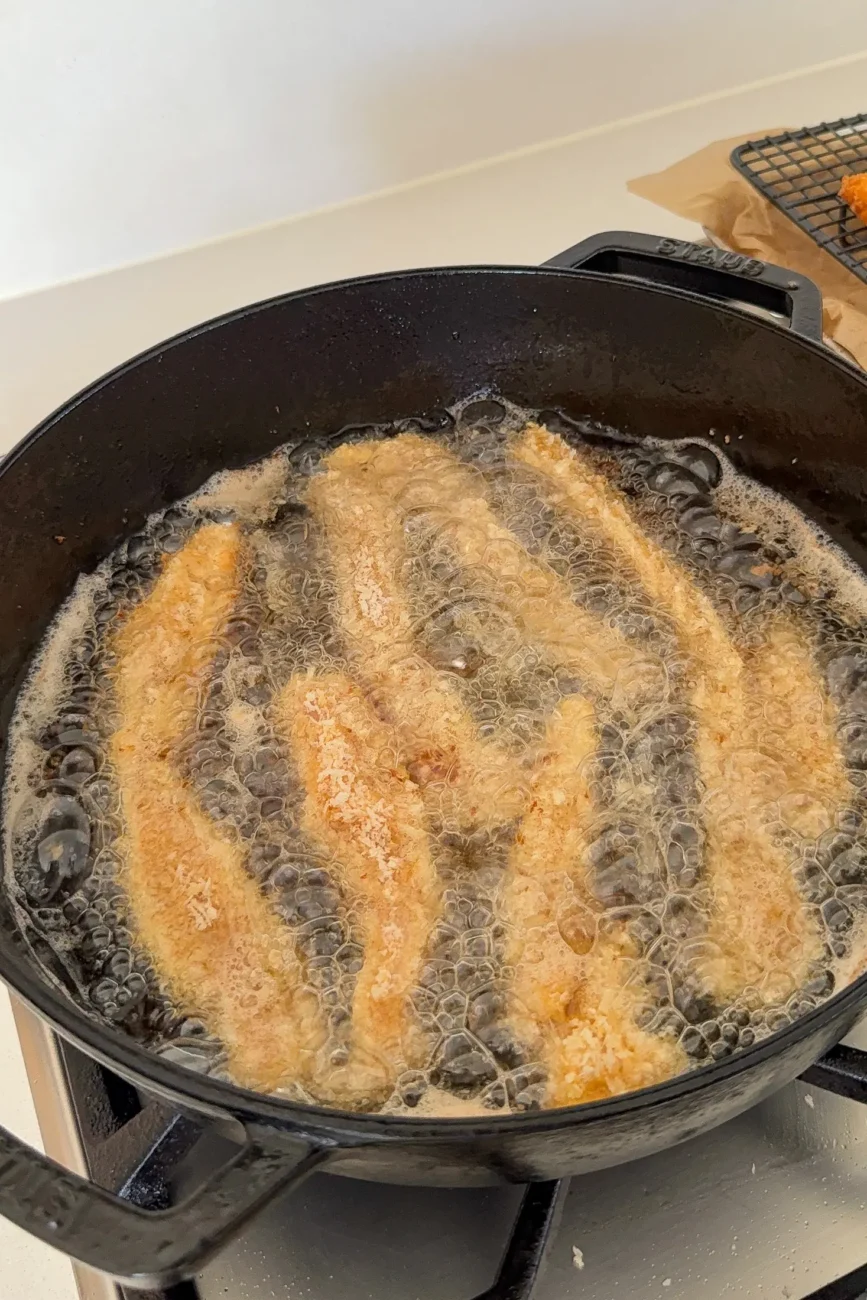
Heat the oil over medium heat. I don’t use a thermometer – instead, I dip the end of a wooden spoon or chopstick into the oil. If small bubbles immediately form around it, the oil is ready. If the chicken is browning too quickly, reduce the heat slightly. Once the chicken goes into the pan, leave it undisturbed for the first 30–60 seconds to help the crumb set before moving or turning it.
What oil is best for frying chicken fingers?
I use light olive oil, but avocado oil, canola (rapeseed) oil or vegetable oil all work well. You need enough oil to come approximately 1 cm (½ inch) up the side of the frying pan.
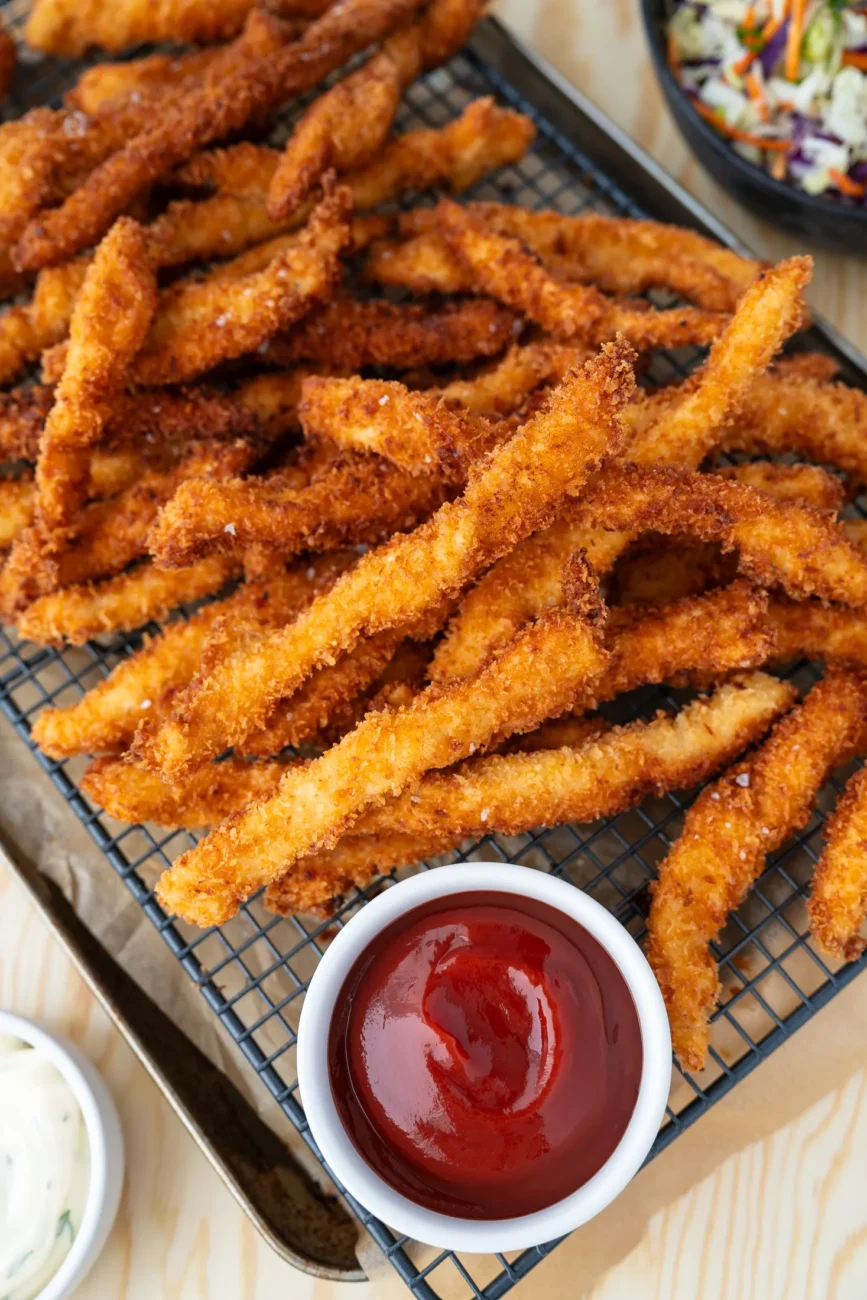
How do I stop the breadcrumbs from falling off the chicken fingers?
Shake off the excess flour before transferring the chicken to the egg, then allow any excess egg to drip off before adding it to the panko crumbs. Press the breadcrumbs firmly onto the chicken with the palm of your hand. When frying, avoid moving the chicken around too much during the first 30–60 seconds – this gives the coating time to set.
What is the easiest way to crumb a large batch of chicken fingers?
Rather than crumbing each strip individually from start to finish, I coat all of the chicken in the seasoned flour at once, then transfer the entire batch to the egg mixture. From there, I transfer a few pieces at a time to panko breadcrumbs spread over baking (parchment) paper. I lift the baking paper to help toss the crumbs over the chicken, then press them on with my palm. It’s faster, less fiddly and makes clean-up much easier.
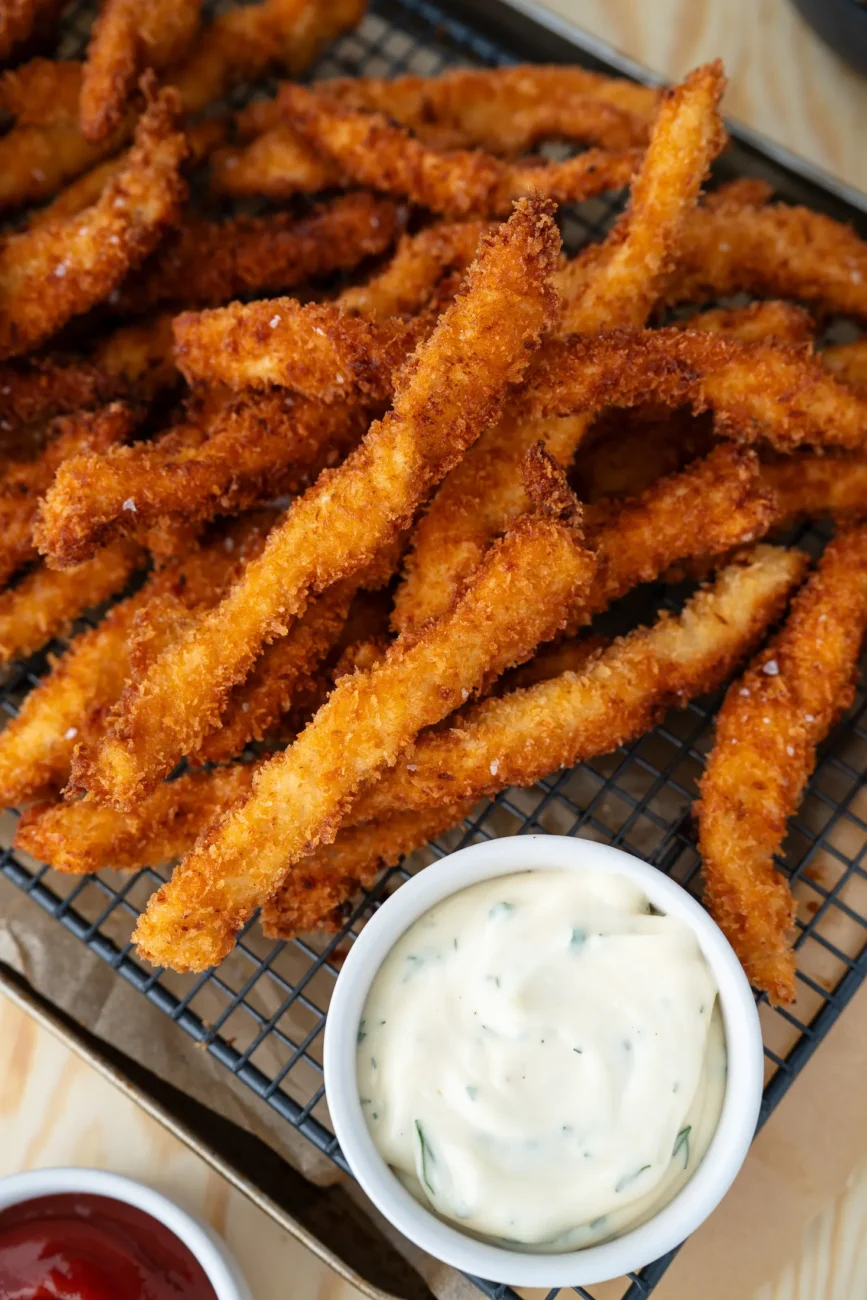
What can I serve with chicken fingers?
These crispy chicken fingers are really versatile, so you can keep things simple or turn them into a bigger family dinner. Here are some ideas:
Salads
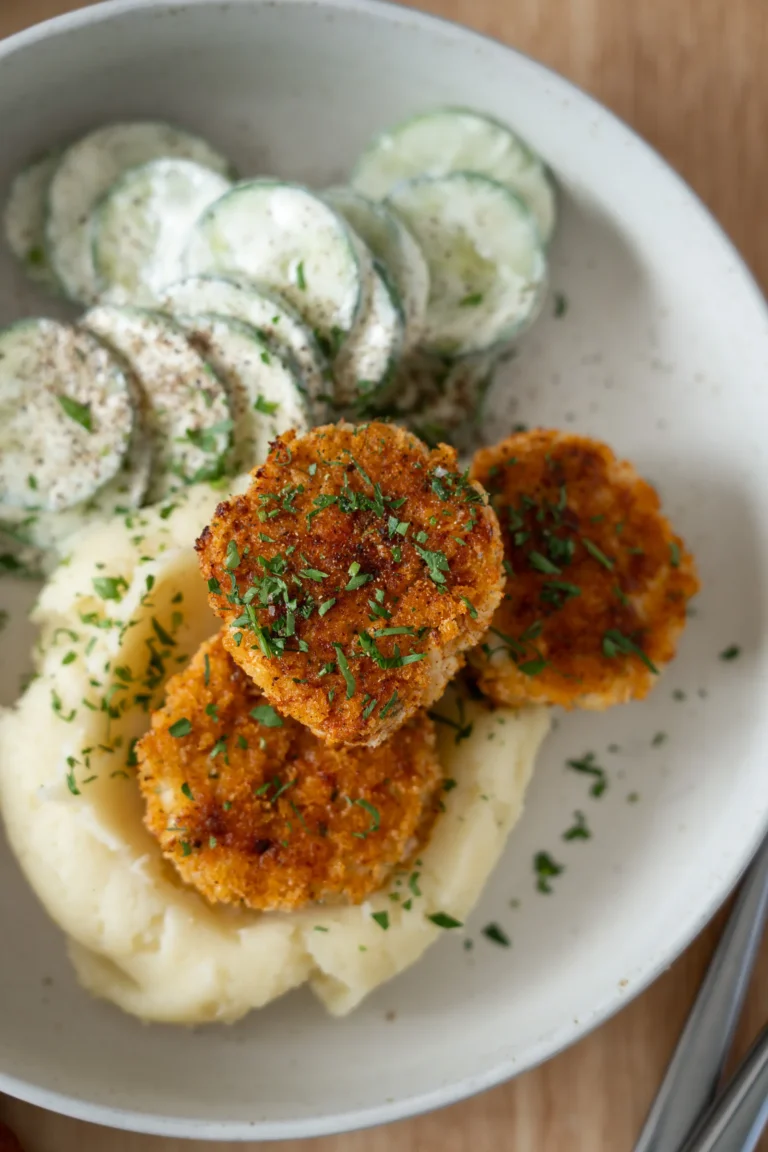
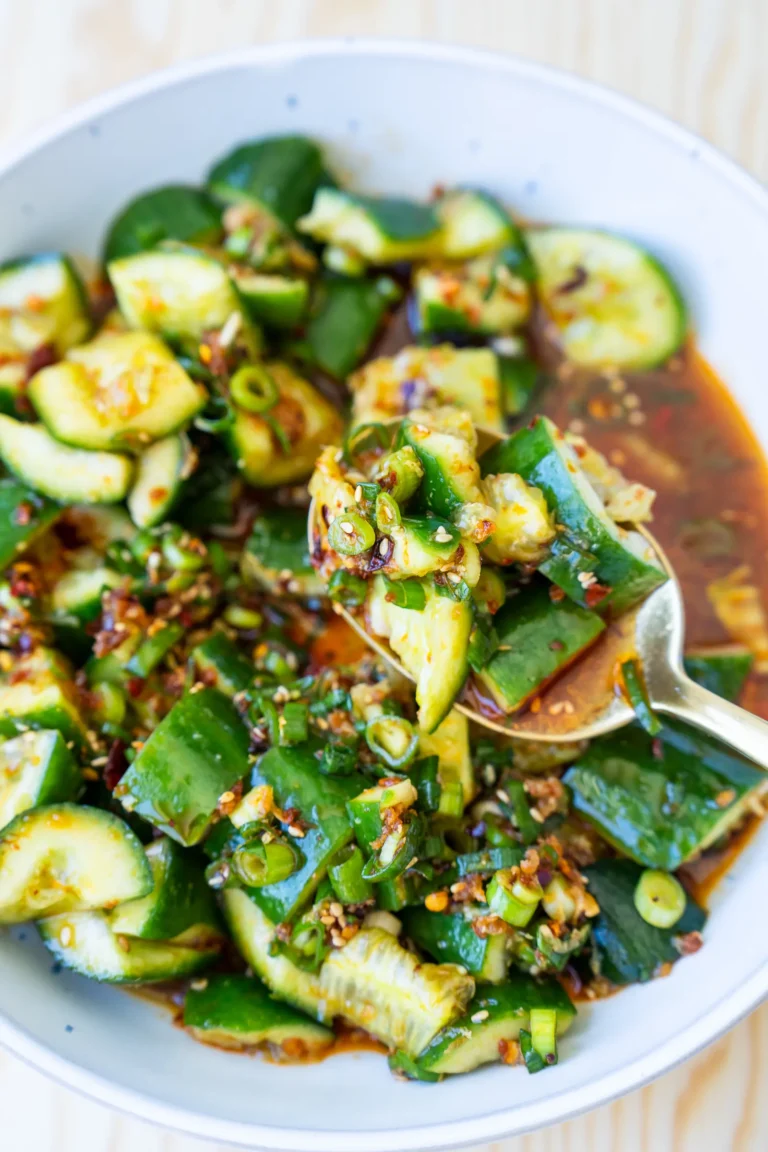
- Cucumber Dill Salad
- Cheat’s Caesar Salad
- Ultimate Loaded Potato Salad
- Easy Rocket (Arugula) and Parmesan Salad
- Green Leafy Salad with Balsamic Dressing
- Pesto Pasta Salad
- Creamy Corn Salad
Veggies
- Corn on the cob
- Broccolini (tenderstem broccoli)
- Mediterranean Roasted Vegetables
Potato sides
- Crispy Oven Fries
- Oven-baked Potato Wedges
- Crispy Sweet Potato Fries
- Potato Gratin
- Air Fryer Chips (Fries)
Sauces
- Honey Mustard Dipping Sauce
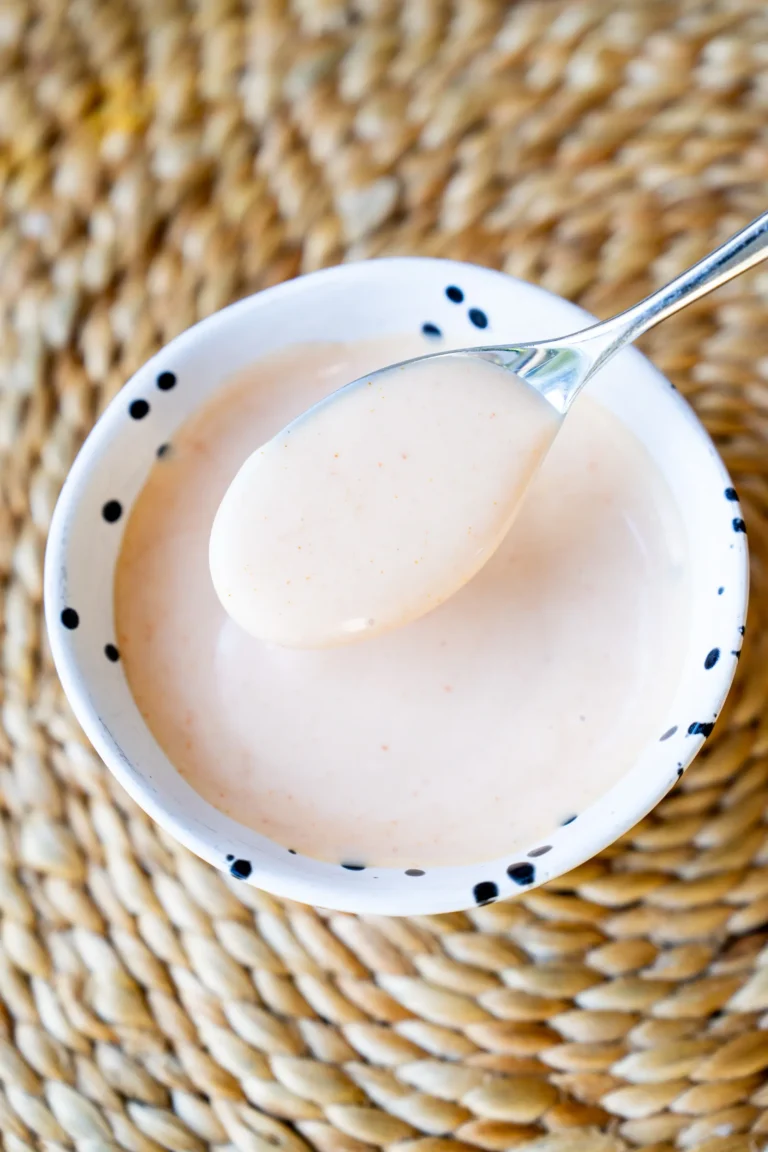
- Gochujang Mayo
- Sweet and Sour Sauce
- Whole-egg mayonnaise
If you enjoyed Crispy Chicken Fingers (Chicken Fries), I think you’ll love:
Crispy Baked Chicken Tenders Recipe – Juicy on the inside, golden and crunchy on the outside, without any deep-frying in sight, these tenders make the perfect quick meal. Cook them in either the oven or air fryer.
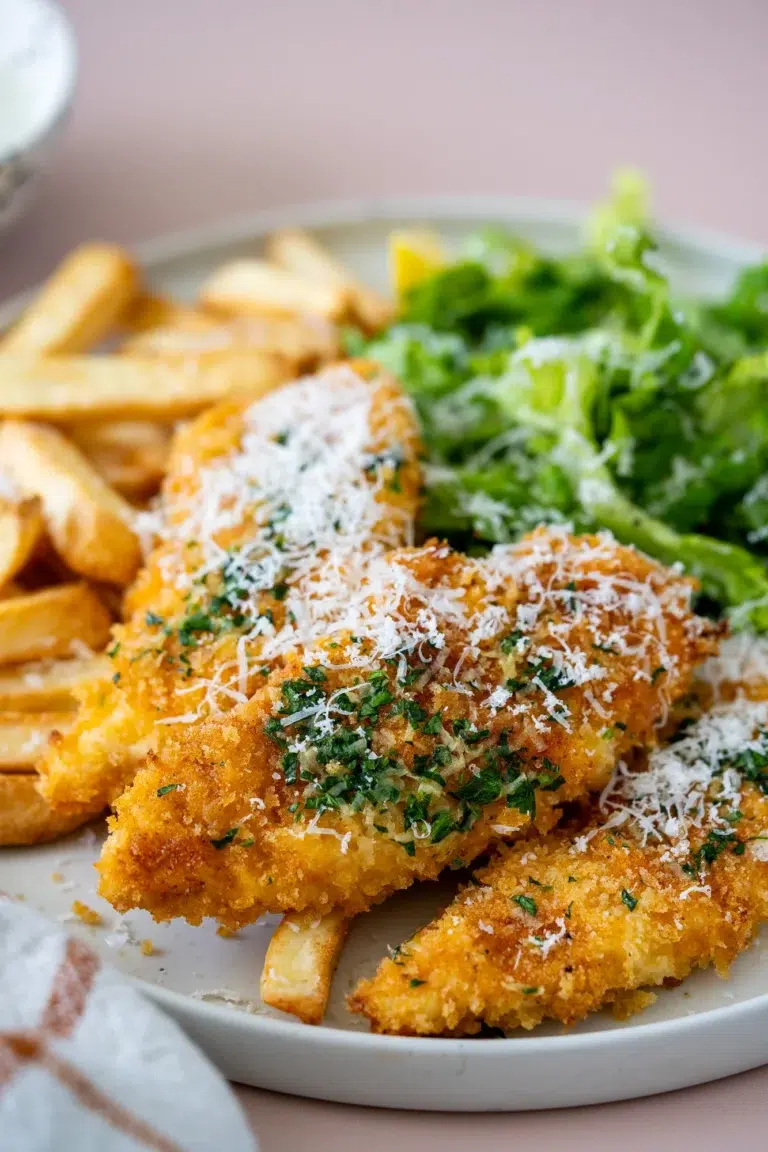
Baked Garlic Parmesan Chicken Tenders Recipe – Baked chicken tenders are brushed with garlicky butter, dusted with parmesan, then served with golden fries and a refreshing cos (romaine) salad.
Southern “Fried” Baked Chicken Strips Recipe – Crispy, golden Southern-style chicken – baked, not fried – for a guilt-free indulgence! The perfect weeknight dinner or weekend treat.
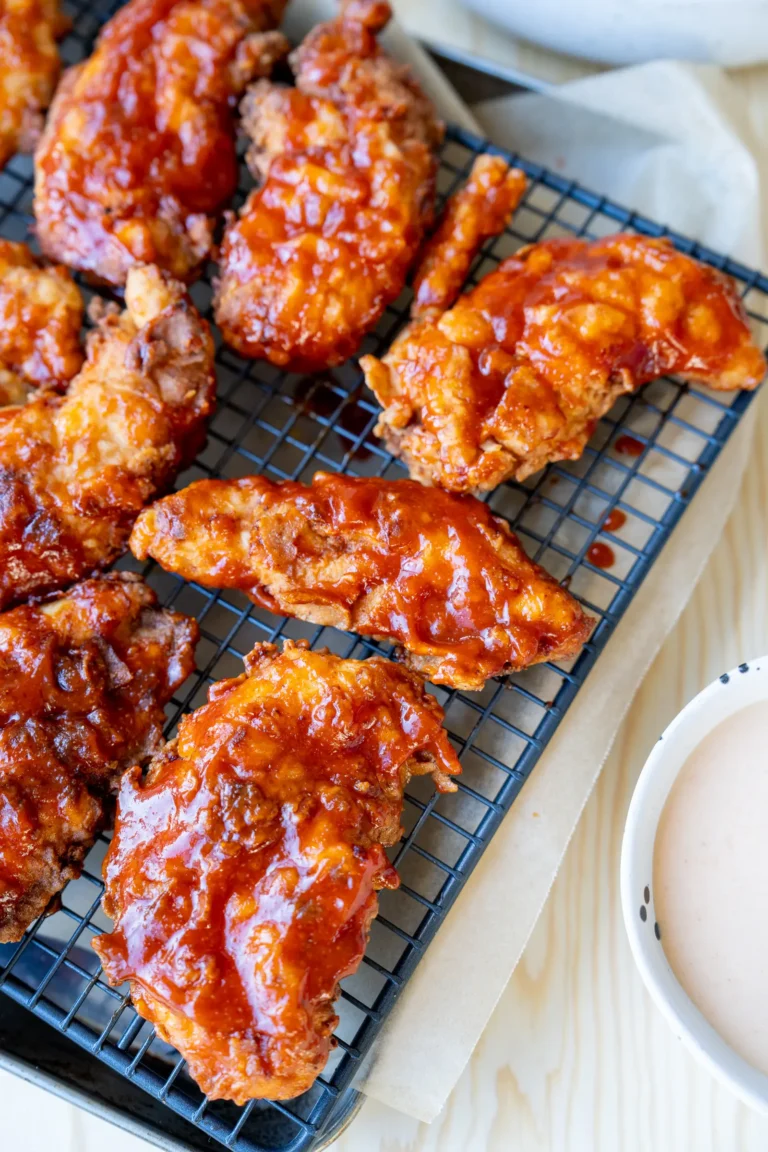
Honey BBQ Chicken Tenders Recipe – The chicken tenders are cooked until golden and crispy, then brushed with a sticky homemade honey BBQ sauce and served with creamy Comeback Sauce for dipping.
Baked Chicken Nuggets Recipe – These nuggets are crispy on the outside, tender on the inside and made with simple ingredients. They’re freezer-friendly, kid-approved and bake straight from frozen.
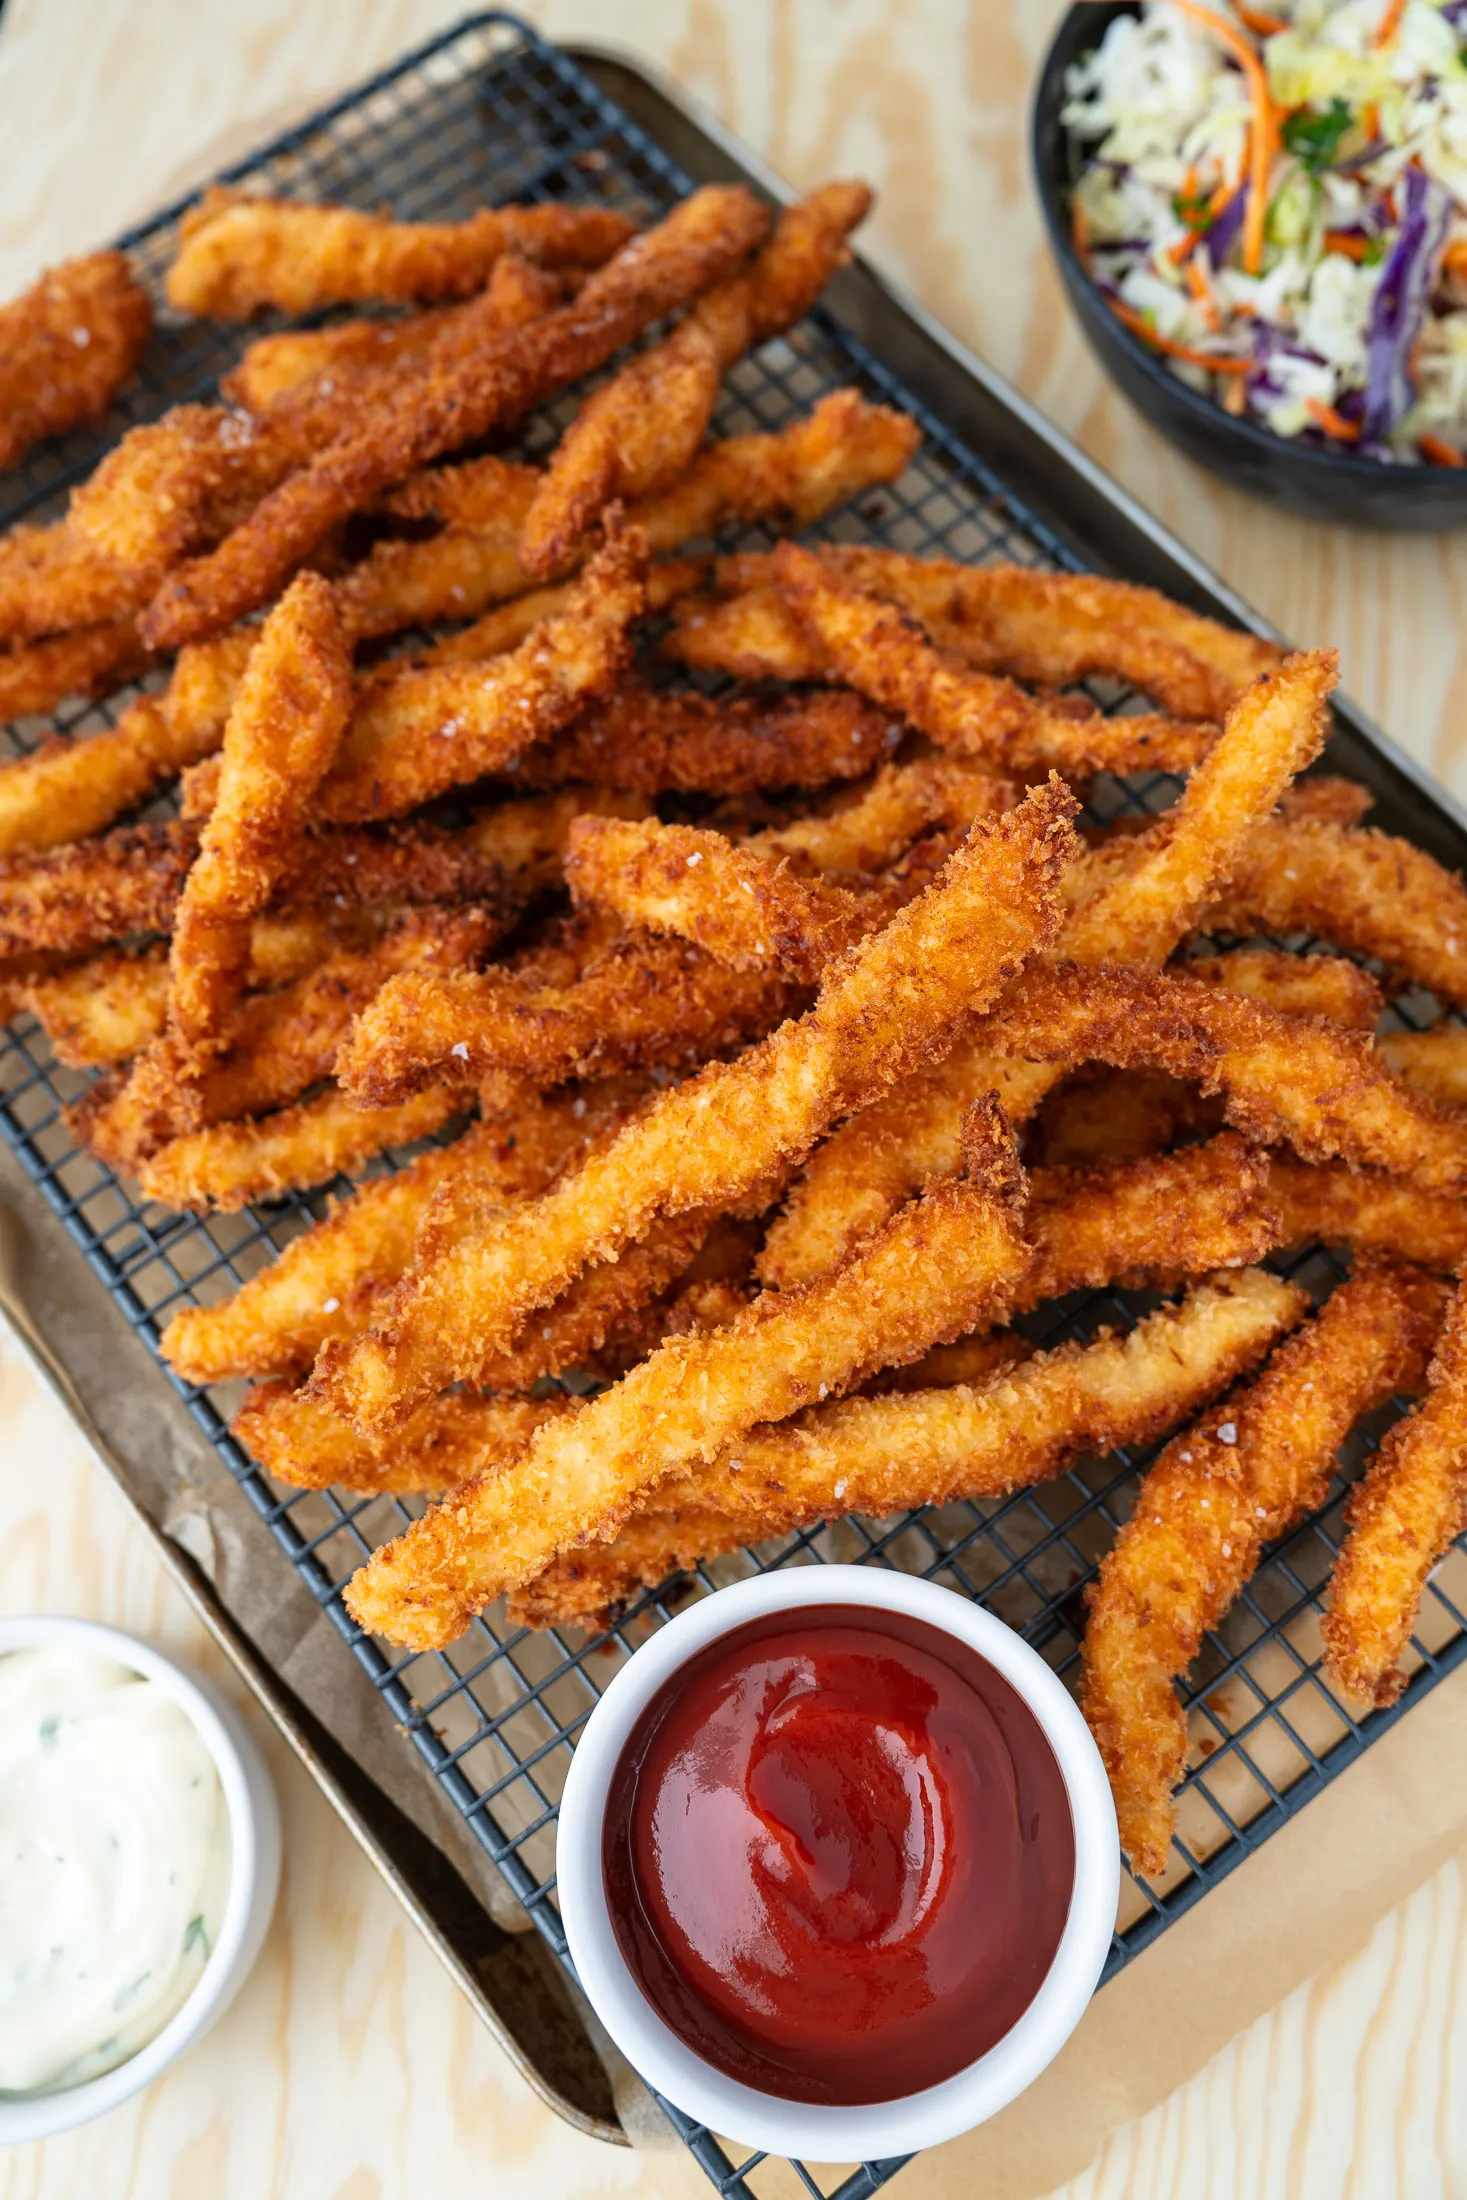
Crispy Chicken Fingers (Chicken Fries!)
“Amazing! Turned out so crispy and delicious.” Share Pin Recipe PrintIngredients
- 600 g (1¼ lb) boneless, skinless chicken breast (see note 1)
- 75 g (½ cup) plain (all-purpose) flour
- 1 tsp sweet paprika
- 1 tsp garlic powder
- 1 tsp onion powder
- 1 tsp sea salt flakes
- ½ tsp freshly cracked black pepper
- 2 eggs
- 1 tbsp full-cream (whole) milk (optional, see note 2 for dairy-free)
- 120 g (2 cups) panko breadcrumbs)
- Oil, for frying (I used light olive oil, but you can use avocado oil, canola/rapeseed oil or vegetable oil)
- Coleslaw
- Tomato ketchup
- Ranch dipping sauce
Instructions
- Prepare the chicken – If the chicken breasts are particularly thick, slice them in half horizontally to make thinner steaks. Then cut into long strips around 1.5 cm (½ inch) wide (see note 1).
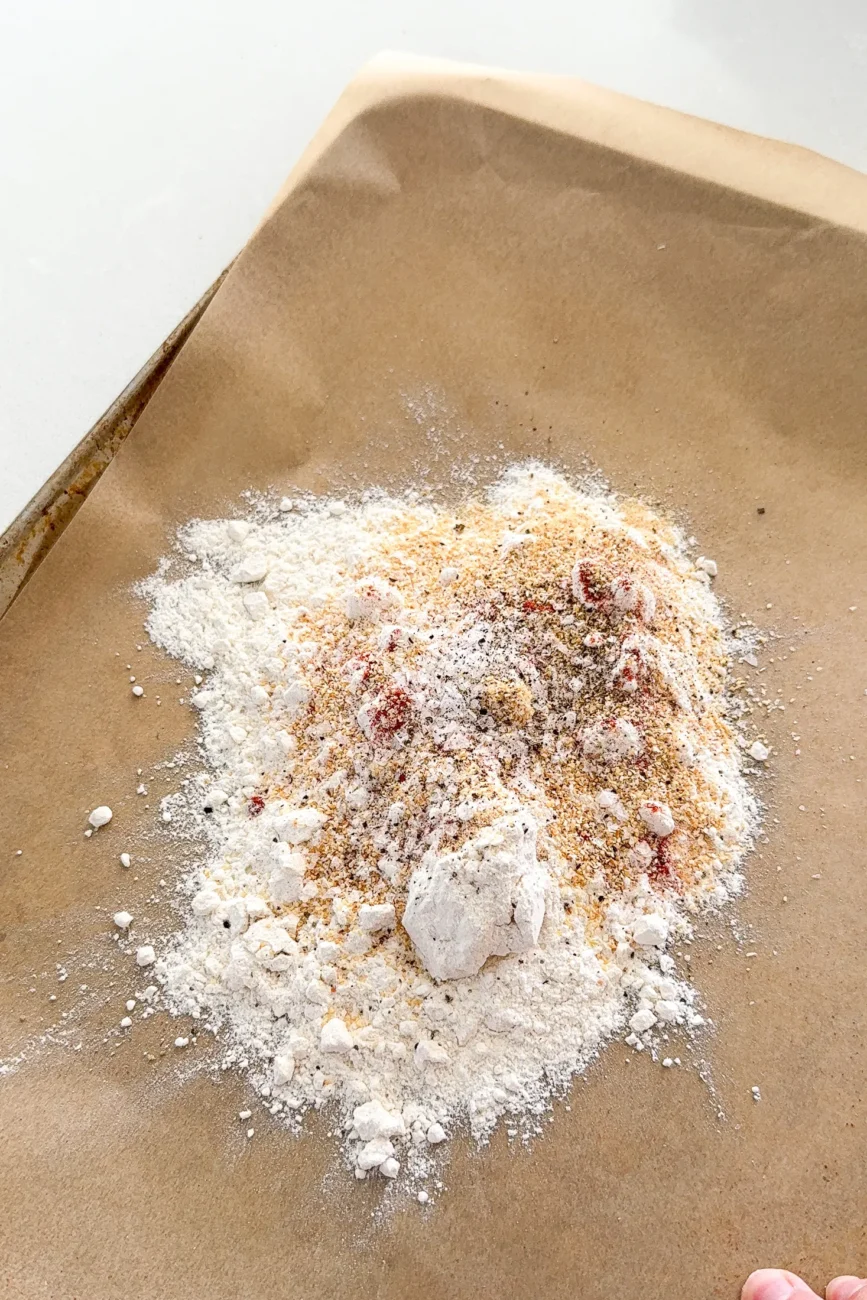
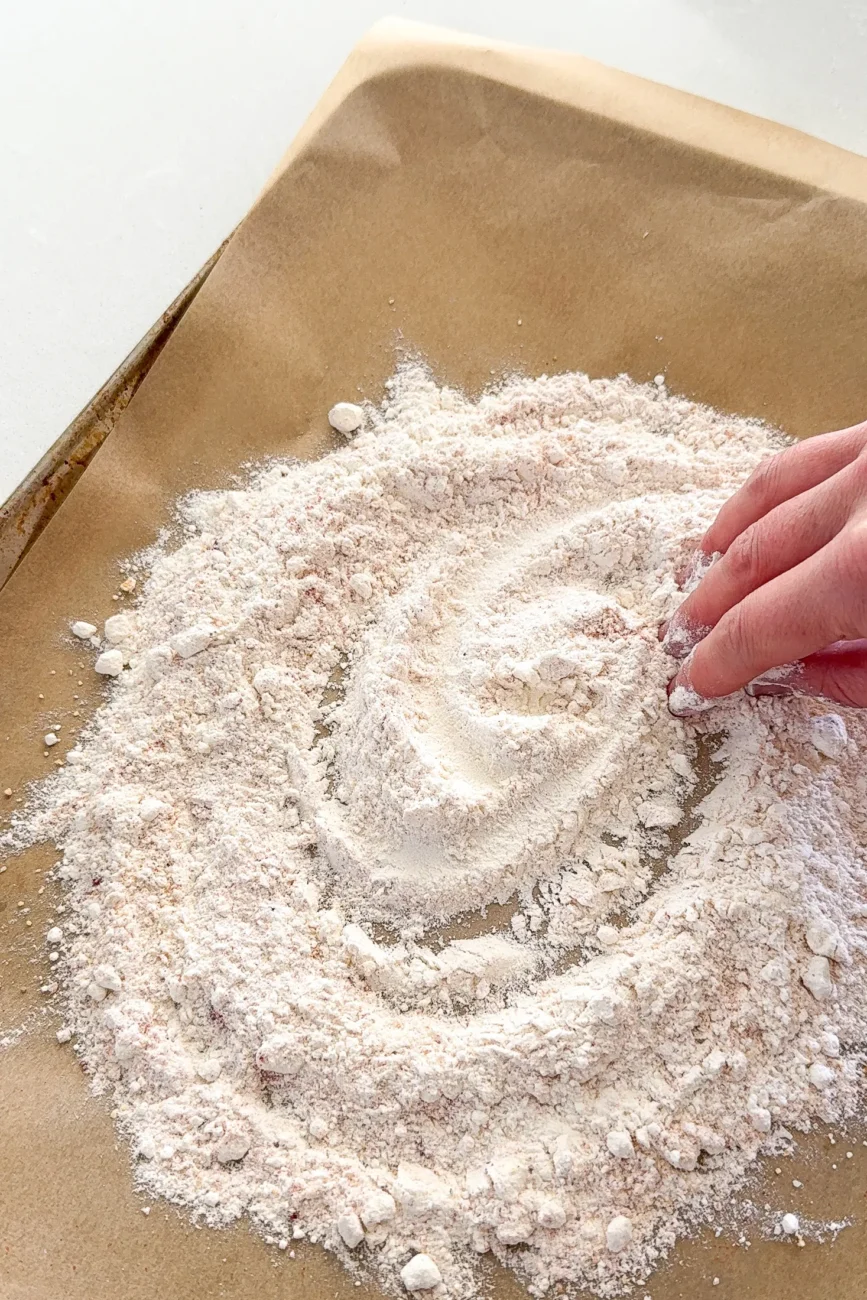
- Prepare the crumbing station – Place a large sheet of baking (parchment) paper on your work surface. Add the flour, paprika, garlic powder, onion powder, salt and pepper directly onto the baking paper. Use your fingers to mix until well combined. Whisk the eggs and milk (if using) together in a large bowl. Place the panko breadcrumbs on a second large sheet of baking paper.
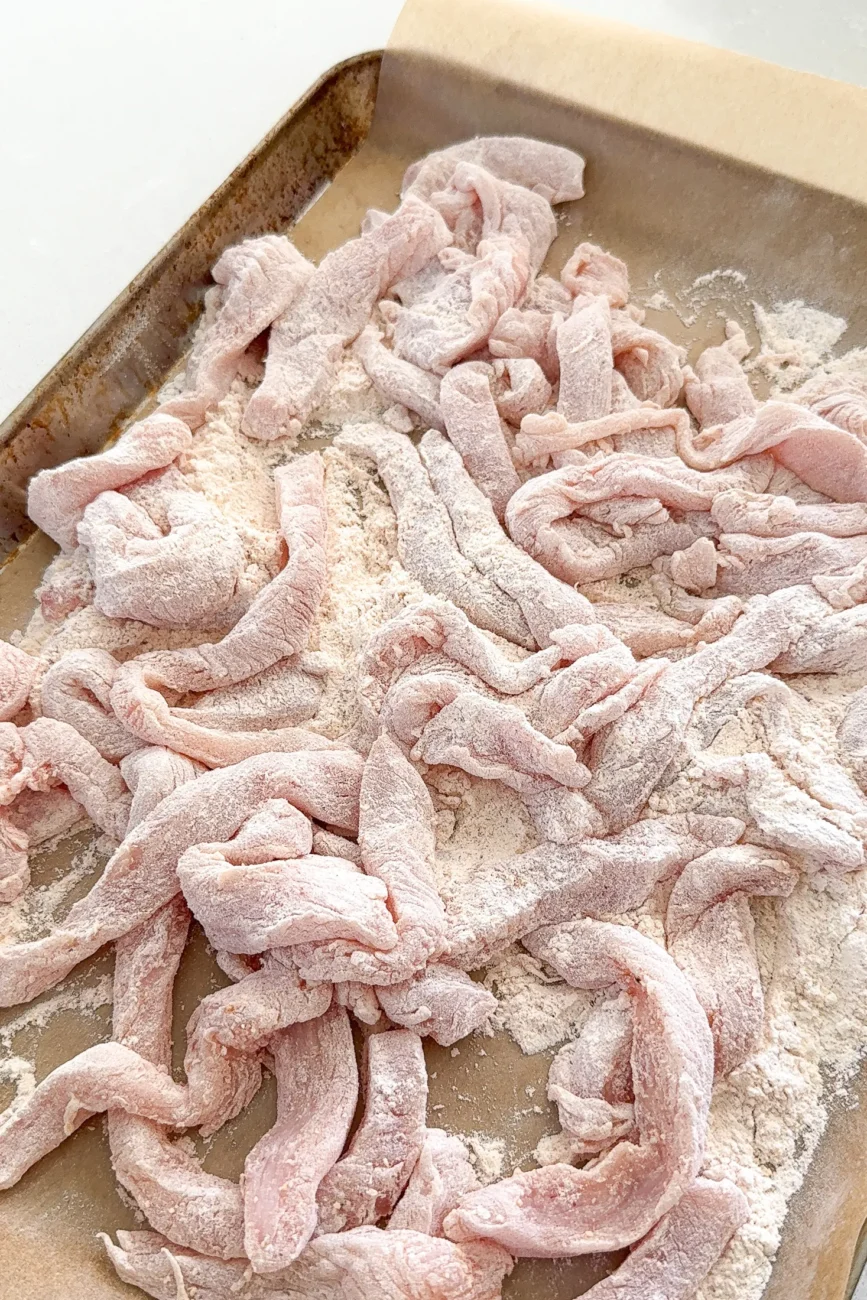
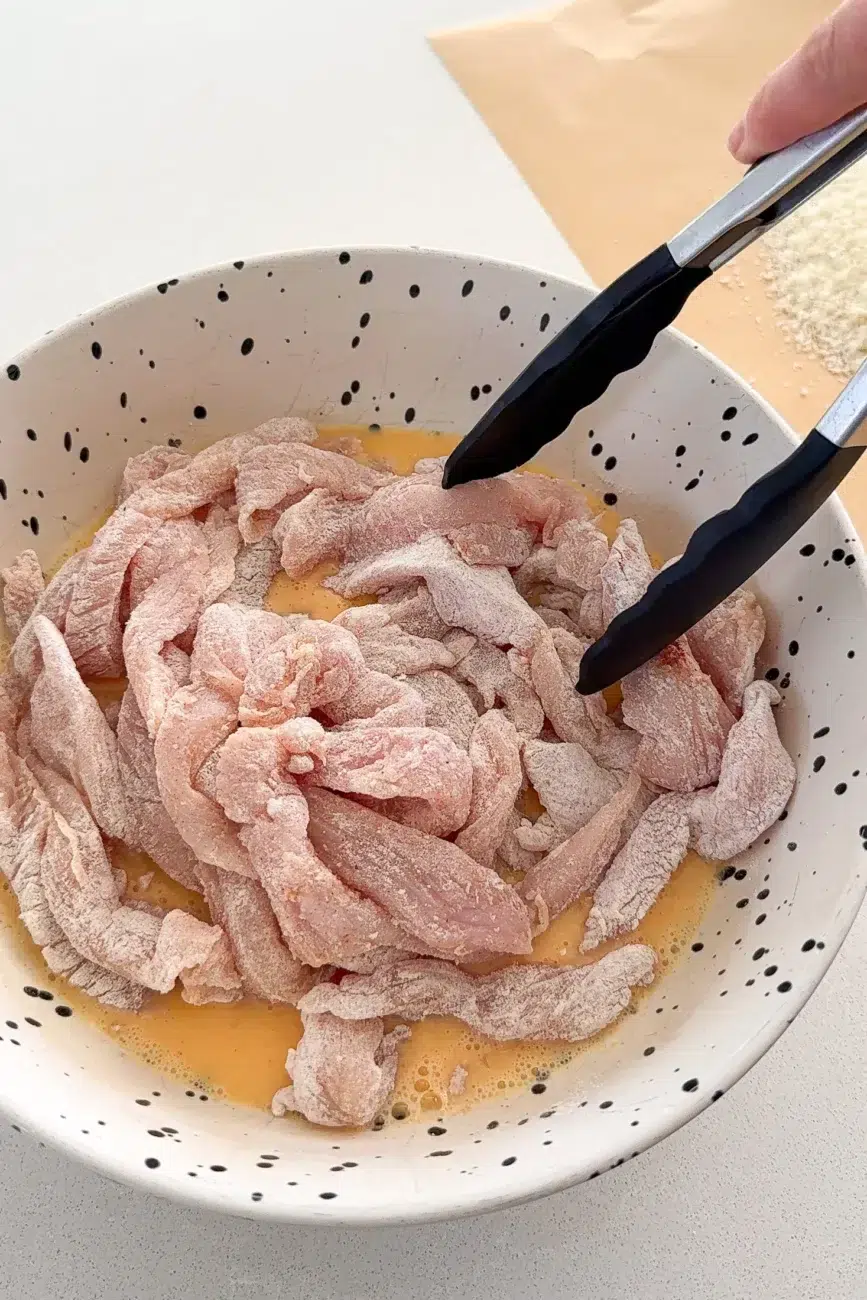
- Flour the chicken – Add all of the chicken strips directly to the seasoned flour. Use your hands to toss the chicken until evenly coated. Gather the chicken up, shake off any excess flour, then transfer all the chicken directly to the egg mixture.
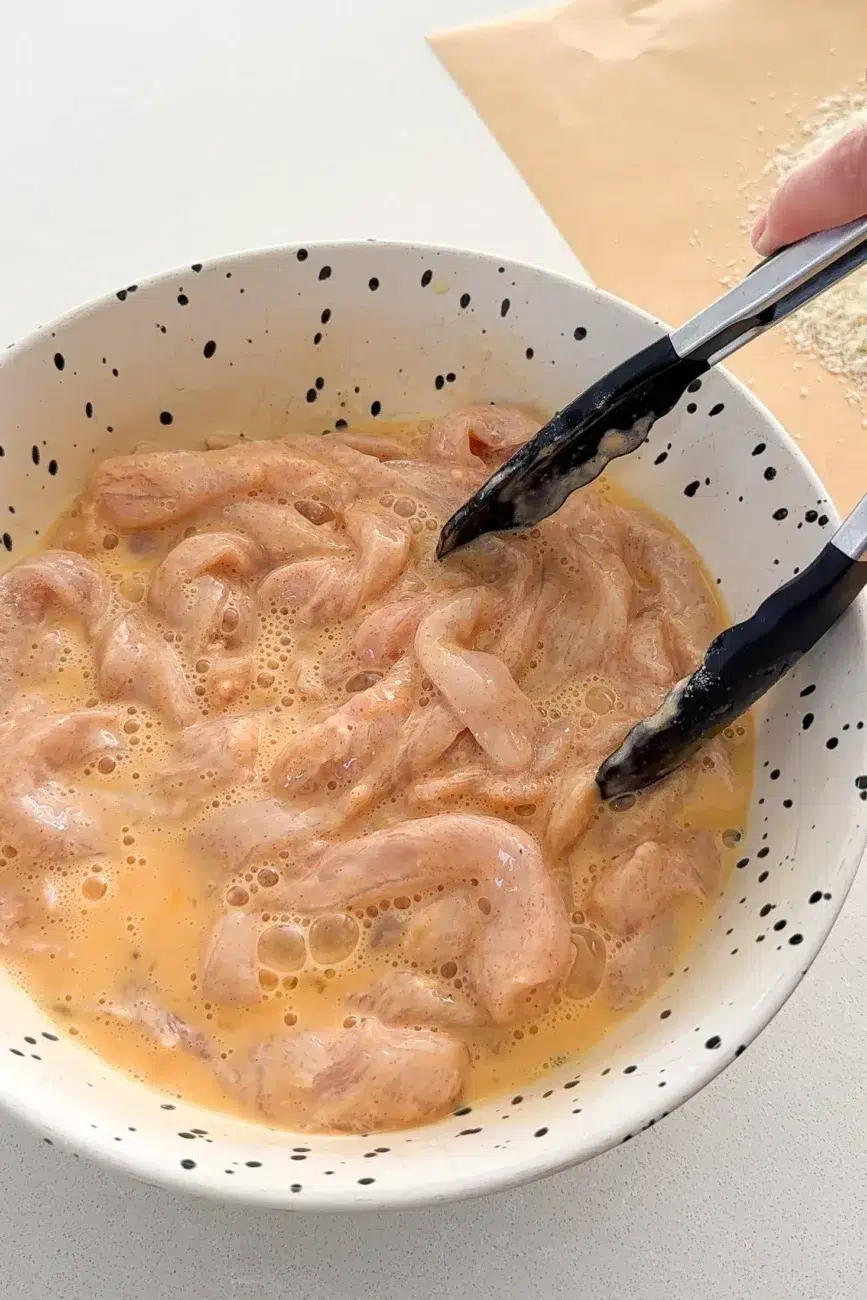
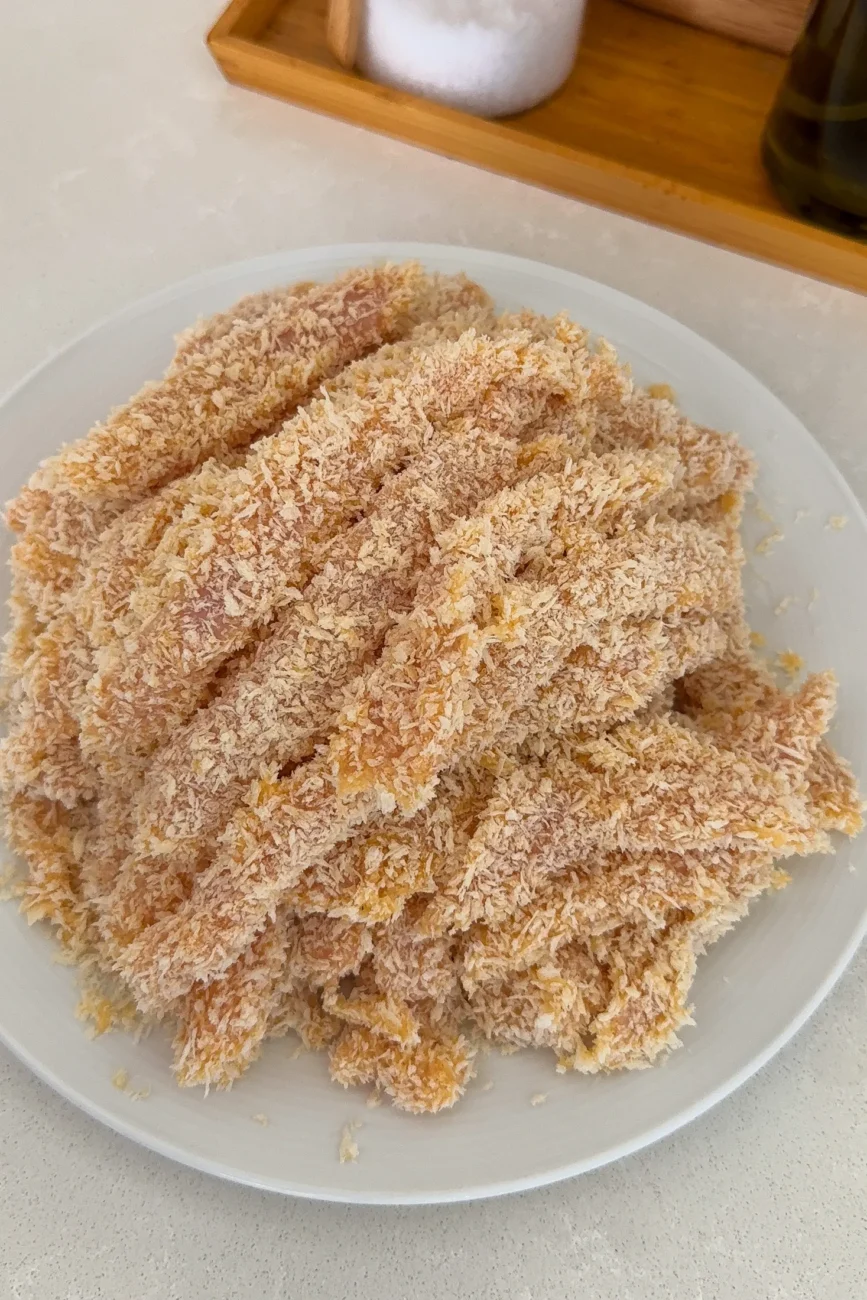
- Coat the chicken – Use tongs to toss the chicken through the egg mixture until evenly coated. Working with a few pieces at a time, lift the chicken from the egg, allowing any excess to drip off, then place it onto the panko breadcrumbs. Use the edges of the baking paper to help toss the panko over the chicken, then gently press down with the palm of your hand so the crumbs adhere. Repeat with the remaining chicken. Set aside on a plate.
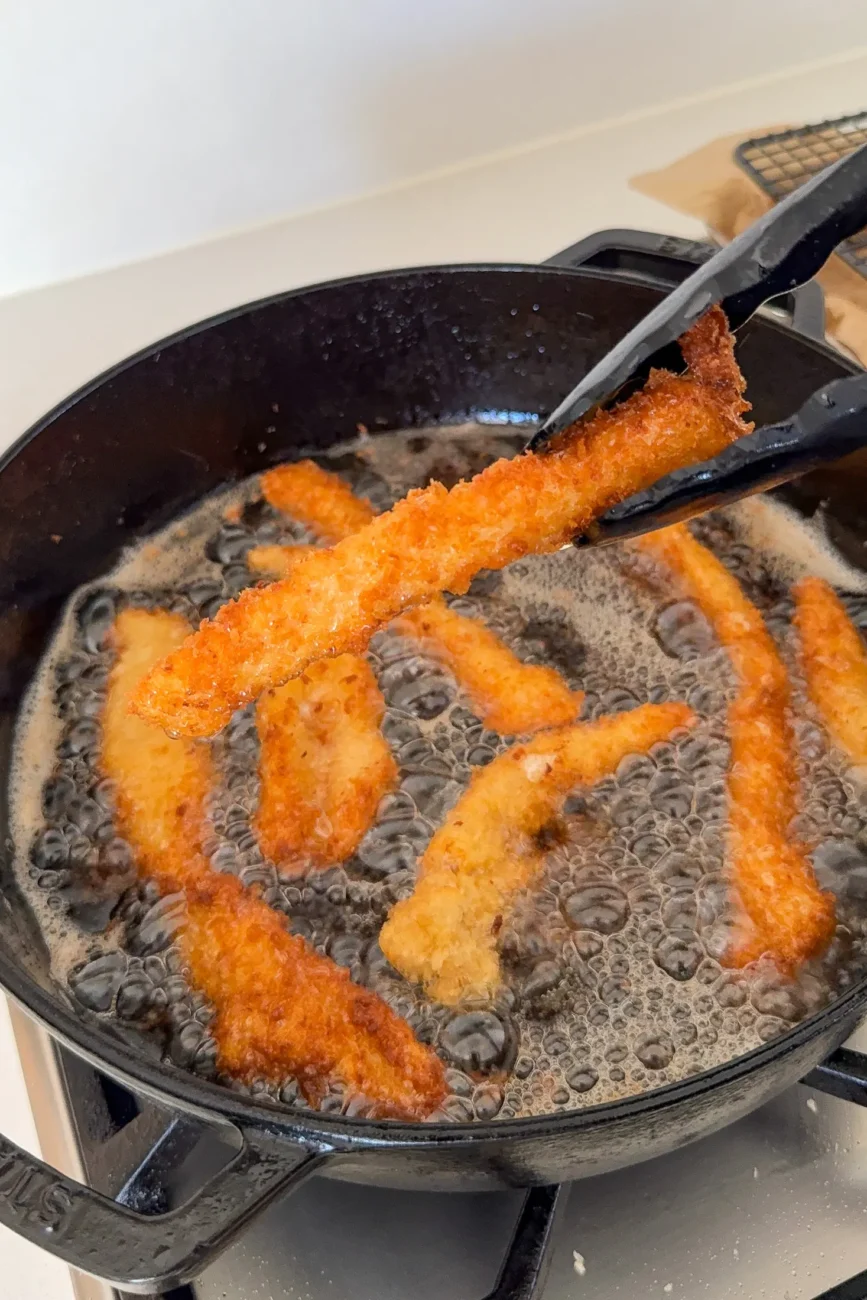
- Cook: shallow-fry method – Add enough oil to a large frying pan to come approximately 1 cm (½ inch) up the side of the pan. Heat over medium heat (see note 3). Cook the chicken in batches for 3–4 minutes on each side, or until golden, crisp and cooked through. Avoid moving the chicken for the first 30–60 seconds after it goes into the pan (see note 4). Transfer to a wire rack while you cook the remaining chicken.
- Cook: air fryer method – Preheat the air fryer to 200°C (400°F). Arrange the chicken fingers in a single layer, leaving a little space between each piece. Spray generously with oil. Air fry for 8–10 minutes, turning halfway and spraying again lightly with oil, until golden, crisp and cooked through. Cook in batches if needed. (See note 5.)
- Serve – Serve immediately with coleslaw, ketchup and ranch dipping sauce.
Watch how to make it
Nutrition information
Nutritional information on this site is calculated using Foodworks Professional, the nutrition analysis software trusted by dietitians, researchers and food manufacturers across Australia and New Zealand. Disclaimer re gluten-free and dairy-free recipes
Recipe notes
Make Ahead
You can prepare these chicken fingers either uncooked or fully cooked ahead of time. To prepare uncooked chicken fingers ahead – Crumb the chicken as directed, then arrange the pieces in a single layer on a tray or plate lined with baking (parchment) paper. Cover and refrigerate for up to 24 hours. Cook directly from the fridge using either the shallow-fry or air fryer method. To freeze uncooked chicken fingers – Arrange the crumbed chicken in a single layer on a tray lined with baking (parchment) paper, making sure the pieces are not touching. Freeze until firm, then transfer to a freezer-safe container or reusable freezer bag, placing baking paper between layers if needed. Freeze for up to 2 months. Thaw overnight in the fridge, then cook as directed. Do not thaw at room temperature. To cook ahead – Cook the chicken fingers using either method, then allow them to cool completely on a wire rack. Refrigerate in an airtight container for up to 3 days. Reheat following the Leftovers instructions below. To freeze cooked chicken fingers – Once completely cool, arrange them in a single layer on a tray lined with baking (parchment) paper and freeze until firm. Transfer to a freezer-safe container or reusable freezer bag, placing baking paper between layers if needed. Freeze for up to 2 months. Thaw overnight in the fridge, then reheat following the Leftovers instructions below.Leftovers
Store leftover cooked chicken fingers in an airtight container in the fridge for up to 3 days. For the crispiest result, reheat them in the air fryer at 180°C (350°F) for 4–6 minutes, or in a 200°C (400°F) (180°C/350°F fan-forced) oven for 8–12 minutes, until heated through and crisp. They can also be reheated in the microwave, although the crumb will soften. Leftovers are also delicious cold and work really well in lunchboxes, sandwiches, wraps or salads.Variations
These chicken fingers are really easy to change up depending on what you have in the pantry. I haven’t tested all of the variations below, so use them as a guide and adjust to taste.- Smoky – Swap the sweet paprika for smoked paprika, or use a combination of the two.
- A little spicy – Add a pinch of ground cayenne pepper or chilli powder to the seasoned flour.
- Herby – Add a little dried oregano, Italian mixed herbs (Italian seasoning) or dried parsley to the flour mixture.
- Parmesan crumb – Try mixing some finely grated parmesan through the panko breadcrumbs for a cheesy, savoury crumb. Keep an eye on them as they cook, as the parmesan may make the coating brown more quickly.
















Maria says:
Amazing! I used chicken tenderloins which I sliced in the middle to make long strips. Turned out so crispy and delicious.